Bada-Bing, Bada-Babka!

Where I live, in Los Angeles, there are billboards around town trumpeting the arrival of the full series of Seinfeld on Hulu. Each board includes a quotable quote from the show. I wasn’t really much of a Seinfeld watcher, but stopped at a light beneath one of IMG_1296these signs, I ruminated on the eps I had seen… George as the marine biologist, the close talker, Susan’s father’s love affair with John Cheever, the puffy shirt – and the babka, the chocolate babka.

Babka. Bab-ka. Baaab-ka. I’ve never made a babka. I’m not sure I’ve even had a babka, or a baba, or huh? I sped home to learn more about this mysterious bread coveted by Jerry and Elaine.

I read quite a few recipes and histories: Ukrainian origin, typically chocolate or cinnamon (although my Ukrainian friend swears her mother made it plain), adapted by other Eastern European traditions. In brief, a rolled brioche. Got it.

I find brioche the most heavenly of doughs. So soft and puffy, so strong and easy to shape. The recipes I read varied only slightly in their treatment of a basic brioche dough (a little lemon zest here, a bit of cinnamon there), so I worked with my tried and true recipe.

Note: Softened butter. I’ve always let it sit on the counter or played Russian roulette with the microwave. I hadn’t planned ahead for this babka so I Googled “softened butter,” et FullSizeRender copy 3
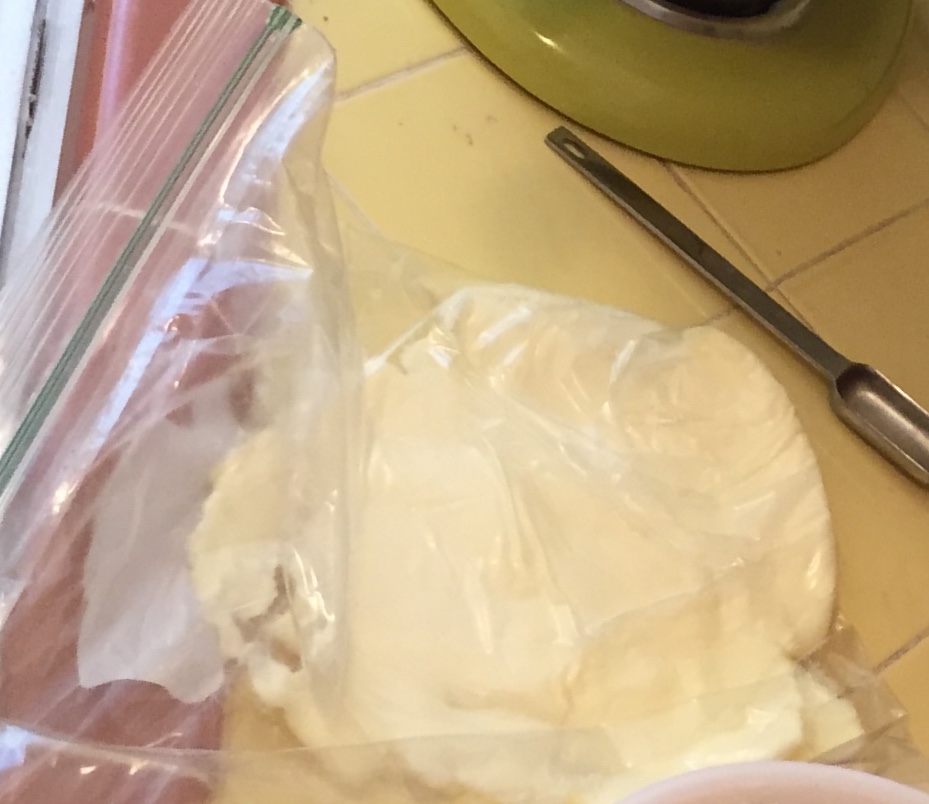
voila, a YouTube video where you put the cold butter into a large Ziploc and smack it around with your rolling pin. Ha! Never knew, works a treat. And fun! (Full disclosure, I smacked a brick of butter with a rolling pin in France, but there was no Ziploc and no witness.) You can also smack the butter between two sheets of waxed paper.

As it went, I ended up making two recipes (four loaves) over the weekend. Thatsa lotta babka! I used the same brioche for both, but varied the fillings:

  • Babka One – spread the rolled dough with softened butter and sprinkled with chopped dark chocolate and sugar
  • Babka Two – nipped from the Smitten Kitchen’s Better Chocolate Babka and made a spreadable filling of melted dark chocolate, butter, cocoa and powdered sugar

IMG_1309Babka One was good, but the chocolate seemed to weigh down the dough and I ended up with a loaf-long cavern and large hunks of chocolate. It tasted good, but I don’t love dark chocolate enough to have that version be the final word on IB4B babka.

Babka Two was, in a word, heaven. Heaven in a loaf pan, heaven on a cutting board, heaven in my mouth. SK suggests a pinch of cinnamon in theIMG_1328 
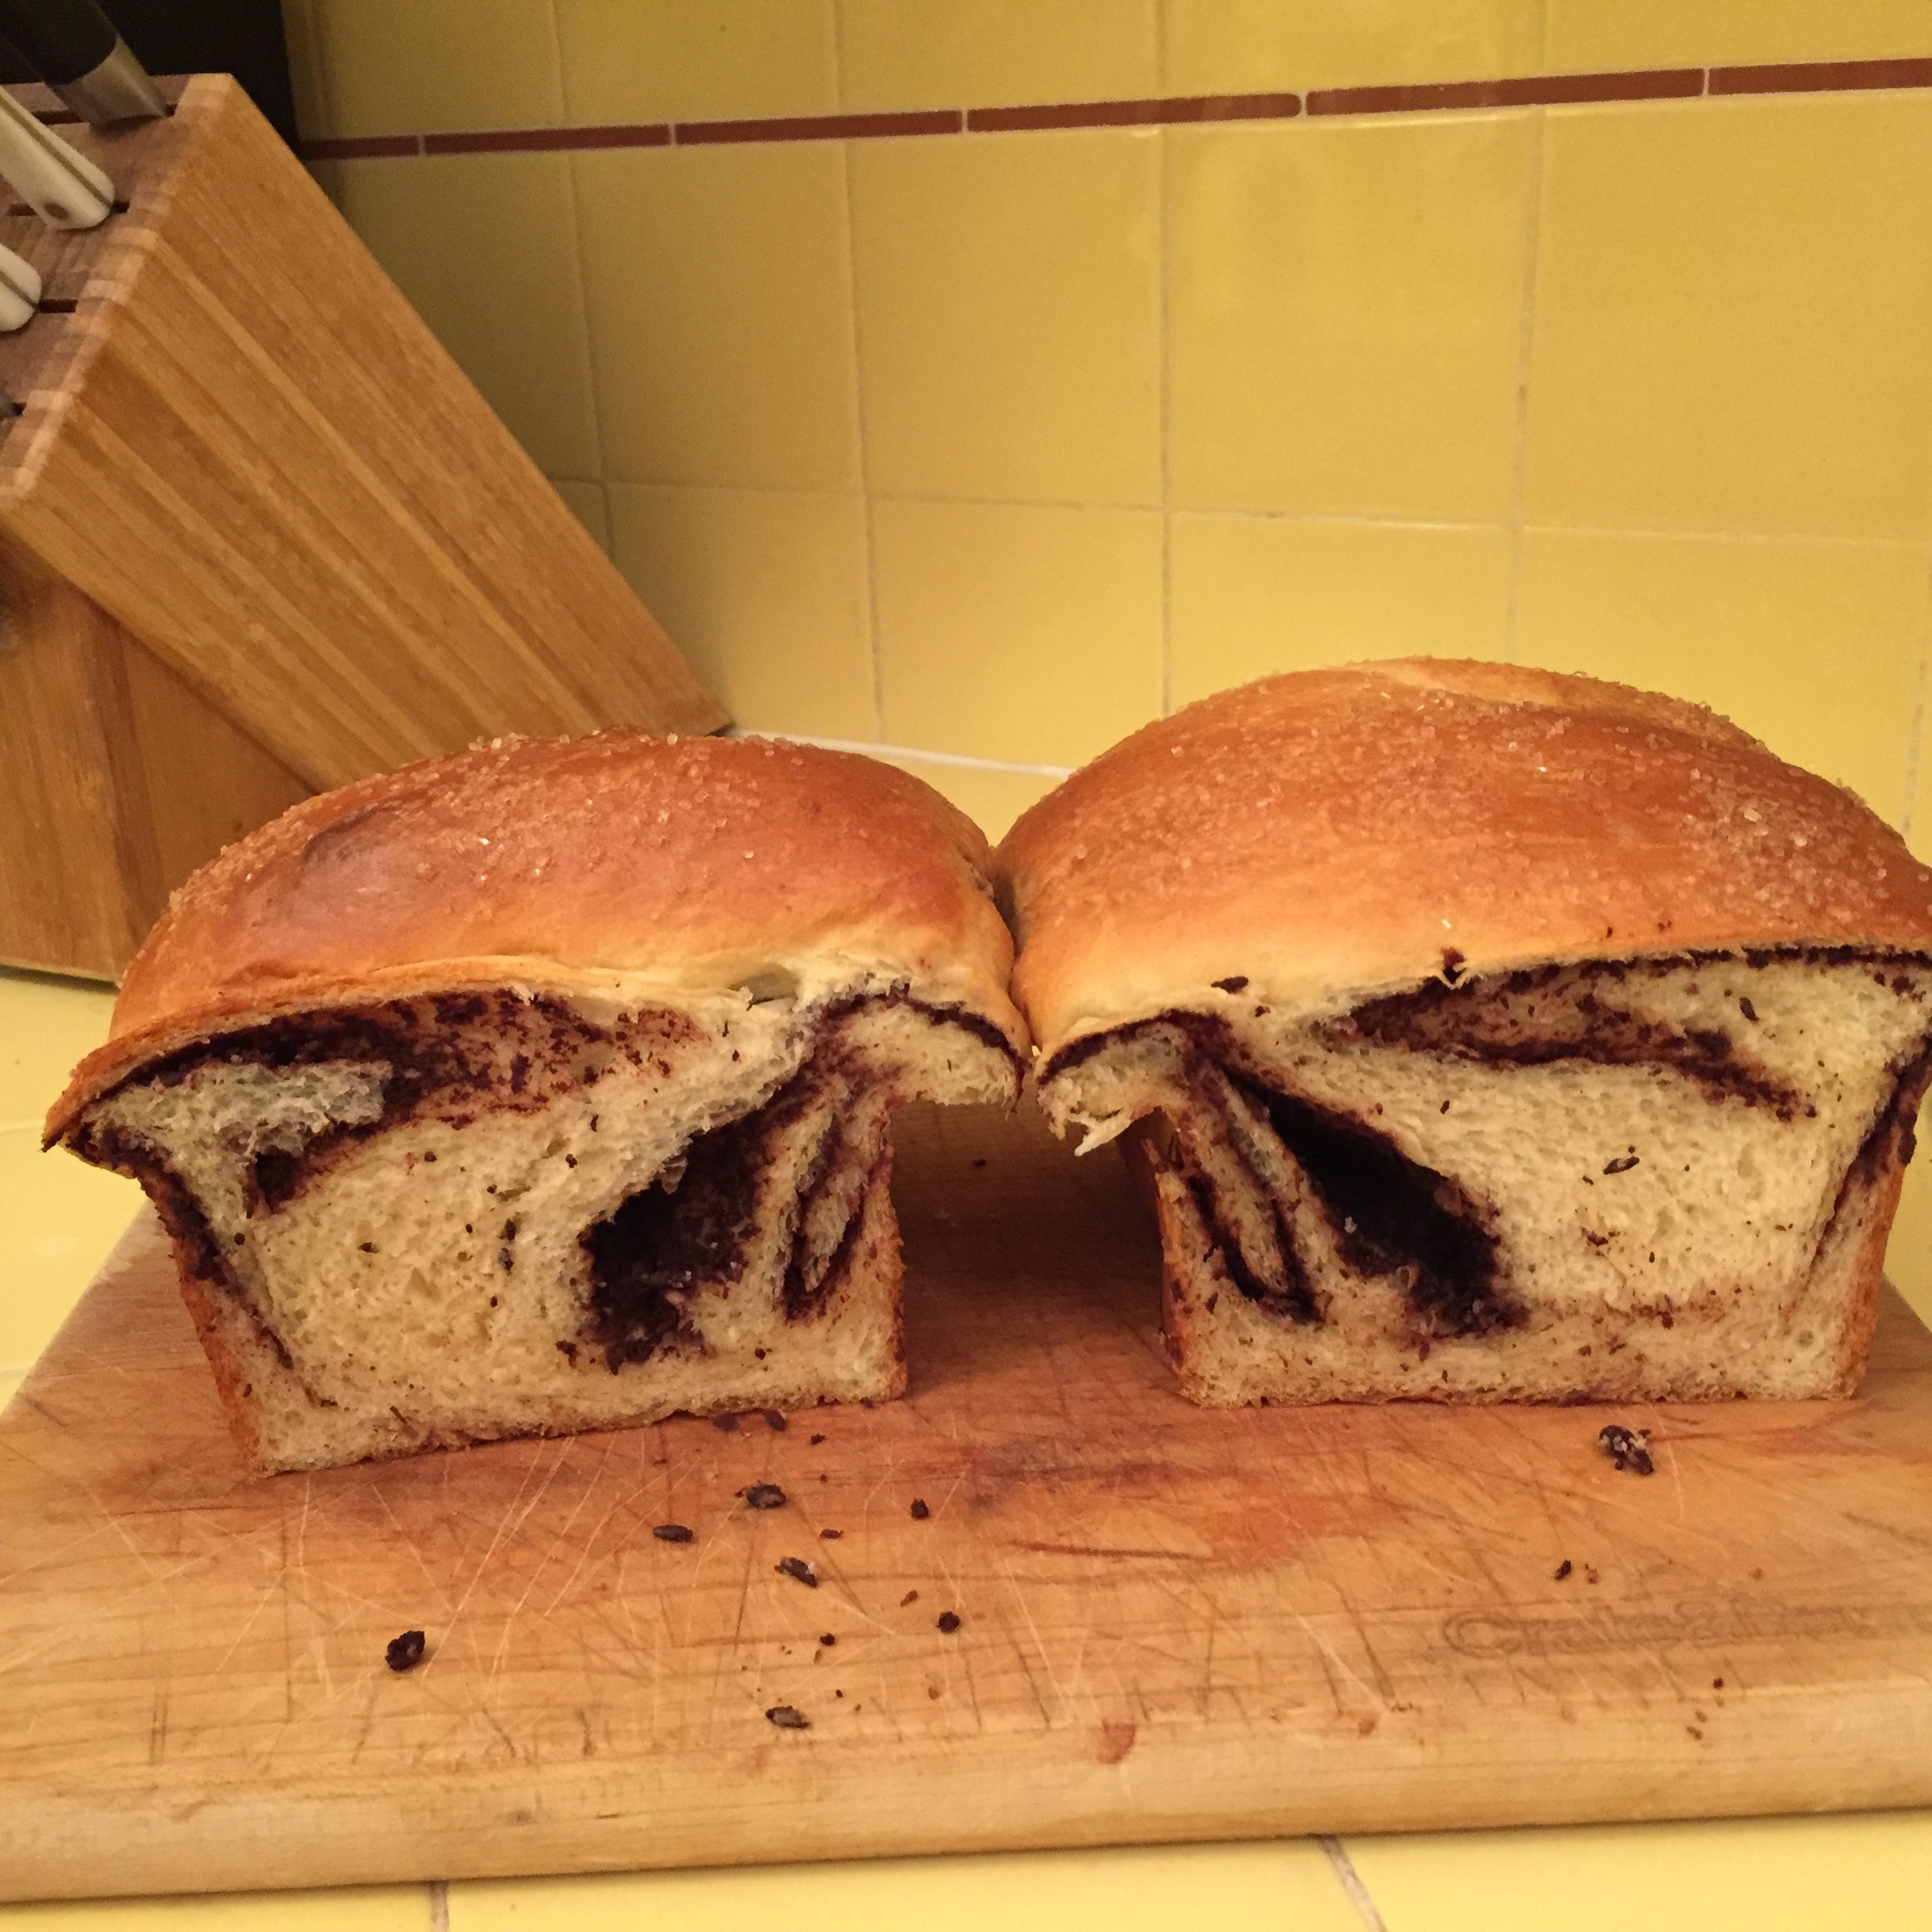
filling – perfection. My filling appeared more liquid than the paste in the pic on the SK site, so rolling up the babka log was a bit of a challenge, but still, fun and well worth it.

My babkas on both tries had glorious muffin tops. A slightly larger loaf pan would likely fix that. But who cares – as I say about all muffin tops, there’s simply more to love.

Make these a day ahead as they do take some time and I think are best enjoyed first as breakfast. Then go ahead with elevenses, luncheon, snack and tea. Then slice the second loaf for a bed time snack.

You’ll see – heaven in your mouth.

Chocolate Babka Two

Two loaves – or one serving, you know, depending

Dough

  • 3/4 cup warm milk (105–115°F)
  • 1/2 cup plus 2 teaspoons sugar
  • 3 teaspoons active dry yeast
  • 3 1/4 cups all-purpose flour plus additional for dusting
  • 2 whole large eggs, room temperature
  • 1 large egg yolk, room temperature
  • 1 tsp vanilla extract
  • 3/4 tsp salt
  • 10 Tbs (1¼ sticks) unsalted butter, softened

Filling

  • 5 oz (130 grams) dark chocolate (60%-70% cacao)
  • 1/2 cup (120 grams) unsalted butter
  • 1/2 cup (50 grams) powdered sugar
  • 1/3 cup (30 grams) cocoa powder (I used Hershey’s because I was out of Valhrona)
  • 1/4 teaspoon cinnamon (SK says it’s optional, it’s not)

 Egg wash

  • Beat together 1 large egg yolk and 1 Tbs whole milk

Make dough:

Stir 2 teaspoons sugar into warm milk and sprinkle yeast over. Let stand about 5 minutes until foamy.

Pour yeast mixture into bowl of an electric mixer and add 1/2 cup of flour; beat at medium speed until combined.

doughAdd whole eggs, yolk, vanilla, salt, and remaining 1/2 cup sugar. Beat until combined.

Reduce speed to low, then mix in remaining flour, about 1/2 cup at a time, until combined.

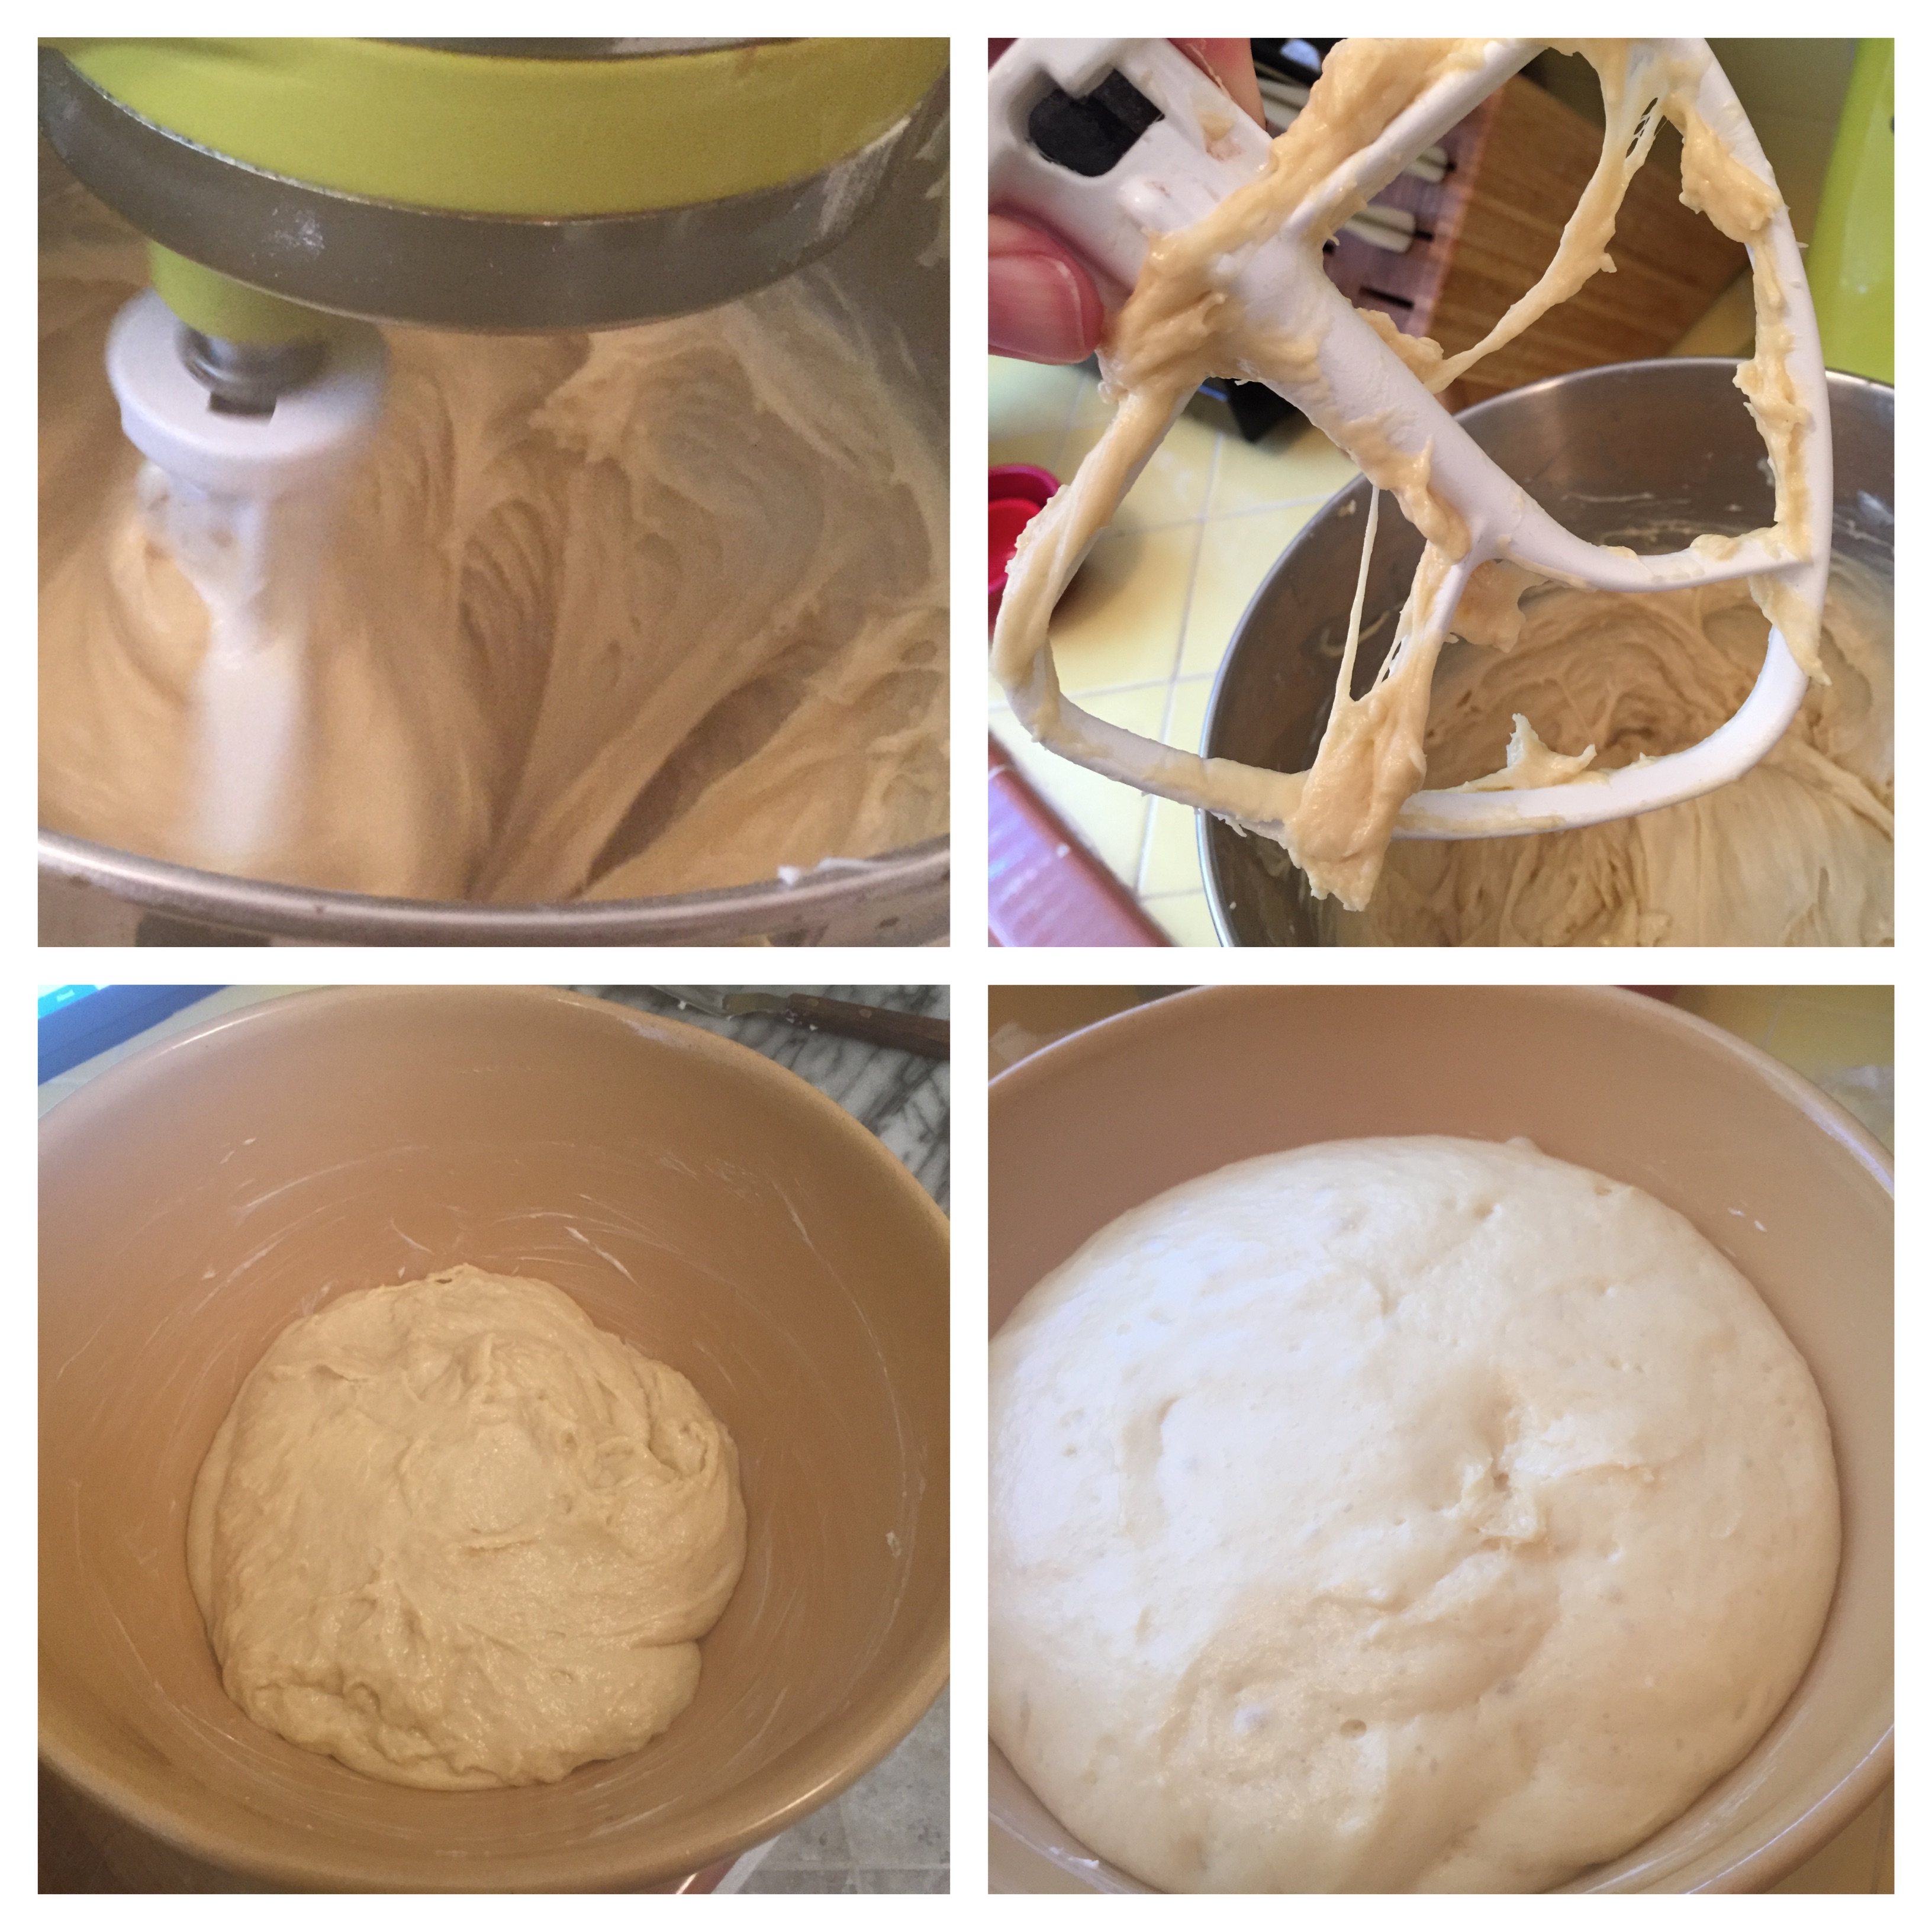
Increase speed to medium and beat in softened butter, about a tablespoon at a time. (I cut open the Ziploc and scraped out tablespoon sized bits using a small offset spatula.)

Continue to beat for another 4-5 minutes after all the butter is in until the dough is shiny and pulls lacy strands from beater to bowl.

Dough will be super soft and sticky, and you will want to curl up in it.

Scrape dough into a lightly buttered bowl, cover tightly with plastic wrap and let rise at room temperature (warmer is better than in the AC), until doubled, about 2 hours.

Make filling

While the dough is rising, melt the butter and chocolate together in a 4-cup or larger measuring cup, stirring until smooth. Combine powdered sugar, cocoa and cinnamon, and sift over melted chocolate mixture. Stir to a smooth paste. Set aside.

Assemble Babkas

Line each loaf pan with a long strip of parchment paper cut the width of the short side of the pan and extending over the ends. Butter sides of pan. (You can, as I did, cut another piece of parchment to fit the long way in the loaf pan, but it’s really just extra work.)

Gently punch down dough and then halve.

Roll out one pieFILLING3ce of dough on a well-floured surface into a rectangle about 18×10 inches, with the long side facing you. (Don’t worry if it looks like it’s rolled thin. It is.)

Pour half of the chocolate filling mixture down the center of the dough rectangle, then spread with a small offset spatula, leaving about a ½-inch border on all sides. (Why does the top pic look like it’s from the70s? Flour on my iPhone lens.)

Brush the long edge opposite you with some of the egg wash.

Slowly and gently, starting with the long side closest to you, tightly roll the dough over the chocolate filling. Because the dough is so soft, this will be more like nudging it over. Work slowly, from side to side, and try to make as tight a roll as you can.

Once baka dough 1rolled slice off ends. Then, form roll into an oval, pinching ends together.

Have your prepared loaf pan at the ready. Then twist your oval once to make a figure eight, and then again. Drop your twisted dough roll into your prepared loaf pan, nudging a bit here and there to get it all nicely nestled in.

Repeat with second piece of dough.

Cover loaf pans loosely with plastic wrap and set aside to rise again for about 1½ hours. FullSizeRender copy
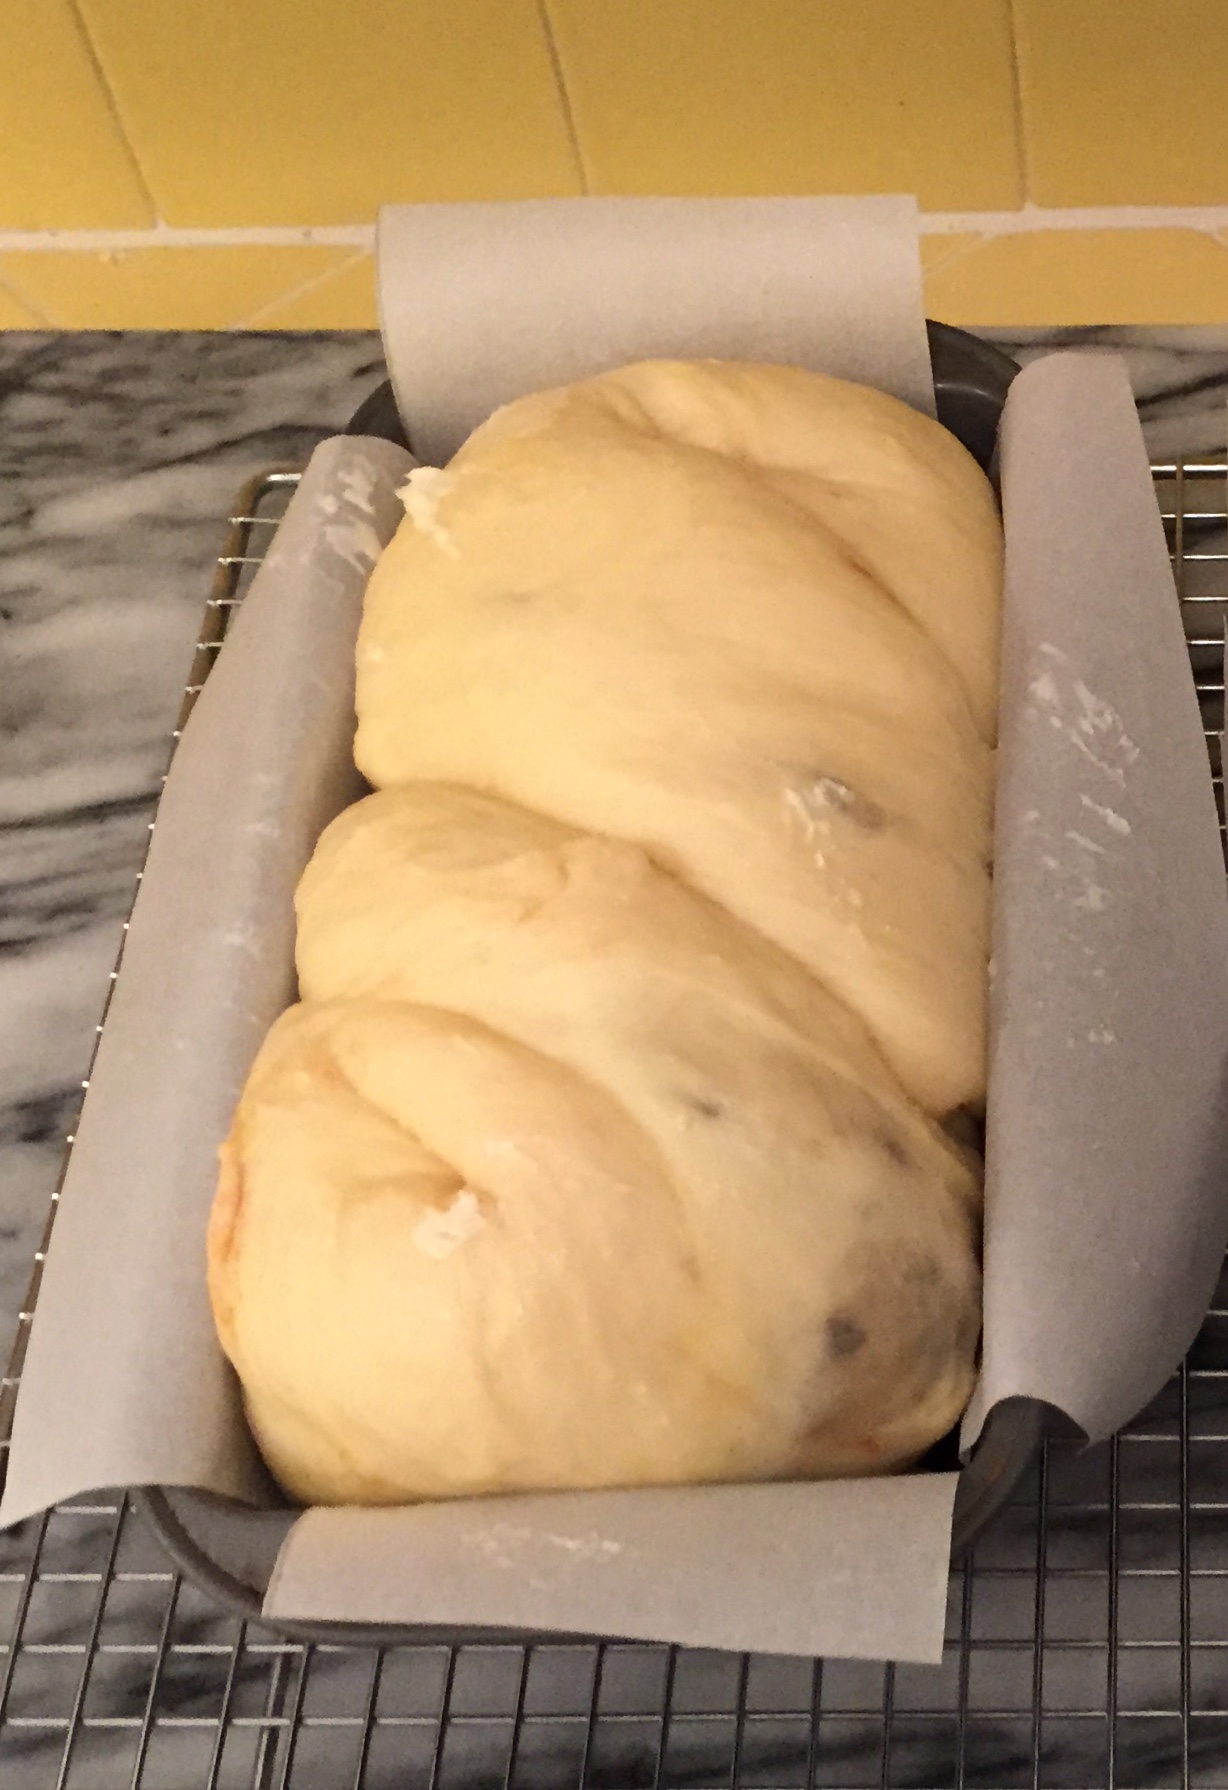
They should just reach the top of the pans.

Bake Babkas

Preheat oven to 350.

Brush babkas with remaining egg wash and give a light sprinkle of turbinado sugar (if desired).

BIMG_1297ake for 30-35 minutes until golden brown and hollow when tapped on the bottom. Check on your babkas at 25 minutes and then keep an eye out. Mine were perfect at 30 minutes.

Let cool in pans on rack for about 5 minutes, then lift from pans using the parchment ends.

Peel off parchment, place on rack and let cool completely.

Enjoy!IMG_1335

Advertisement

I do d’eclair, you won’t stop at one

IMG_1203I visit Paris often. I am one of those classic femmes Américaines gaga over Haussmann architecture, pink light, and the Marais. When I go to Paris, I don’t make plans. I throw my scarf over my shoulder, adjust my sunglasses, and simply head out. In Paris, like in London, Rome and New York, wandering is a plan. These cities are made for discovery, like that time I stumbled across a Jewish bakery in Trastevere and proudly ordered “Due fiorentino e uno caffe macchiato” only to discover what might be the most delicious Florentines in the world.

In Paris, while I don’t make plans, I do carry a list of patisseries (by arrondissement) that’s as long as my arm. And what I’m after, my white tiger, my white whale, is the perfect éclair. Slightly chewy pastry, luxurious vanilla scented crème patisserie, and a swath of chocolate that snaps when you bite. For me, this is the éclair classique and a good one is very hard to find. Even in Paris. Where I don’t speak French (I speak Fromage, ha ha!), so I am often unsure of exactly what I’ve ordered.

Parisian fake out: Looked classique, but that's mocha cream in there!

Parisian fake out: Looked classique, but that’s mocha cream in there!

I’ve had éclairs that are filled with caramel, coffee, orange, pistachio, raspberry, banana (!), and chocolate creams. Où est la vanille? I buy at least two éclairs per visit to Paris and have yet to find an éclair that meets my classique criteria or that is even memorable. (Apologies, Pierre, but your mille feuilles would be my last meal.)

If not in Paris, dear reader, where, oh where will one find the perfect éclair classique???

I’ll tell you where: At the afore-reviewed Joan’s on Third. Yes, in Los Angeles, a city not known for it’s bakery culture. I’d pretty much given up on ordering éclairs anywhere after so many disappointments. But one afternoon I decided to give Joan’s version a try.

Revelation! Celebration! The hint of a tear in my eye! Sooooooo delicious, everything I lookIMG_1205 for and more: The pastry is always fresh, the chocolate subtle with the desired crackle, and the filling, the FILLING! Smooth, velvety, luxurious, incredible. Maybe it’s vanilla but you can’t really tell the note is so subtle. It’s fantastic. I’m embarrassed to say just how many of these I have eaten since that first bite.

I’ve only visited the Studio City location, but I imagine these delectable nom-noms are available on Third Street as well. Locals and visitors alike, it’s well worth the journey from wherever you are to enjoy these beauties.

Note: I learned, whilst writing this piece, that “éclairs” are named for the French word for “lightning” because they are “eaten in a flash.” Buy a few because you will mourn FullSizeRenderthe too-fast loss of just one.

Joan’s on Third, 12059 Ventura Place, Studio City, CA 91604; www.joansonthird.com

Is that a pie in your hand or…?

Hand pies are not a natural for me.IMG_0887

Pastry is hit or miss and while I love the idea of a peach, it’s just too easy to get a bum one (mealy, hard, squishy). Plus, for me, peaches require prep: I like them peeled, sliced and chilled. So, in general, I prefer nectarines.

But Trader Joe’s recently had 4 lb. boxes of beautiful peaches and I was going to an outdoor event…summer peach pie sounded so good. But a IMG_0878pie in a picnic setting is always a mess, so I thought, gee, hand pies are all the rage, how about that? (My only experience with “hand pies” was decades ago, the original MacDonald’s apple pie and the various sugar-glazed Hostess options. Gooey, gluey, yuck.)

I asked a baking friend if she’d made them – she hadn’t but reported a friend thought they were a lot of work for “essentially, a pop tart.” But still, the idea was so perfect, and I could picture little Martha-style parchment packets sealed with stickers…I decided to go for it.

I searched FullSizeRender
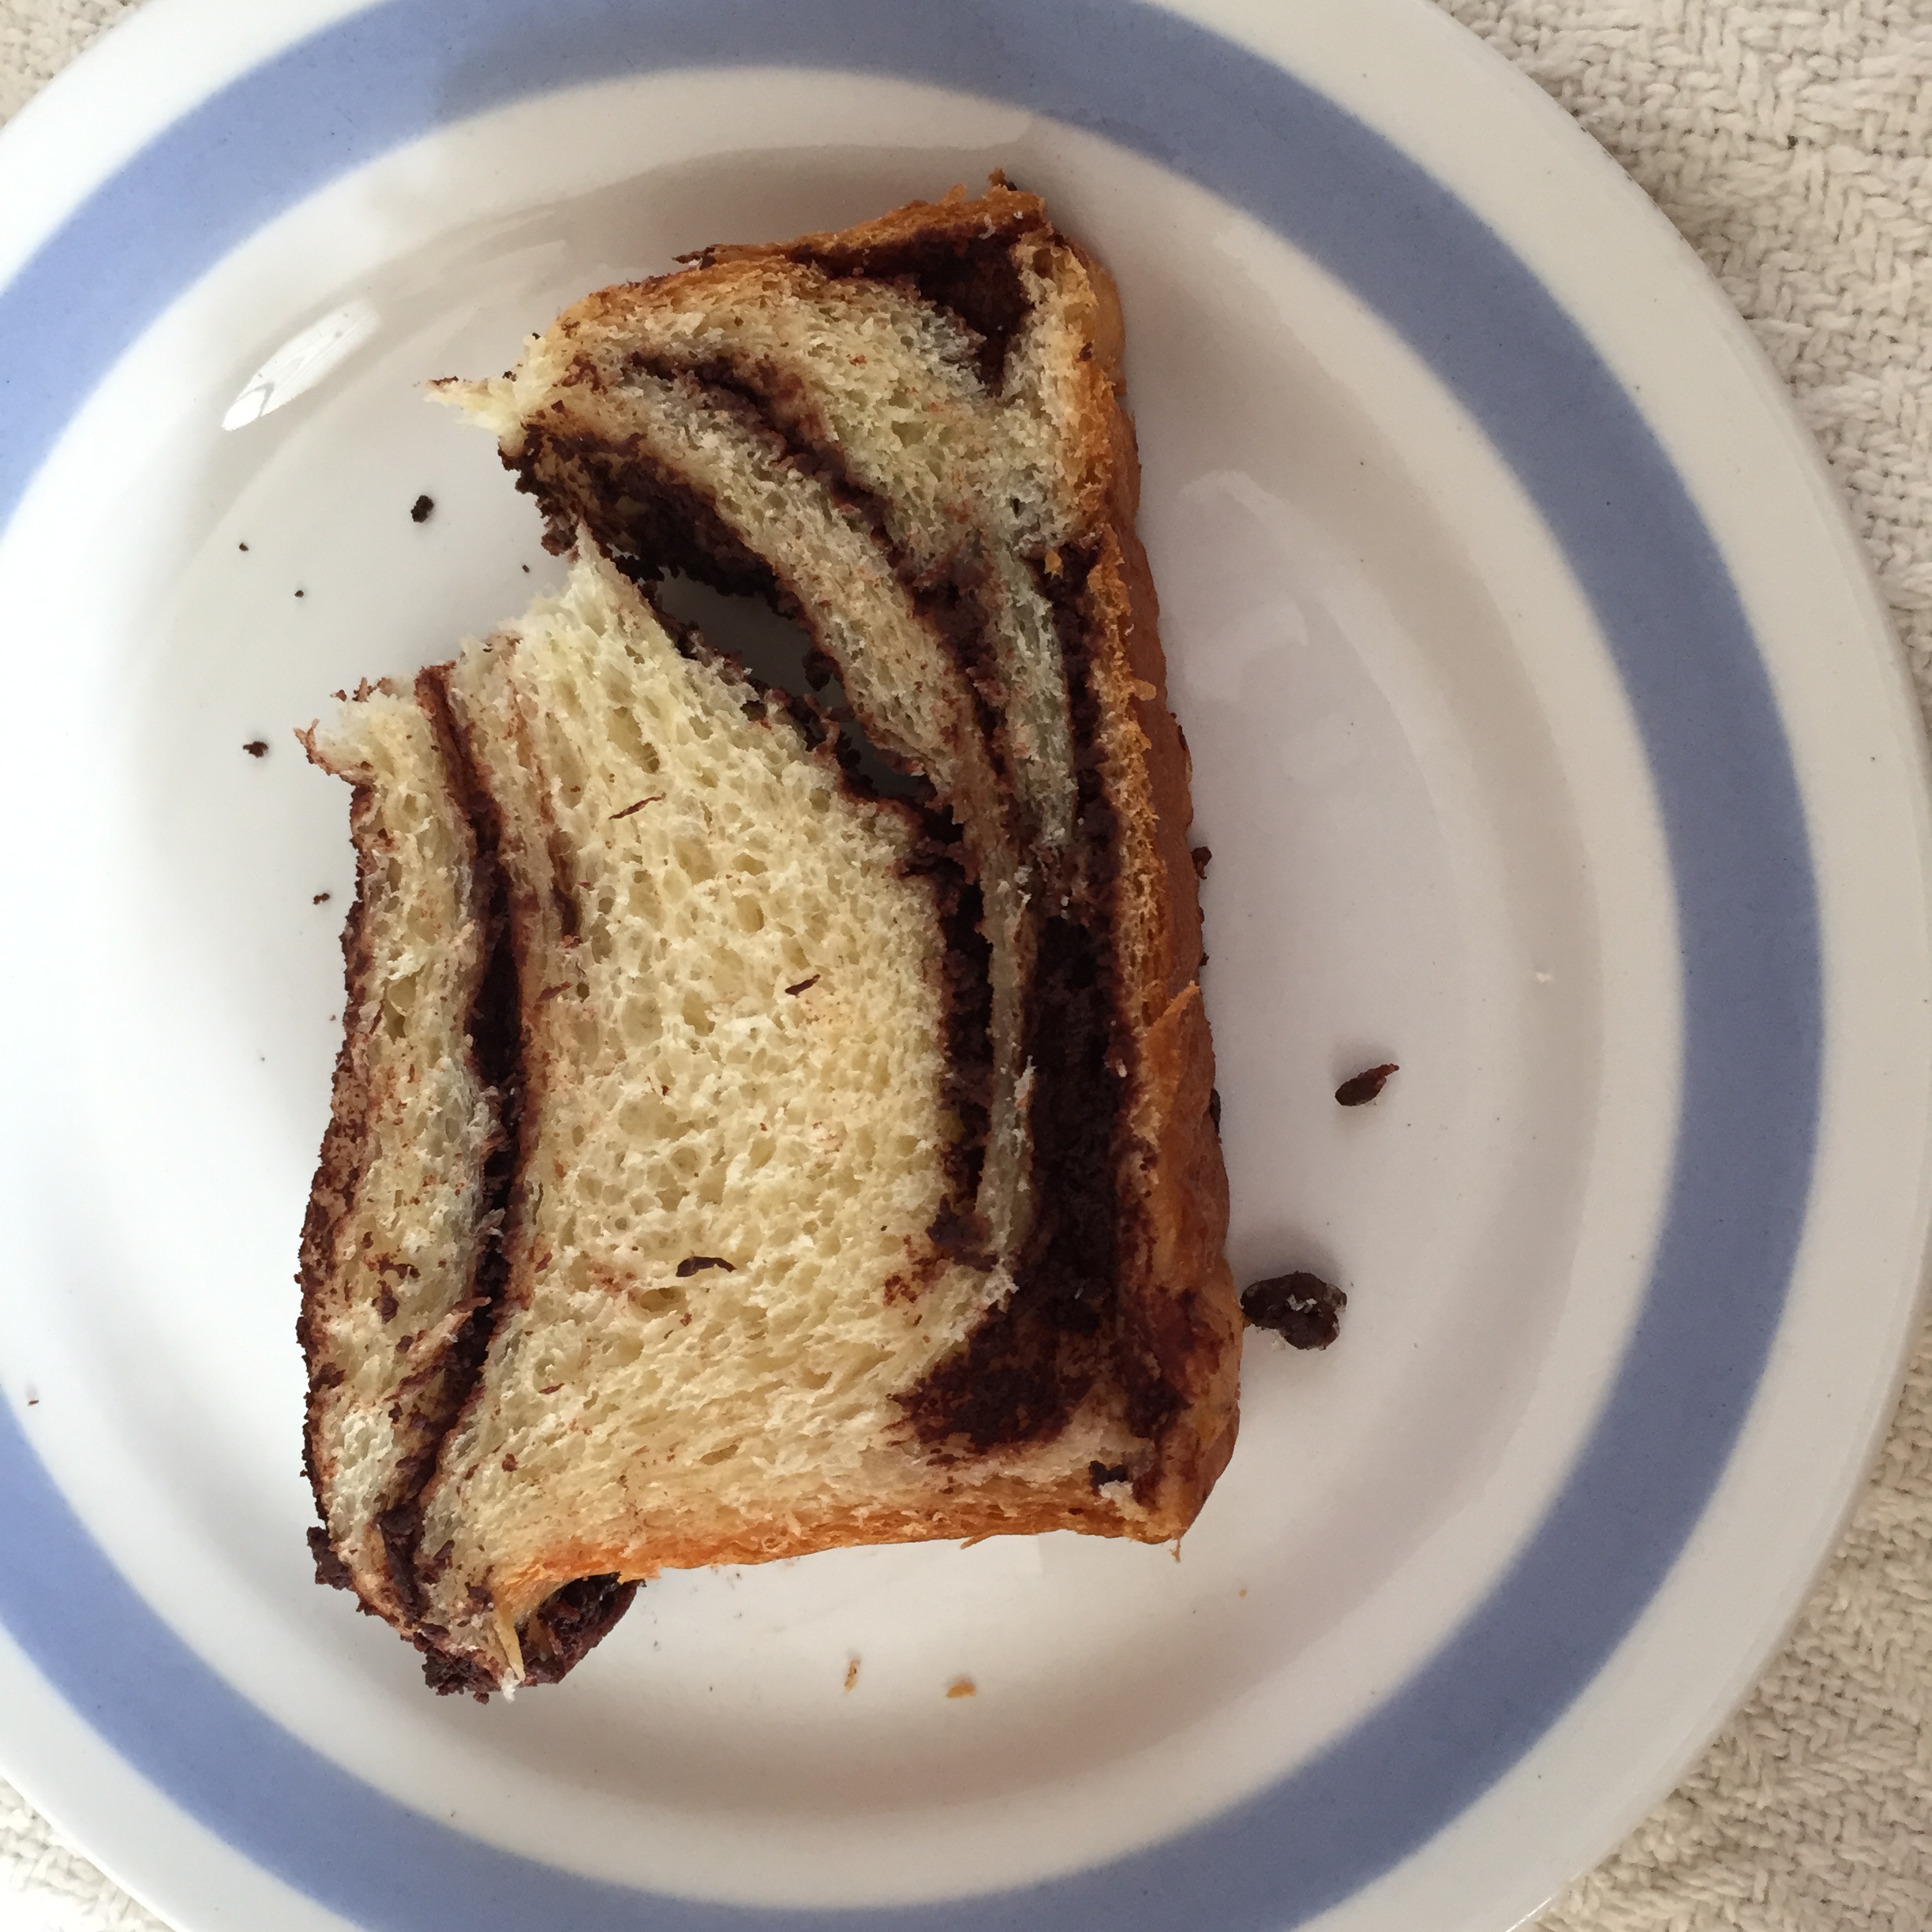
online for a recipe, selecting one from Bakerella (which she modified from Handheld Pies, by Rachel Wharton and Sarah Billingsley).

The deciding factor was that the pastry included butter and cream cheese.

I made a few small modifications:

  • Used heavy cream instead of milk in the pastry (because that’s what I had on hand)
  • Added a small pinch of cinnamon to pastry
  • Added a tablespoon of brandy to the peaches

The peaches were not uniformly ripe (which makes for easier cutting), but they maceratedFullSizeRender_1 to perfection sitting for an hour or so with the lemon juice, brandy and sugars.

The results were out of this world! Not too sweet and very peachy! The pastry was easy to work with – I made my pies bigger than the cute little crescents on the site, so only got 7 pies out of the recipe (and had a lot of leftover filling). Next timIMG_0885
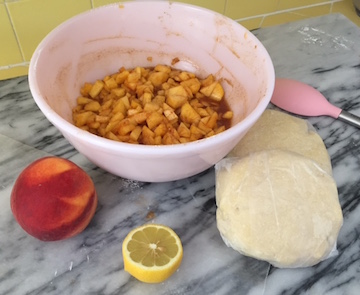
e, I’ll double the pastry recipe since it’s easy to freeze any leftovers.

I’m already hankering for more of these. They were wonderful at the outing and perfect for breakfast the next morning.

Enjoy!

Portable Peach Hand Pies

Pastry

4 Tbs unsalted butter

4 oz cream cheese

2 cups all-purpose flour

1 Tbs sugar

1 tsp salt

1/4 cup heavy cream

  • Cut butter and cream cheese into half inch cubes and freeze for 20 minutes.
  • Pulse flour, sugar and salt briefly in food processor to combine.
  • Add butter and cream cheese cubes from freezer and pulse until small clumps form.
  • Add heavy cream and pulse again a few times until dough forms.
  • Press dough together to see if it holds together. Add ice water by teaspoons and pulse until the dough holds together when pressed. (I needed 2 tsp. of ice water.)
  • Turn out dough onto a floured surface. Knead pieces together and then shape into two 1-inch thick round disks. Cover in plastic wrap and chill for two hours or overnight.

Peaches

3 cups diced, peeled peaches

1/4 cup sugar

1/4 cup brown sugar

2 Tbs corn starch

1 tsp lemon juice

1/4 tsp salt

1 Tbs cinnamon

1 Tbs brandy (optional)

  • Stir all ingredients together and let sit until dough is ready.
  • (If your peaches are very ripe you don’t need to prepare the peaches until just before the dough is chilled.)

Assembly

  • Remove dough from fridge, unwrap and roll out on a floured work surface to about about 1/8-inch thickness.
  • Cut out pie 4.5x 5-inch shapes from dough and remove scraps. (You’ll end up with pies that are about 4.5×2.5 inches.)
  • Put a spoonful or two of filling on one side of the shape, fold over left to right like a book.
  • Press edges together on all three sides, then crimp edges with a fork.
  • Place on a parchment-lined baking sheet and refrigerate prepared pies for half an hour before baking.
  • Preheat the oven to 375 degrees.
  • Before placing in the oven, brush each pie top with beaten egg and sprinkle with turbinado sugar.
  • Bake for 25-30 minutes until golden.
  • Remove and transfer to a baking rack to cool.

FullSizeRender_1 copyDelicious warm or at room temp. If enjoying the next day, warm in a 375-degree oven for 5-10 minutes.

Every Summer Day Tomato Spread

“What is patriotism but the love of the food one ate as a child?” asks the great Chinese writer and thinker, Lin Yutang, in his lovely book The Importance of IMG_0913Living. I always think of that quote in summer when I replace “patriotism” with “nostalgia.” (For some reason I am most nostalgic in summer.)

As temperatures rise, blurry Polaroids of memory fill my mind: My dad’s sweatshirt brushing my ankles as I follow my brother down a sandy path; the first scents of salt as we drive to the beach; biking to our local swim club every day; the whir of old-fashioned (even then) metal fans in every room of our un-air conditioned house. And my Uncle Leo’s tomatoes. The very best beefsteak tomatoes ever, anywhere, in the world, came from Uncle Leo’s backyard. My mother ate them like apples, leaning over the kitchen sink. I liked them sliced thick with a tiny bit of salt. I’ve eaten a lot of tomatoes in my day, and while many are very, very good, I’ve yet to find any tomato at any farmer’s market anywhere, that compares to the simple deliciousness of Uncle Leo’s. Such is the core of nostalgia (or patriotism) – remembered pleasures often outweigh present pleasures. C’est la vie. (sips wine, stares into middle distance)IMG_0910

So when summer comes and tomatoes abound, I tend to doctor them up, either with a good soaking of balsamic, or in panzanella or bruschetta. One recent weekend I had bruschetta in mind when I veered a bit to the left and came up with this spread. Which is amazing. And versatile. And oh, so good.

I’ve called it Every Summer Day Tomato Spread, because you will want to eat it every day.

And it’s so versatile, you can.

Every Summer Day Tomato Spread

1 lb. assorted heirloom cherry tomatoes, halved or quartered if large (backyard, farm stand or farmer’s market are best)

1 clove garlic, finely chopped

2 Tbs. balsamic vinegar (more or less to taste)

2 Tbs. olive oil (more or less to taste)

1-2 oz. sundried tomatoes, not packed in oil (drained and patted otherwise) (I use Trader Joe’s julienned version)

3-5 fresh basil leaves (to taste)

Smidge of anchovy paste, to taste – optional*

Combine cut tomatoes, garlic, olive oil and balsamic in a glass bowl. Stir to combine. Let sit for about an hour or so.

Drain tomatoes, reserving the liquid. Pulse tomato mixture in food processor until chunky. Add sundried tomatoes and pulse a few more times. Add basil leaves and process to a spread consistency. (Stop short of a paste.)

IMG_0911Transfer mixture to bowl. Check consistency. If the spread looks dry, add a bit of the reserved liquid and stir. You don’t want the mixture to be too wet. Add additional liquid until desired consistency. (Leftover liquid can be the base of a salad dressing on another day.)

Taste – adjust seasonings (salt, pepper) and don’t be afraid to add a pinch of sugar.

Let sit for 15-30 mins and serve with grilled bread, crostini, or crackers. (If you have leftover spread, refrigerate tightly covered and let come to room temp before using.)

Yields about a cup of spread.

*I’m afraid of actual anchovies. If you are not, chop one up and add as directed, to taste.

Variations

  • This is terrific as a topping for Spanish-style pan y tomate. Spread thinly on top of grilled or toasted bread that’s been rubbed with a garlic clove.
  • Put a dollop on the plate with grilled steak – delish!
  • Scrape an ear or two of grilled corn and add kernels to tomato spread – you get a kind of a relish that’s fantastic on it’s own or next to grilled meats or Italian sausages.
  • Spread grilled (or toasted bread) with fresh burrata and a thin layer of tomato spread. Top with a leaf or two of fresh basil that’s been on the grill for a few moments. Pour a juicy red and close your eyes. You’ll be in Italy in seconds.