It’s finally cooled off here in LA, with chilly evenings dipping into the 40s. I know to those of you in Chicago, Canada, New England, you scoff at these temperatures. But trust me, to our lizard-like, sun-on-a-rock constitutions, it’s puffer coat weather.
Which as a native East Coaster, I love. I like cozy, I like pulling into the dark time, lighting candles, wearing my hairy house sweater, and making super easy, super delicious comfort foods. Which lately have been soups.
As we head into another cool pre-winter weekend, here are three super easy, ready in a jiffy, crazy delicious soups:
- Lentil Soup with Andouille and Croutons
- Cumin Scented Carrot Soup
- Ovgolemono
All are ready in about an hour, using ingredients you likely have on hand. If not, all can be assembled from a quick run to Trader Joe’s (or your local market).
As to broth: I use chicken broth as specified in the recipes, but I’ve also made each using a vegetable broth. The lentil and carrot soups are great either way. The Ovgolemono needs some doctoring to bring up the flavor profile – herbs, extra lemon, garlic. I leave the prescription to you if you’d like to make it vegetarian.
 Lentil Soup with Andouille and Croutons
Adapted from Florence Fabricant in The New York Times
Ingredients
5 Tbs extra virgin olive oil, divided into 3 Tbs and 2 Tbs
1 c finely diced onion
⅔ c finely diced carrot (I use bagged julienned carrots and do a quick chop)
4 cloves garlic, finely chopped
3/4 tsp dried thyme
Freshly ground black pepper
2½ c small green lentils (I buy French lentils at a specialty store; they’re also available at Whole Foods. Trader Joes has green lentils. They all work just fine.)
10 c chicken broth – divided: 8 c for soup, 2 c if resulting soup is too thick
2 slices whole wheat bread, diced (I use a gluten free whole grain I always have on hand)
4-5 Andouille sausages (about 5″ long) (I use the Trader Joe’s chicken Andouille, cut into ¼ inch slices)
Salt to taste
½ cup dry sherry (optional)
Preparation
Heat 3 tablespoons oil in a heavy soup pot or Dutch oven. Add onion, carrot and garlic, and cook over low heat until soft. Stir in thyme and a generous grinding of pepper. Add lentils and 8 cups broth. Bring to a simmer and cook until tender, about 45 minutes.
While lentils cook, heat remaining oil in a skillet. Add bread and sauté over medium heat until lightly browned and crispy. Remove to a bowl. Add kielbasa to pan and sauté until lightly browned. Place in bowl with croutons. Set aside.
When ready, purée lentils in a food processor in several batches, but do not allow to become perfectly smooth. Return to pot and reheat. If soup is too thick, add 1 cup or more of reserved broth. Season to taste with salt and stir in sherry if using. Serve, topping each portion with kielbasa and crouton mixture.
This is so delicious. Even if you don’t care for lentil soup, I’m betting you’ll like this.
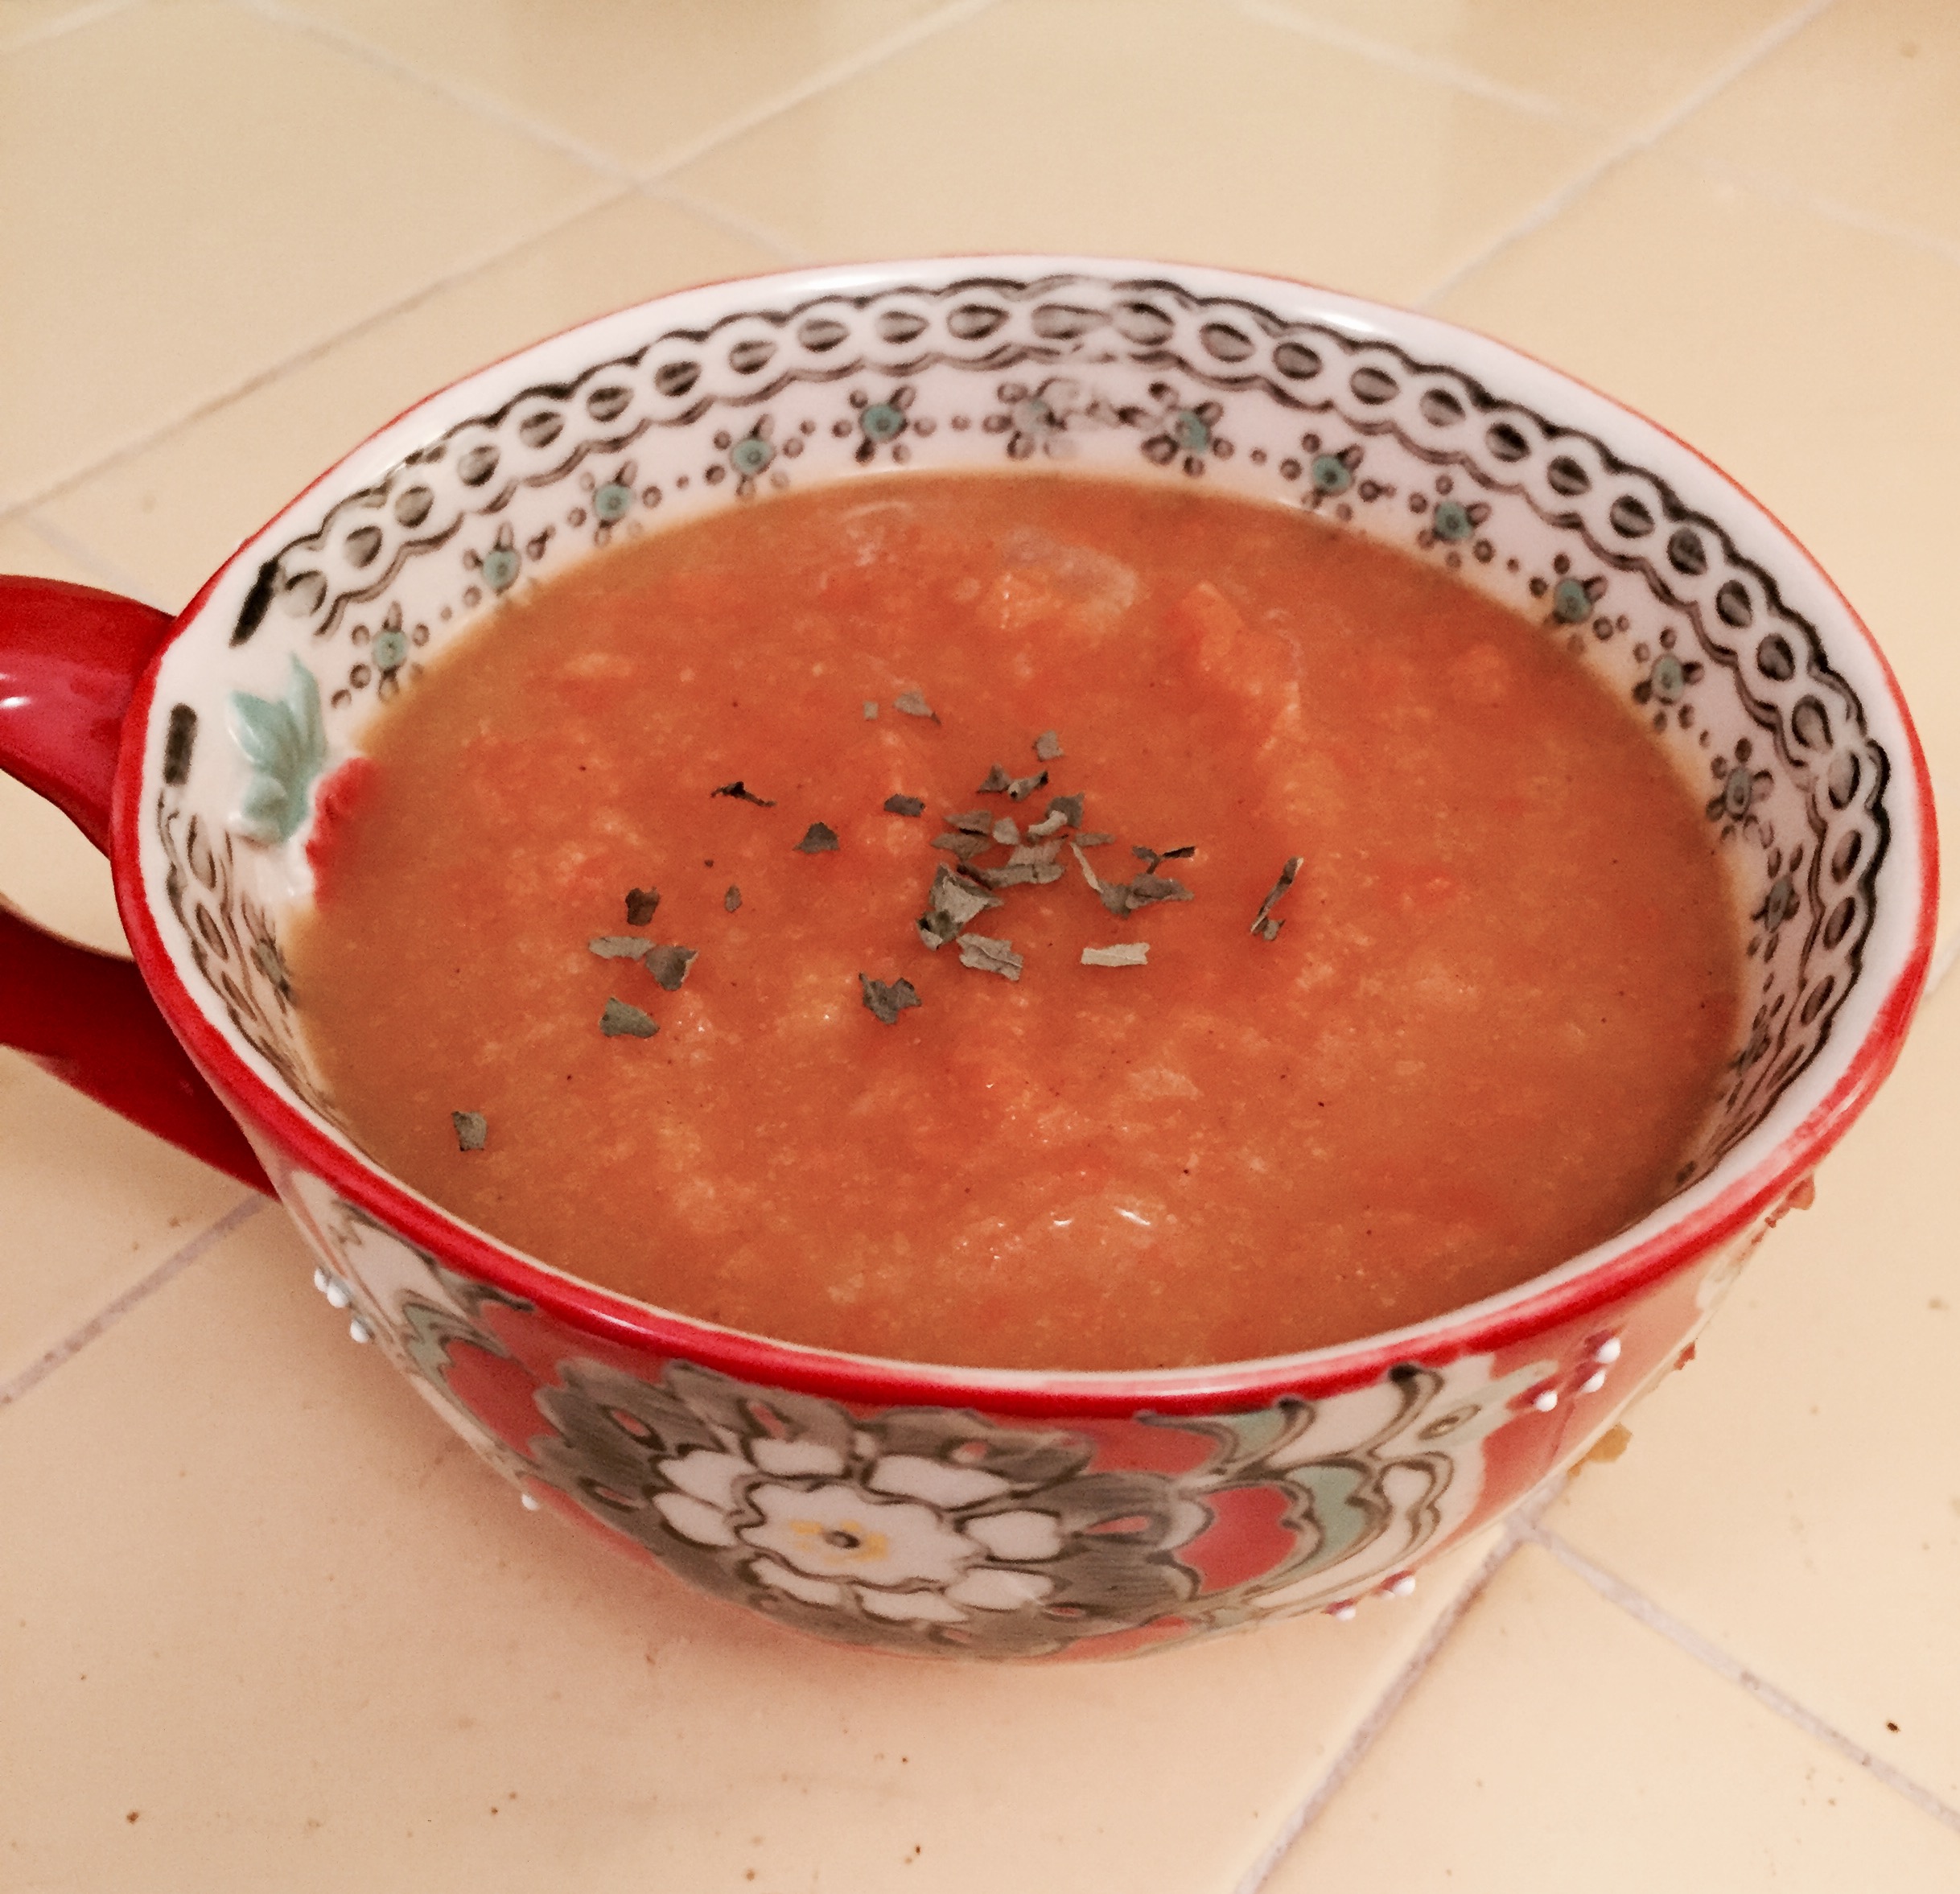
 Carrot Soup
My mom made carrot soup often. I’ve made so many variations over the years (Jane Brody’s is a particular fave) that this recipe is likely the result of many cooks.
Ingredients
2 Tbs butter
1 c chopped white onion
1 pound carrots, cut into smallish pieces (I use bagged baby carrots, cutting each in half)
1 medium apple, peeled, cored, cut into ½ inch chunks
2 ½ c chicken broth
¾ tsp ground cumin
1 Tbs white or brown sugar
1 tsp fresh lemon juice
Pinch of ground allspice
Preparation
Melt butter in large saucepan over medium-high heat. Add onion; sauté until soft. Add carrots and apples. Stir together for 1 minute.
Add broth; bring to boil. Reduce heat, cover, and simmer until carrots are tender, about 20 minutes.
Drain soup in colander over a bowl to catch liquids. Return liquids to saucepan. Puree the solids in batches in food processor until smooth. Return to saucepan. Bring to a mild simmer over medium heat. Stir in the sugar, lemon juice, and spices. Season with salt and pepper. If the soup seems thin, let it simmer for up to 10 minutes, stirring occasionally to cook off some of the liquid.
You can serve with a dollop of room temperature crème fraiche and snipped parsley. I enjoy it plain with a cheesy/harissa toast on the side.
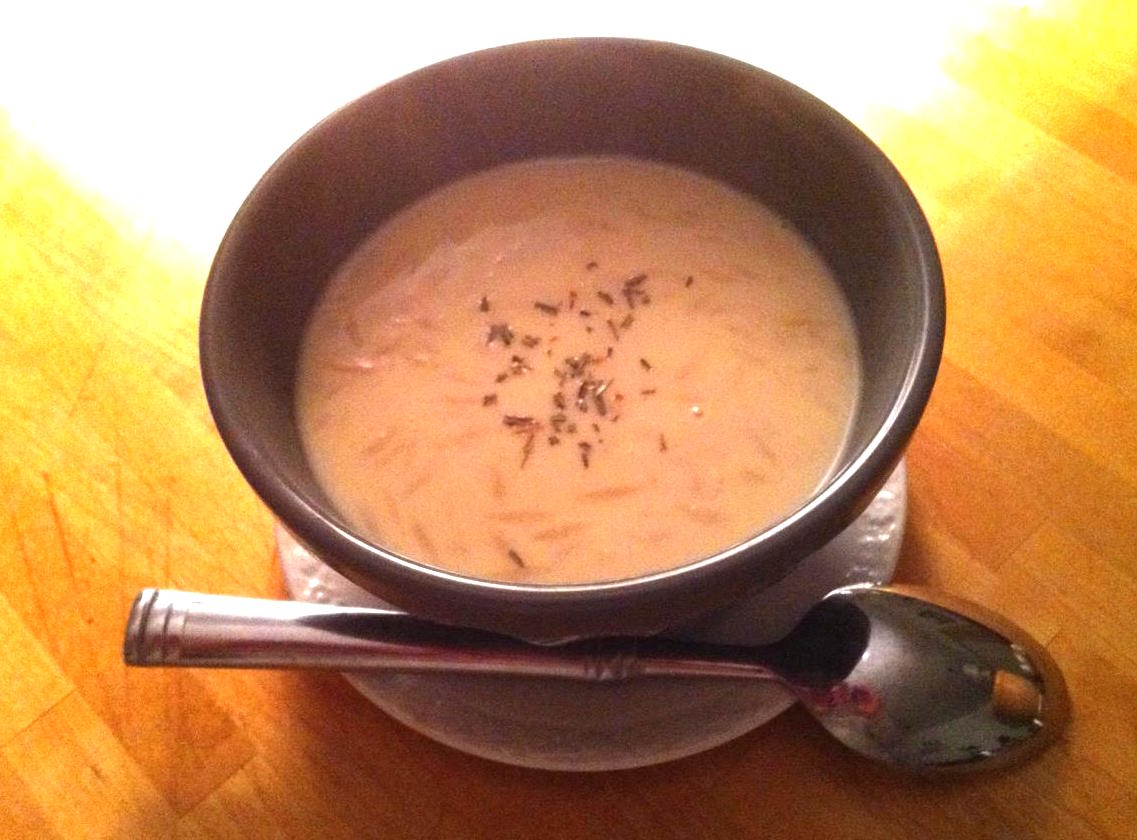
 Ovgolemono a la Leslie Lewis
I lived for two super fun years just outside Stamford, CT, with a roommate whose love of food exceeds my own. We tinkered with starting a catering business using the slogan, “Food that stimulates your glands.” As you can imagine, we didn’t get far out in the world, but we ate like kings in our apartment. This recipe is her recipe. It’s the ultimate chicken soup in my opinion. Comforting and easy. I have it at least once a week all year round. (This recipe can be easily halved.)
Ingredients
8 c chicken broth
½ c Orzo pasta
¼ c fresh lemon juice
1 large egg, room temperature
Snipped chives
Preparation
In a medium saucepan, combine broth and orzo. Bring to a boil and cook for 15 minutes.
Combine egg and lemon juice in a medium bowl.
When the broth is ready, ladle about a cup of hot soup into the lemon-egg mixture, whisking vigorously. Return the warmed egg mixture to the saucepan and stir gently over medium heat. You want to thicken the soup without bringing it to a boil. (A boil will curdle the eggs.)
Taste for salt, adding as needed. Serve with snipped chives. I like this with a frisee salad dressed in a mustardy vinaigrette (lunch), or with a couple of open-face grilled gruyere baguette toasts (dinner).
Enjoy!

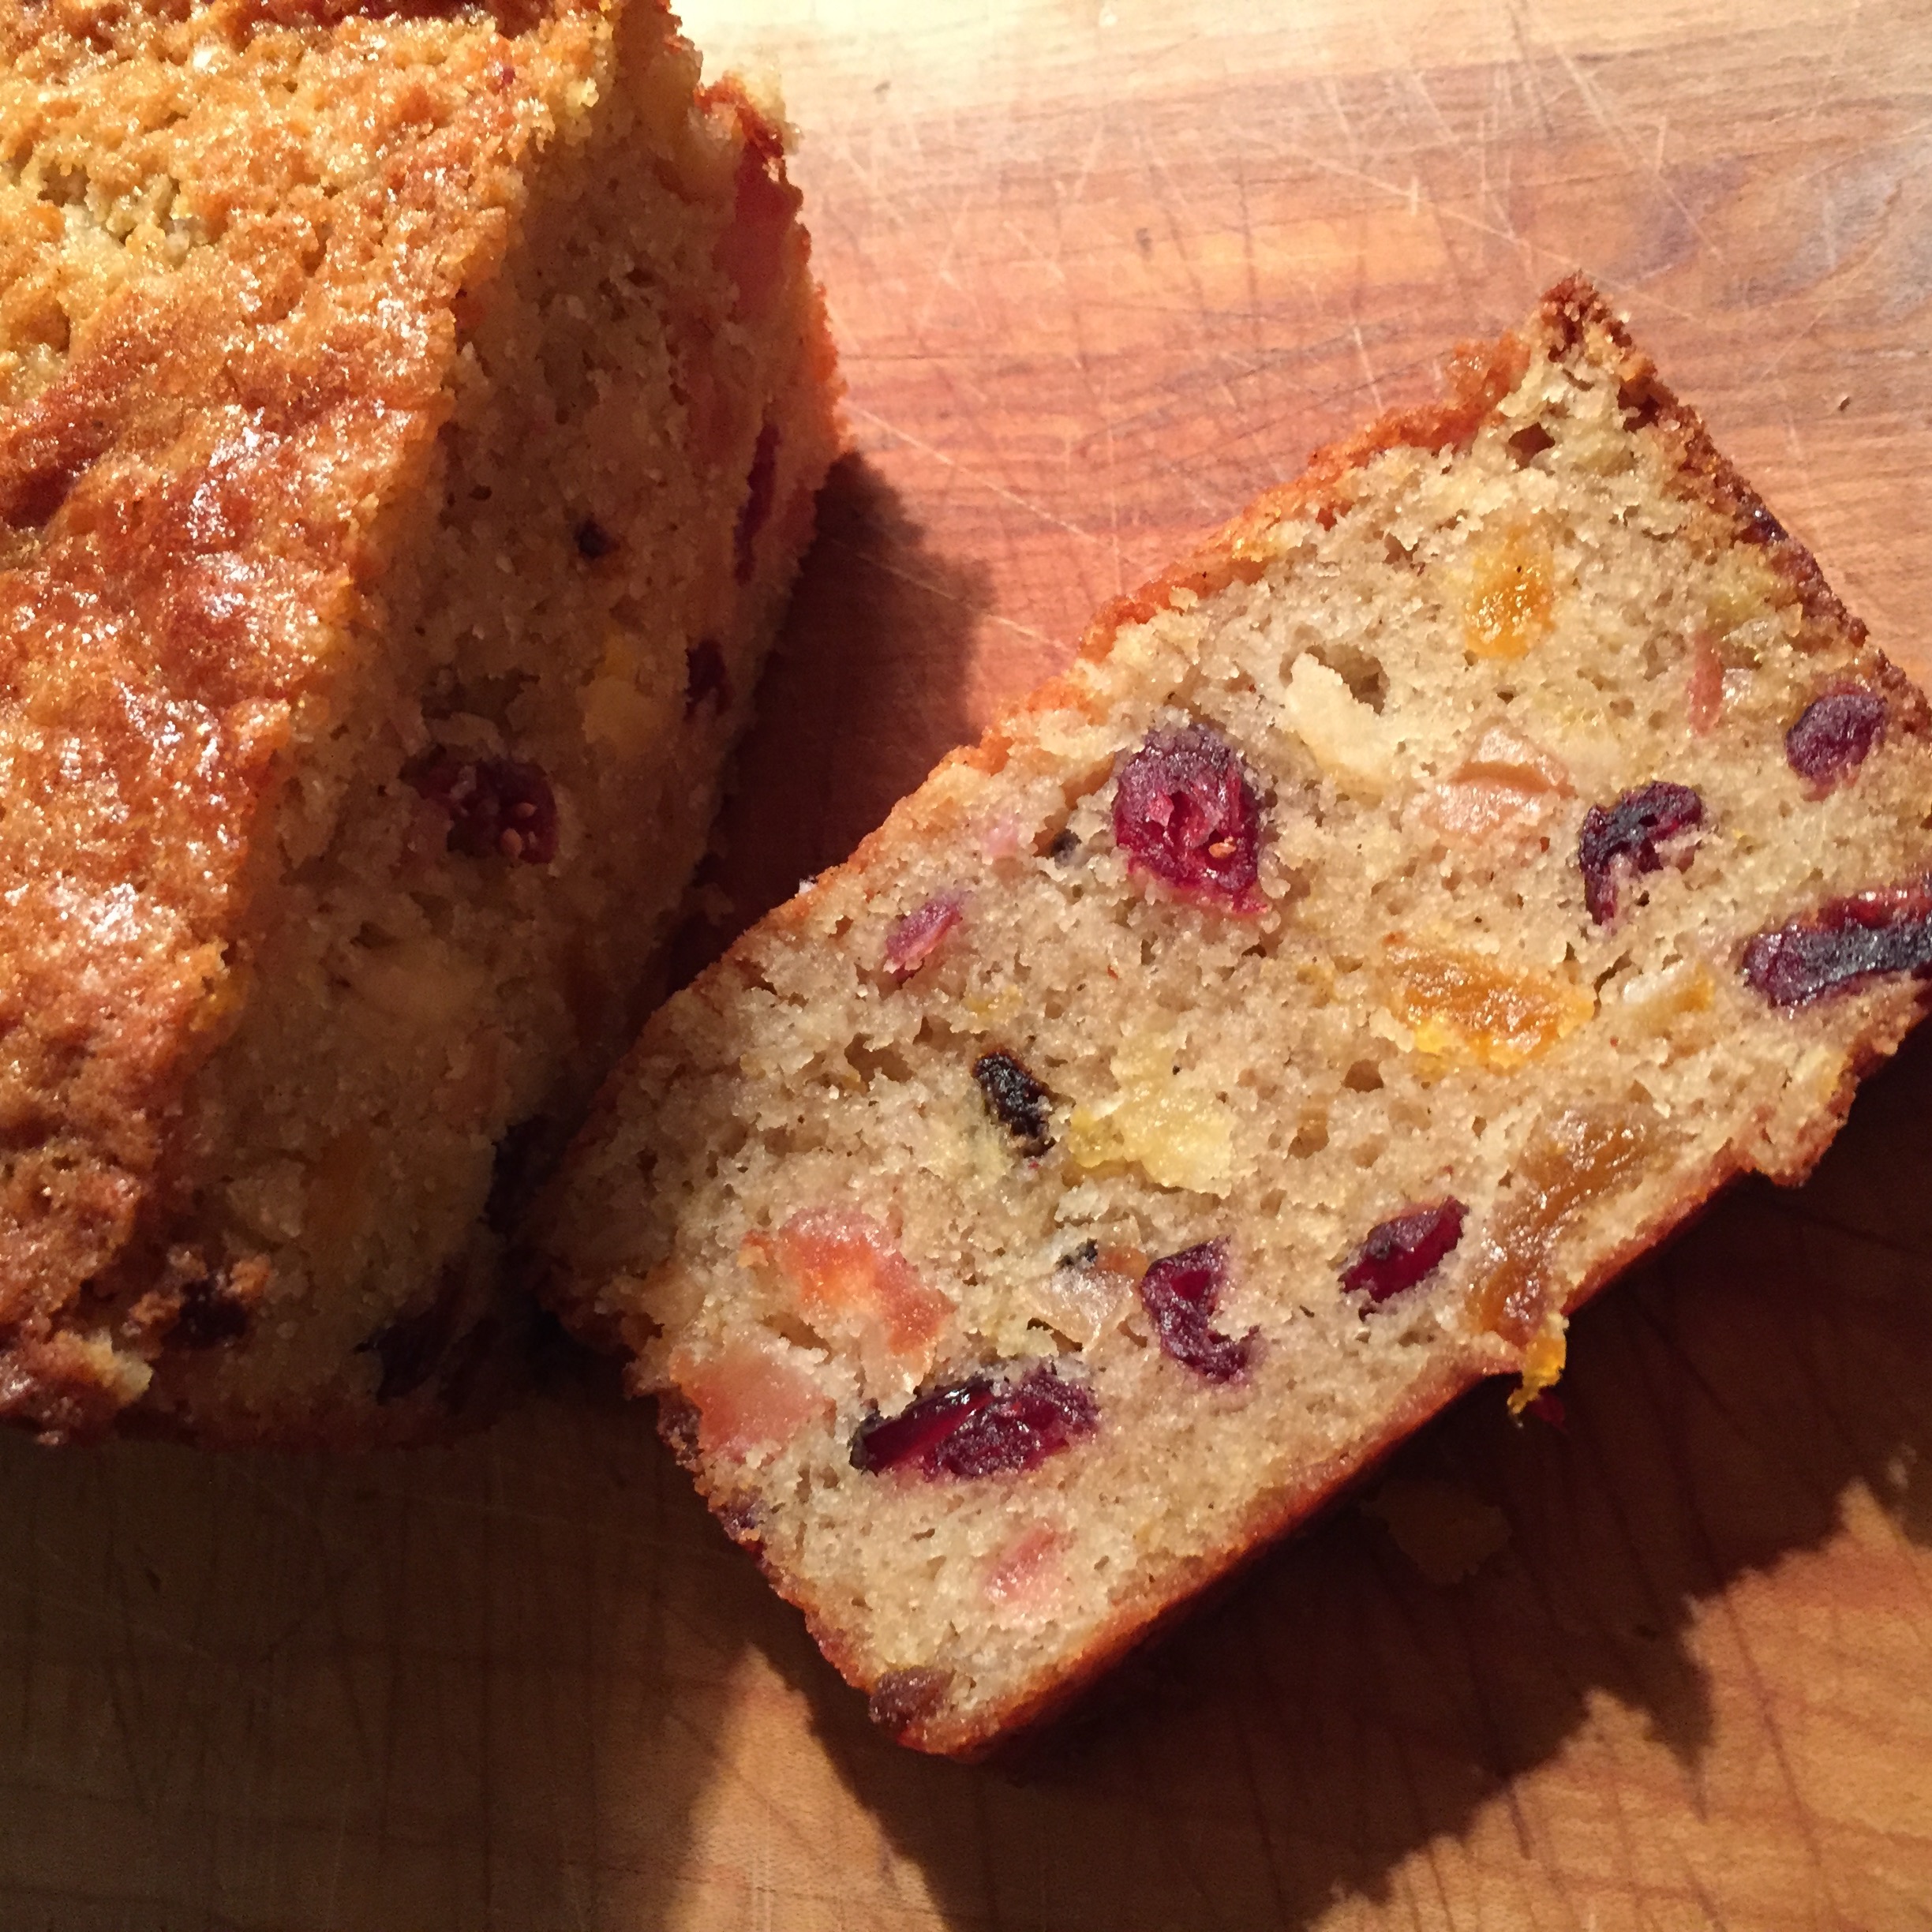
 holidays. The bright freshness of the lemon and the super crunch is refreshing amidst the heavier, spicier seasonal sweets.
 Press dough into an even 1/4-inch thickness on prepared baking sheet. Brush with egg white; sprinkle with almonds and crystal sugar.
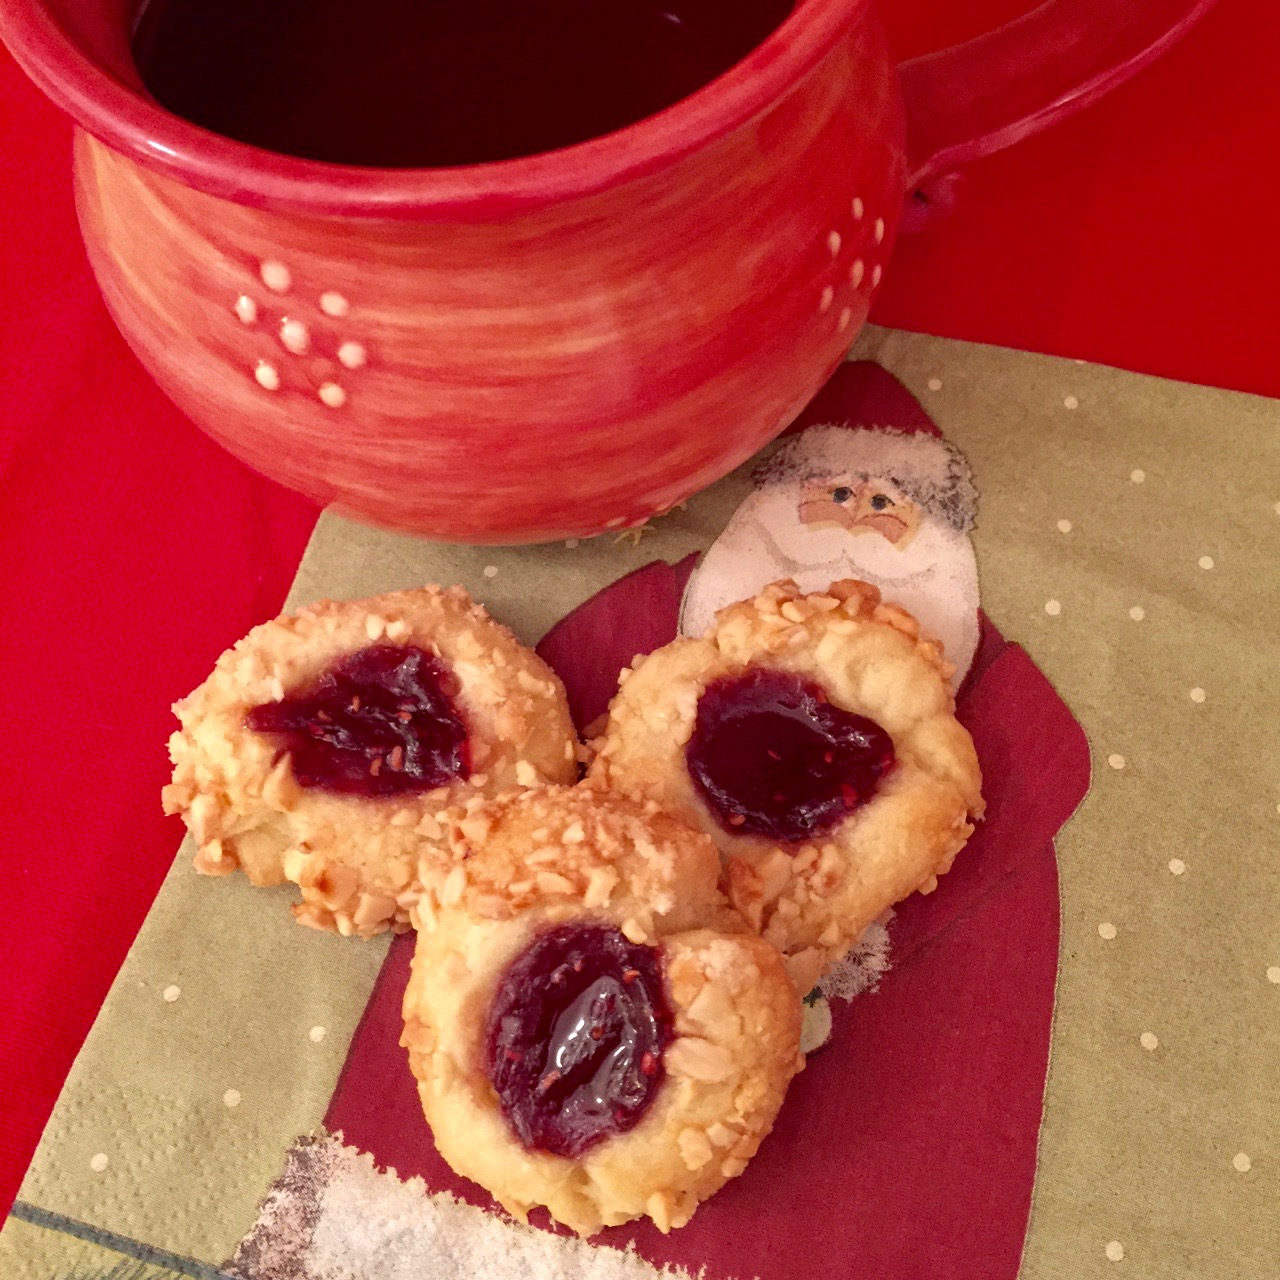
 Stir together chopped almonds and the 2 tablespoons of sugar in a small bowl. Set up a production line of your bowl of egg white, the nuts, and your prepared baking sheets. Using a small ice cream scoop (1-inch), scoop level amounts of dough and roll into balls. Dip balls into the egg white and then into the almond-sugar mixture. Space 1 inch apart on prepared baking sheets.
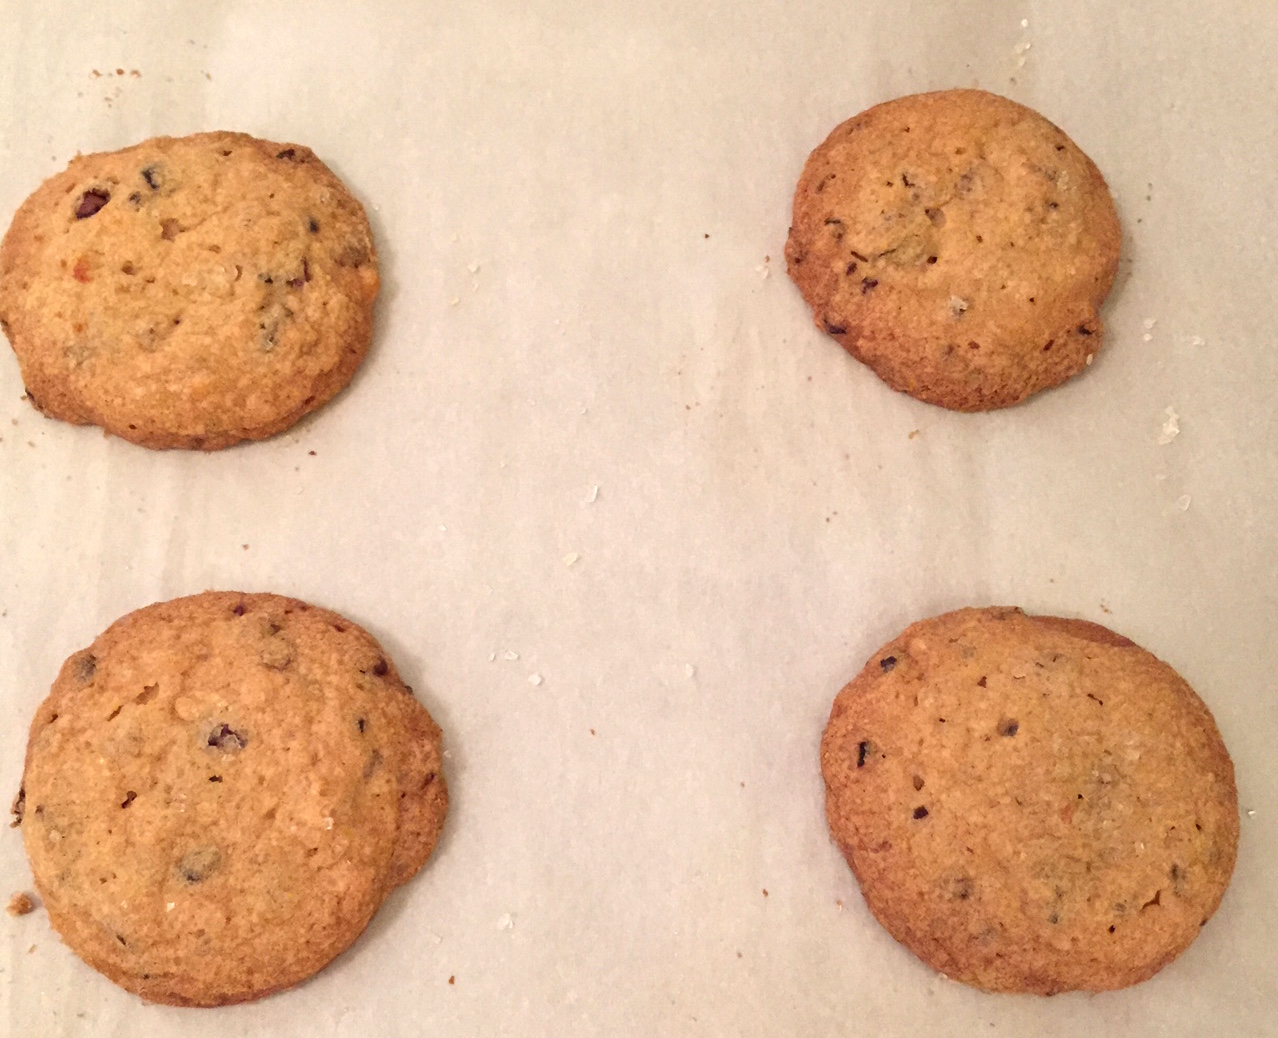
 chocolate, cakes and the ubiquitous candy cane. There’s nothing more cheerful than a candy cane but many of us, after the age of 13, like looking at them more than eating them. I don’t know, hard candies and sugar sticks – it’s tough to keep the dentist out of my head.
 In a large bowl, beat butter and powdered sugar with an electric mixer until fluffy. Add egg yolk and beat until blended. Add egg whites and extract, and mix well. The mixure will look grainy, don’t be alarmed. Gradually beat in dry ingredients. Stir in 1/2 c crushed candies.
 The recipe yields about 4 dozen cookies. The dough freezes well so you can make mini batches throughout the holidays. Just let it defrost in the fridge for several hours before using. (PS, I’ve never tried this, but I imagine you could scoop all the dough, dip the tops in the crushed candy and THEN freeze the dough balls. Give it a try!)
 cookies. I love to make them, give them, exchange them, receive them. Over the years, I’ve narrowed my personal baking selection down to a handful of exceptional, easy to make recipes. These are cookies that turn out great every time and each is a showstopper in terms of taste, texture, and beauty. Each also stands up to freezing, shipping and storing.
 ing your hands, carefully work the flour into the butter mixture. Be gentle, you don’t want to overmix the dough.
 Pour generous amount of powdered sugar into medium bowl. Working with 5 or 6 warm cookies at a time, add cookies to bowl of sugar; gently turn to coat thickly. Transfer cookies to rack to cool completely.
 turns. They always seem to catch us off guard and we’re out of time before we even realize it’s December. Finding moments of calm and peace among all the merry mayhem is the biggest challenge of the season. For many years, my moments came with a Starbucks soy latte and one of the individual squares of peppermint bark they sold at the register. I’d sit in my car, preferably on a quiet side street, and silently enjoy my coffee and treat. It helped.
 perfect to make with kids. And it gets you back out into the merrymaking maelstrom in no time. Added bonus: You can give it as gifts!!
 When I was a kid there were stands in every grocery store for Brach’s Pick-A-Mix. You filled a bag with an assortment of individually wrapped candies and paid by weight. (Each had a fairly stern “NO SAMPLING” sign, but we always did.) Apparently, such stands are no more. In the candy aisle I often find Brach’s butterscotch discs, but no mints. This year, I went to a few stores before finding Kroeger brand at Ralph’s. I’m sure there are differences in taste across brands, but really – just use what you can easily find.
 white chocolate branded as “confectionary.” It’s sickly sweet, doesn’t melt well and is just a waste of your time. (Want to know more about white chocolate? Here’s a terrific post by
  bout half the crushed candy across the bottom on the prepared pan. Set aside.
 Immediately scatter the remaining crushed candies (to taste) over the top of the white chocolate, pressing gently with spatula. Set in the fridge for another 20-30 minutes until set.