Hello, holiday baking! This year, Seven Days of Cookies focuses on recipes that I’ve never made before. Last year was favorites, this year it’s newbies. (And though I do indeed own Dorie’s Cookies, I haven’t cracked it for this adventure.)
If you’re like me, you follow David Lebovitz (sweets + Paris makes him a must) across social media. He recently shared an article that said Americans are buying more cookbooks, but cooking less often. Um. Yeah. I have a cookbook library but actively use only a few volumes. I like reading the books, imagining the food, and then storing them away. The sheer number of
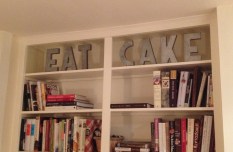
A selection of my library.
cookbooks makes me so happy. So, even though I’d already decided to make only new-to-me recipes this year, I also decided to use my own cookbooks! (Sorry, Epicurious.)
Ok, well, that’s a teensy lie, but I’ll make up for it later in the week. Because the first treat this year is adapted from David Lebovitz: Panforte. I’ve never eaten panforte. In shops it always looks like nougat or halvah, neither of which I enjoy. Or super honey flavored or treacly. I also assumed back-breaking complexity. All of it.
Well, not David’s recipe! Super easy, few ingredients, fewer steps, and darn delicious. And, I have to add, impressive because it still looks like a hard duty enterprise. Impress yourself and then your friends and family.
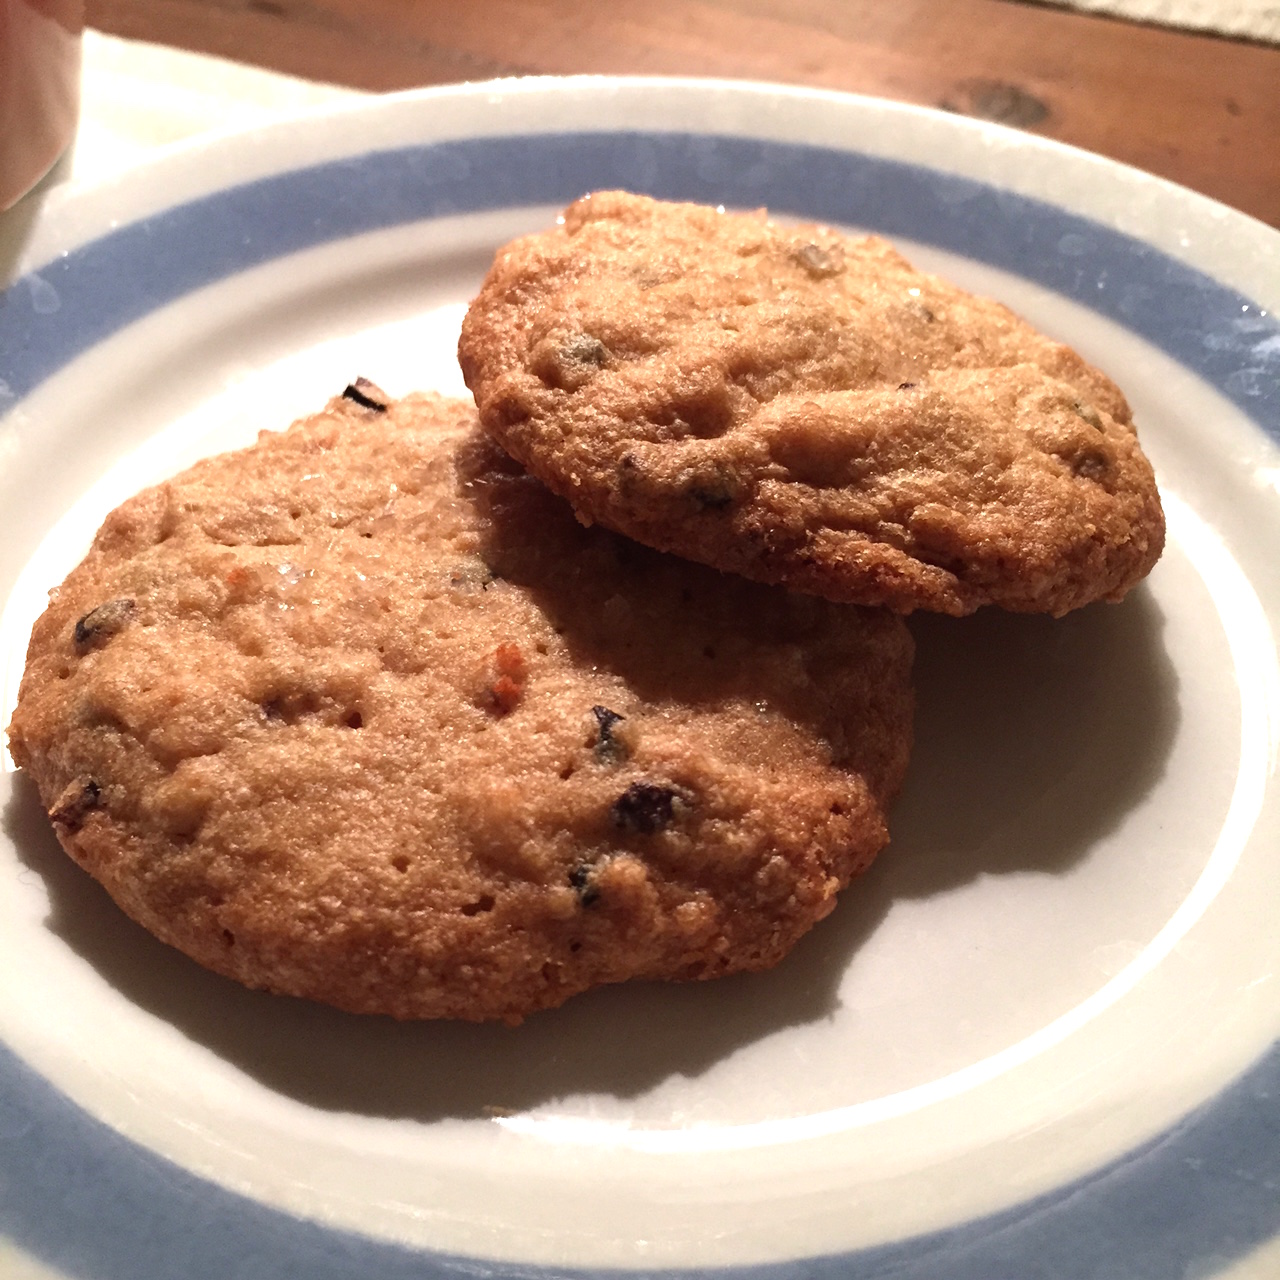
This is first up because, as David points out, it can sit for weeks on your counter with no ill effect. The original recipe calls for candied fruit, such as citron. I have a box of beautiful fresh candied orange peel in the cupboard but I’m saving it. Not sure for what. So I used dried cherries for the fruit and pistachios for the nuts. Fantastico.
A few notes: I tried several times but I could not get 5 level tablespoons of cocoa powder to weigh 40g. I changed the battery in my scale, weighed other items of known weight….and ended up going with weight vs. measure. The result is nicely chocolately. The red chile pepper has gotten mixed reviews: Some people like the bite, others do not. I’m waiting to see if it mellows over a week. Lastly, the package of pistachios I used was a bit underweight so I made up the difference in almonds.
Panforte de Lebovitz
Adapted from a recipe by David Lebovitz
Makes one 9″ cake
Ingredients
5 Tbs (40g) unsweetened cocoa powder (Dutch-process or natural)
2 ½ c (325g) pistachios (shelled and unsalted)
¾ c (110g) flour
1 c (200g) dried cherries (coarsely chopped)
1 Tbs ground cinnamon
2 tsps ground ginger
1 ½ tsps fresh ground black pepper
Pinch of grated nutmeg
½ tsp red chile powder
3 oz (85g) bittersweet or semisweet chocolate, chopped
1 c (200g) granulated white sugar
¾ c (210g) honey
extra cocoa powder, for dusting the pan
powdered sugar, for dusting the panforte
Preparation
Preheat the oven to 350F
Spray a 9 to 10-inch springform pan with nonstick spray. Dust the inside with cocoa powder, making sure to get it up the sides. Line the bottom with a round of parchment paper.
Spread the pistachios on a silpat-lined baking sheet and toast for 10 minutes. Remove from the oven and let cool.
Reduce oven temperature to 325F.
In a large bowl, whisk together the cocoa powder, flour, cinnamon, ginger, black pepper, nutmeg, and red chile powder. Add in the cooled nuts and dried cherries, and mix well to ensure the fruit and nuts are well coated with the dry ingredients. Set aside.
 Melt the chocolate in a heatproof glass measure in a microwave on the low setting, in 10 second bursts, until nearly melted. Stir until completely melted and set aside.
Heat the sugar and honey in a small saucepan (ideally nonstick) fitted with a candy thermometer until the temperature reads 240F.
Immediately pour the hot sugar syrup over the nut mixture, add the melted chocolate, and stir well. Use a large, sturdy wooden spoon and be prepared to really dig in there to mix this. It becomes more difficult as the sugar syrup cools so work diligently.
 Scrape the batter into the prepared pan and smooth the top. David recommends using damp hands to press the mixture flat – works well.
Bake the panforte for 35 – 40 minutes; if you touch it, your finger will come away clean when it’s done. (Be careful not to overcook it or it will be too firm to cut when it’s cool.) Mine was done at 35 minutes.
 Cool on a rack for 15 minutes, then run a warm knife around the edge to loosen it from the pan. Remove the springform carefully, then cool completely.
When cool, remove the bottom of the springform pan and peel away the parchment. Sprinkle the panforte with powdered sugar and rub it in with your hands, top, bottom, and sides.
Serve in thin slices.
Storage: Panforte can be kept for several months, well wrapped, at room temperature.
Enjoy!
 I’m a person who, let’s say, has more rainy days than most people. I’ve managed my depression for decades with medication, but I still occasionally have moments when the clouds gather. Then, as with any other occasion really, I head to the kitchen. Because what I want is to feed myself.
 cornmeal cake recipe and “rustic” is the perfect word for it. It’s homey, flavorful but not sweet, and utterly delicious. So naturally I wanted to possess an entire book of such recipes!
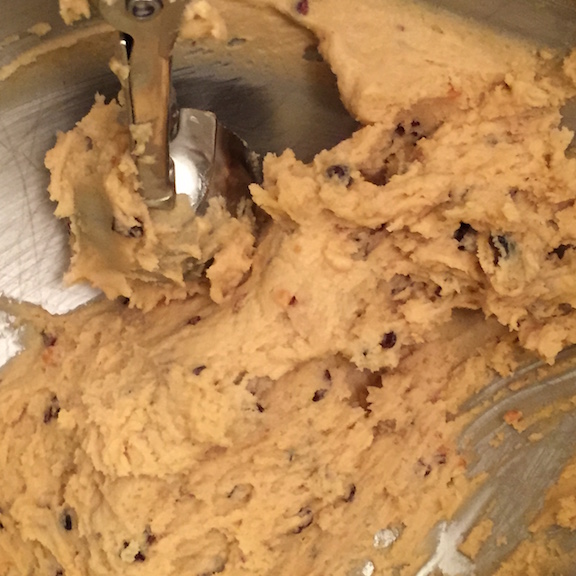
 Note: At this point, my batter looked more like cookie dough. I couldn’t imagine folding beaten egg whites into it. So I added enough whole milk to make a smooth cake batter. If you find yourself in a similar situation, gradually add the milk, up to a 1/4 cup, until your batter looks right.
 Pour the mixture into the prepared cake pan, smoothing the top with an offset spatula.
 Cool in pan on rack for 15 minutes. Unmold and cool on rack completely. Dust with powdered sugar to taste.