Twenty-Minute Toffee a la Rose

Candy. Candy candy candy. I reflexively think of myself as a candy lover but when I visit places like Dylan’s Candy Bar, I’m overwhelmed by colorful options and fruity aromas. I’llIMG_5946 
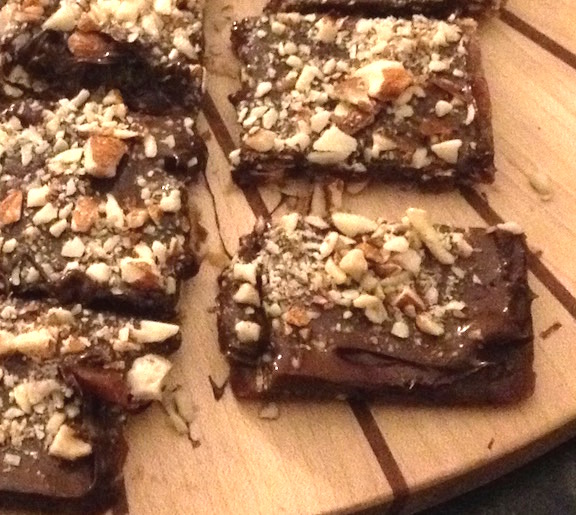
eat Red Vines (or Twizzlers as we call ‘em back home), Mary Janes, and the occasional Dot. But what I’m really after are the M&Ms, Reese’s, Snickers, and Milk Duds.

So, OK, I like chocolate. As distinct from candy. So where do the twain meet? In toffee. And why not? Such a delectable happy marriage. Full disclosure: Wrap chocolate around sugar cooked anywhere between 245° and 290° F and I’ll eat it. But toffee is special. Buttery maybe? With the chocolate and the nuts? I love it and will enjoy everything from an Almond Roca all the way to fancy artisanal products. I’m not beyond paying $15 for 8 ounces of handmade goodness.

Second only to eating toffee is making it. It’s so dang easy, people. Just make sure you toffee4
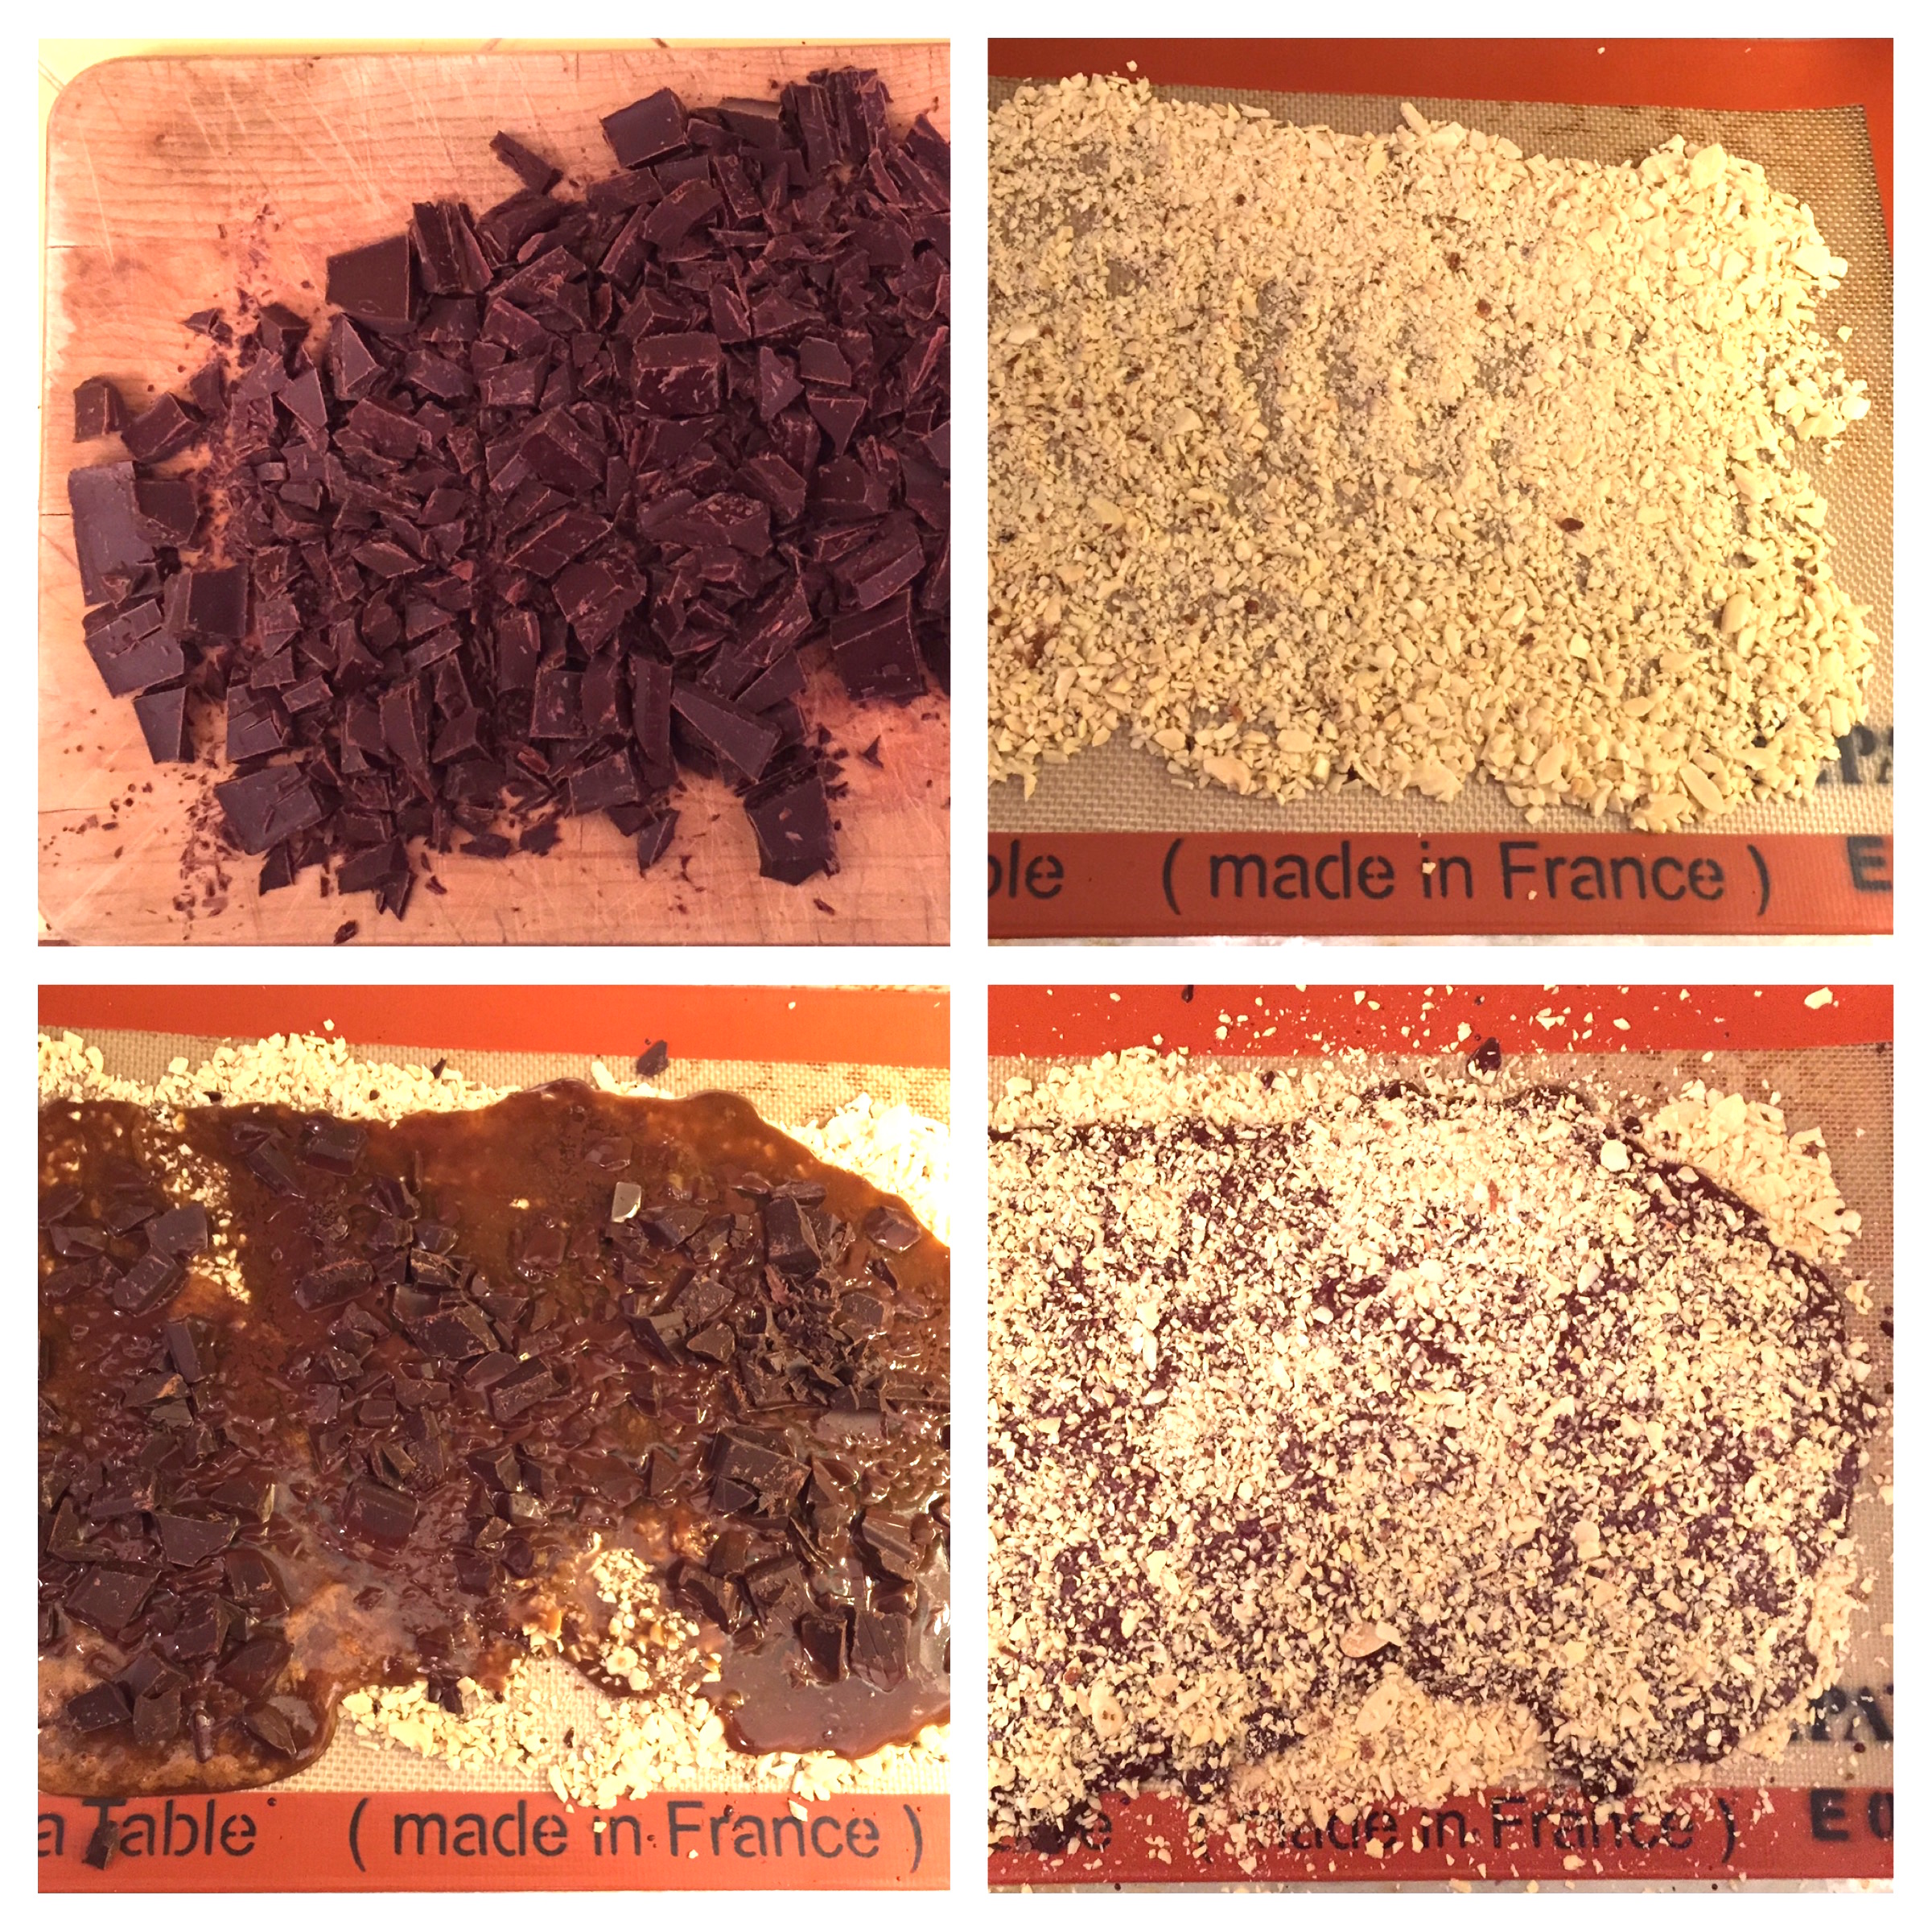
have a good thermometer and work carefully. I’ve made many toffee recipes but my go-to, all time fave is from Rose Levy Beranbaum – Mahogany Buttercrunch Toffee. The key? Brown sugar. Oh my my my my. I use the recipe from her book Rose’s Christmas Cookies. I’ve made it so often, I can make it from memory. (Which is impressive to people when we’re sitting around and I say, “Toffee anyone?” and then pop into the kitchen and whip some up.)

Like I did this week. OK, the only people sitting around with me were a dog and two cats who don’t eat toffee but I like to think they’re impressed by my efforts. It was one of those nights – I want something, what do I have on hand? Brown sugar, butter, chocolate, almonds. Always in the pantry. It takes about 20 minutes. The toffee hardens almost immediately, the chocolate takes some time. So when wanting instant gratification, I put the tray in the fridge for 15 minutes. Nom nom nom.

A touch of nostalgia

61f9a96ecd1c78fcdab784dc35ca72d7
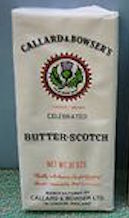
In writing this piece, I thought about my earliest toffee memories. While not toffee per se, what I remember is Callard & Bowser Butterscotch. It came in a white package wrapped in cellophane. Each piece was a tablet about an inch long wrapped in foil. I think my grandfather turned me on to this, it seems like he always had it on hand. I’m not generally into butterscotch (you can keep your Werther’s and your Pick-A-Mix disks), but this was something altogether different. Heavy on butter, light on sugar. I came across this lovely ode to the C&B Butterscotch on candyprofessor.com, which is itself a lovely blog that appears to be not currently active. She expresses the wonders of this wonderful confection better than I could.

Toffee Lessons Learned

  • Focus, focus, focus. I don’t think anyone wants to see a picture of the scar on my forearm from the time I wasn’t 100% focused on the task. Take it from FullSizeRender_2me – 250° sugar syrup on the arm is painful. (Also, if anyone is also still under the delusion that butter is meant to resolve a burn, forget it. Cold water is your only response.)
  • Trust your thermometer, but verify. Boil water and put your thermometer in. Account for any degrees above or below 212°F or 100°C.
  • Chocolate. Less is more with the darkness here, IMO. I use Valhrona Manjari (64%) or Caraibe (66%). If the chocolate is too dark, I feel like that’s all I taste.
  • Almonds. I don’t toast them. And I use less than suggested. I’m not in it for the nuts.
  • Prepare your workspace. Pre-measure your vanilla and baking soda and set near the stove. Set your prepared baking sheet nearby as well. I set up an assembly line of stove – potholder on counter – pre-measured vanilla and baking soda – prepared baking sheet. Once the sugar syrup is the right temperature, speed is of the essence.


Mahogany Buttercrunch Toffee

Adapted from Rose Levy Beranbaum

Ingredients

1 ¼ c blanched, sliced almonds, coarsely ground (toast if you want, I don’t)

1 tsp. vanilla extract

1/4 tsp. baking soda

1 ¼ c firmly packed light brown sugar

2 Tbs water

½ c (1 stick) unsalted butter

3 oz. semisweet chocolate (64% cacao), coarsely chopped

Line a rimmed baking sheet with a Silpat or butter generously, and set near the stove. Set your pre-measured vanilla and baking soda nearby as well.

Preparation

Sprinkle about half the nuts over a 7 x 10 inch area on the cookie sheet. Set it near the stove. Have the vanilla and baking soda nearby as well.

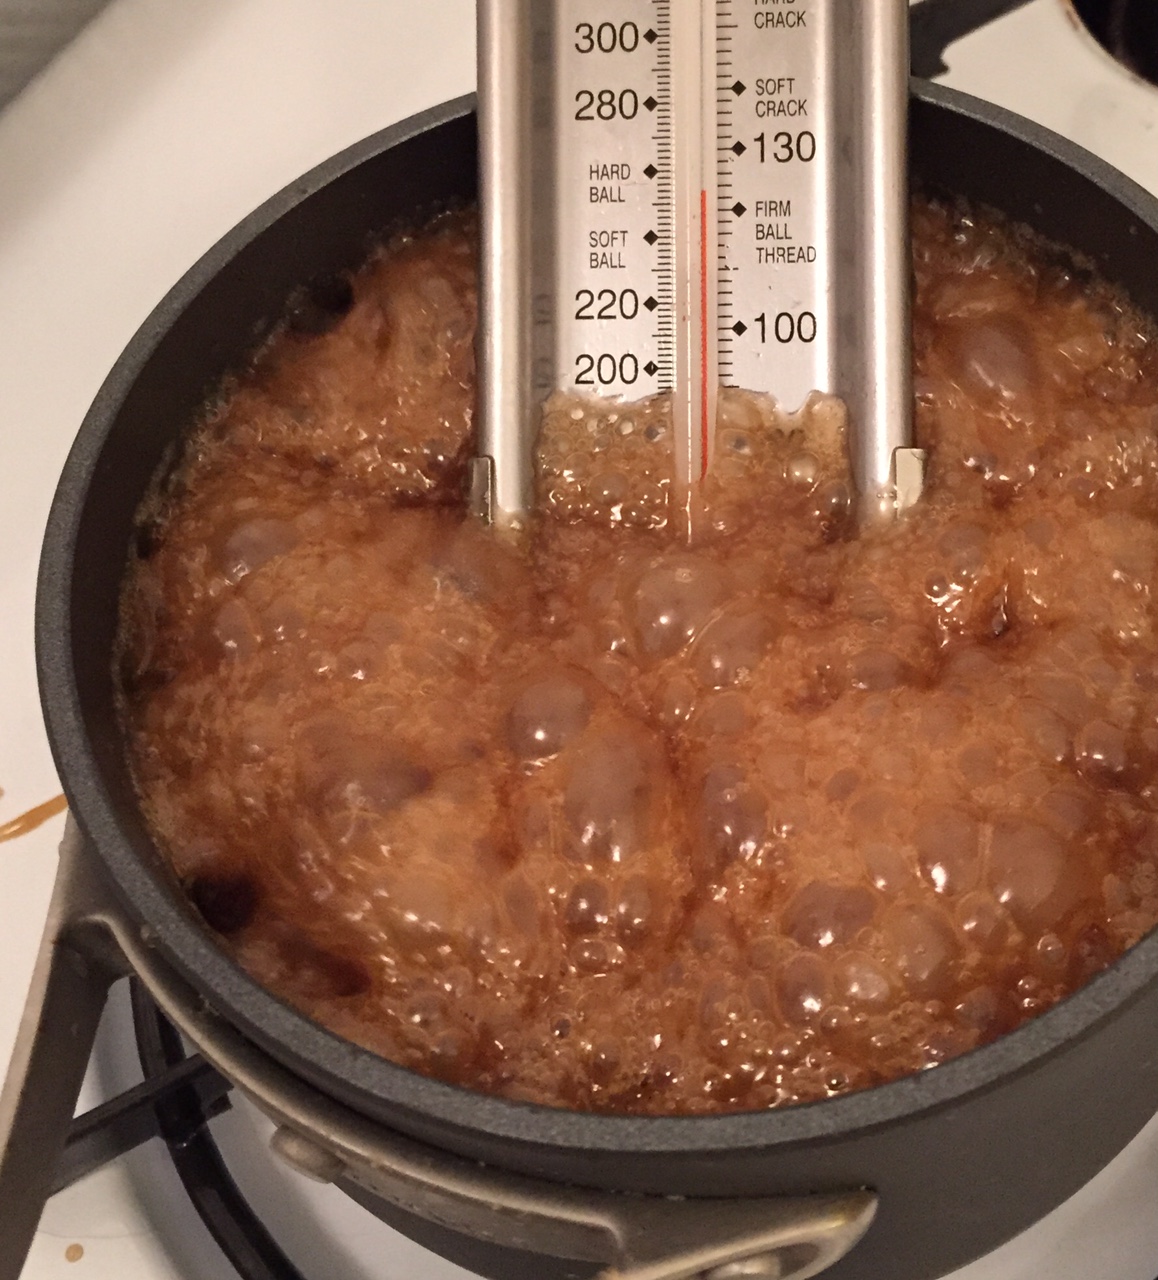
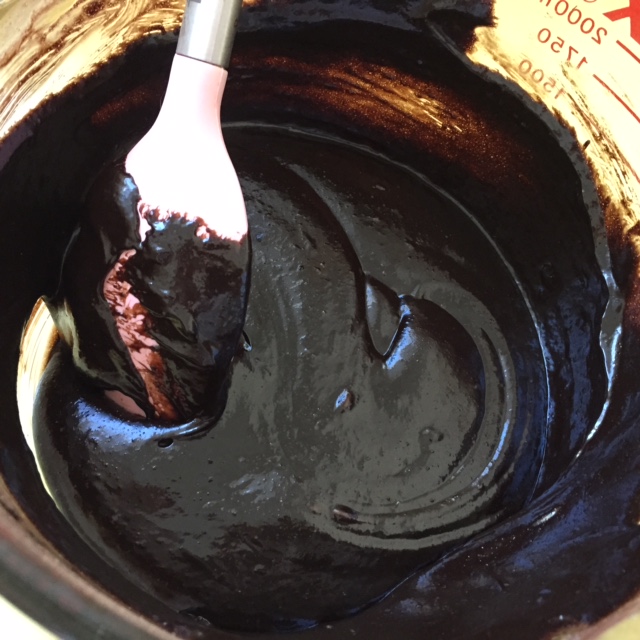
In a heavy-based saucepan, preferably nonstick, combine the brown sugar, water and butter. Bring to a boil, stirring constantly (trying not to disturb the thermometer), until the mixture reaches 285°F on a candy thermometer. Mind the heat: The first few times I made this, I had the heat too high and the syrup cooked too fast and scorched. While Burnt Caramel is trending in ice cream, it’s not so nice in toffee. Medium high heat, please.

Immediately remove the saucepan from the heat [onto the potholder] and stir in the vanilla and baking soda. Pour the toffee mixture carefully and evenly onto the nuts, keeping within the 7 x 10 rectangle.

IMG_5946Working quickly, scatter the chocolate onto the toffee. Press the chocolate lightly with your fingertips so it starts melting.

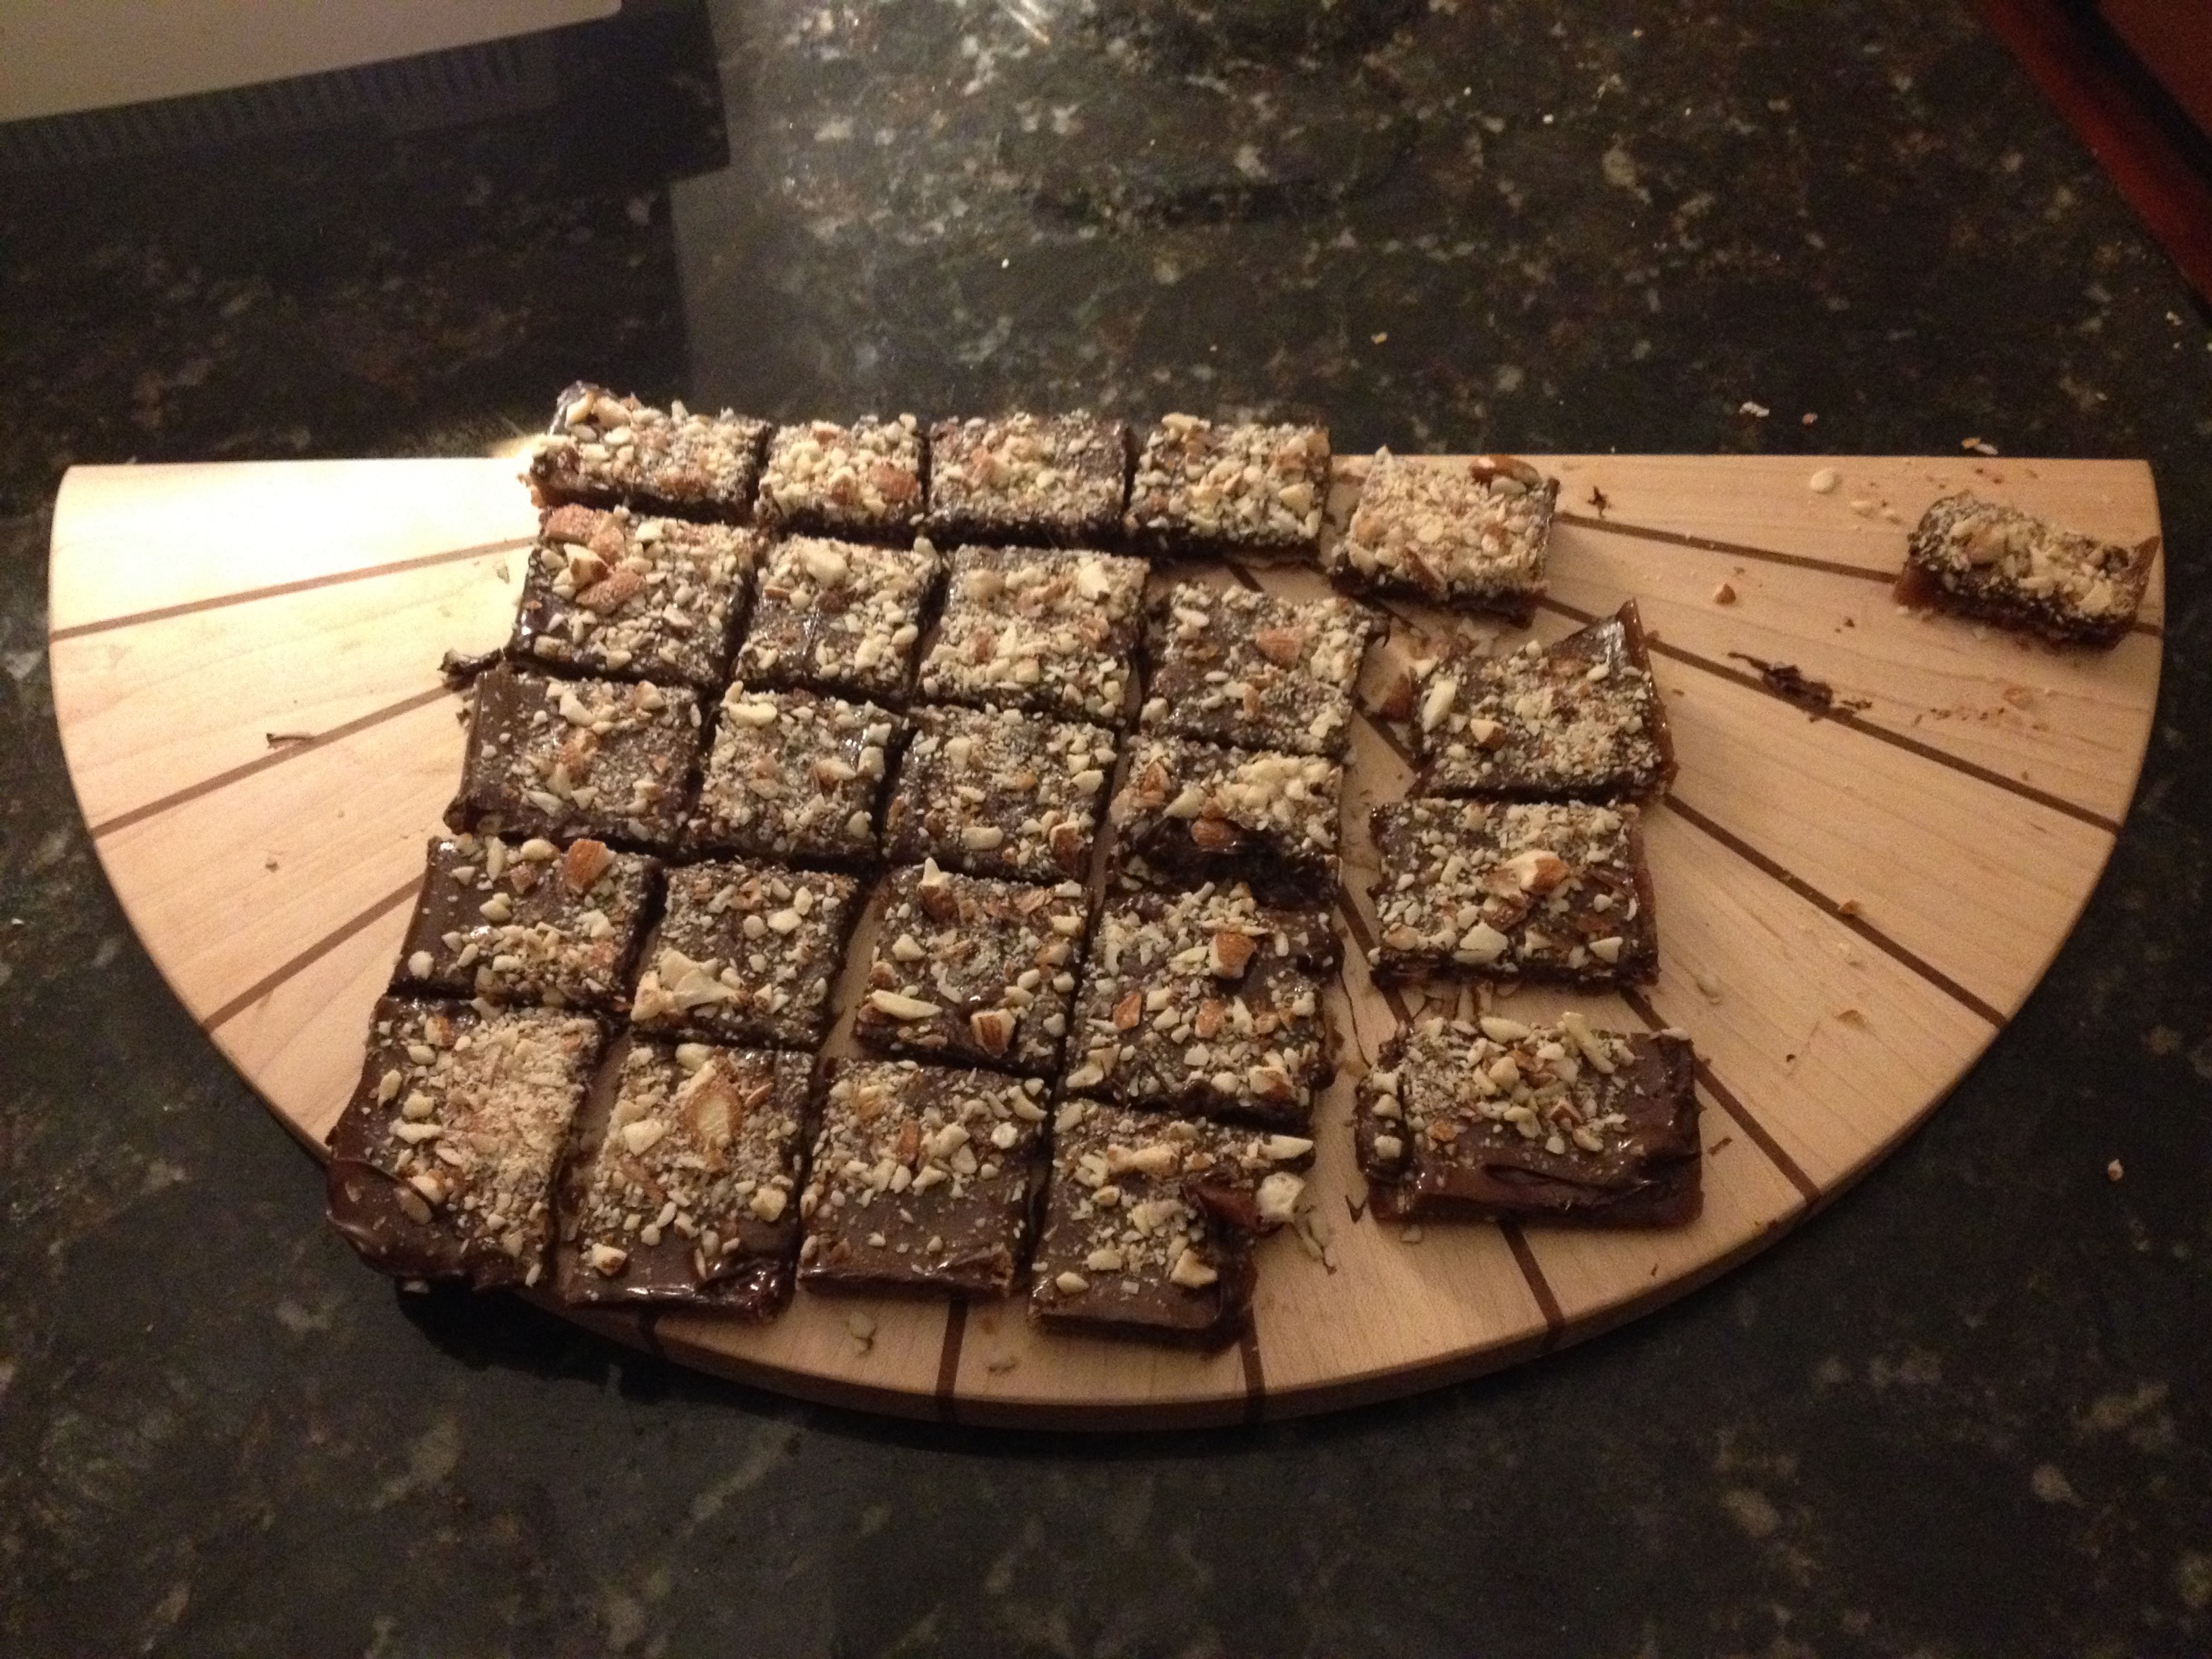
Let it sit for five minutes so the chocolate is soft enough to spread in an even layer over the surface of the toffee. Dust the chocolate with the remaining almonds. Leave the toffee to cool completely, then break it into irregular pieces, or refrigerate if you just can’t wait.

You can store the toffee in an airtight container at room temperature for up to a month. But you won’t have to. I keep it on the counter in a Ziploc bag. It lasts aboutoffee3t a day and a half.

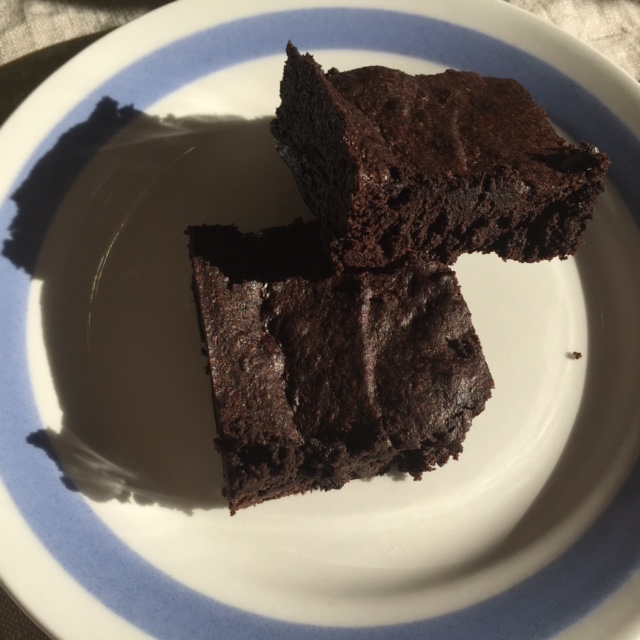
Chunky Toffee: Sometimes I want thick pieces. When I do, I generously butter the bottom of an 8×8 square pan and sprinkle with the nuts. Everything else is the same except I go a little easier on the chocolate. When ready, I poke it sharply with a knife point to break and then go from there.

Note: Apparently Rose has updated the recipe in her latest book The Baking Bible. She now puts chocolate on the bottom and the top, as described delightfully here.

Pitch Black Cocoa Brownies

I was going to title this “The 40 Stroke Brownie” but my editorial staff felt that could go offIMG_2531 in too many unintended directions. Whatever. I still feel it’s interesting to note that many, many recipes instruct one to “beat vigorously for 40 strokes.” Not sure where it comes from and a Google search was exhausting scrolling through pages of health-related results. (Point taken, editors!) What I find, though, is that those 40 strokes with a wooden spoon are magical – your batter transforms into something satiny and wonderful. And whatever you’re baking is heightened – heavenly textures.

40 strokes of beauty

40 strokes of beauty

As was the case yesterday when, in mid-afternoon, I was toiling away at my desk and thinking I’d like something chocolate. And knowing there was nothing to be had at the moment (having finished my usually reliable supply of frozen chocolate bars). What to do?

Basic brownies. One bowl. 45 minutes from start to finish. Let’s go!

I was interested primarily in speed and ease so considered making from memory the recipe from the Baker’s box. But instead I once again invited Alice Medrich into the conversation and pulled together her Cocoa Brownies tout suite.

Because she’s Alice and therefore the bomb, her recipe includes a little discussion about cocoa and the flavor profiles when using natural (nonalkalized) or Dutch-process (alkalized) cocoa. She remarks that Dutch-process cocoa delivers a flavor reminiscent of Oreo cookies. Interesting. I use Droste Dutch-process cocoa and have never noticed the Oreo effect. I have noticed it, though, quite robustly, when using something called “Black Onyx” cocoa.

AccordingIMG_2532 to the Savory Spice Shop website, “[Black Onyx] has been alkalized to the extreme, producing a dark, purplish black cocoa that makes for an impressive black-as-coal baked good. This extreme alkalization neutralizes the natural bitterness, removing some of its chocolate flavor and a lot of its butter fat (10-12%).” I discovered it at my local heaven, er, specialty food shop, Surfa’s. It’s definitely black and definitely delivers the Oreo notes. You’ve got to be judicious in its use unless you love Oreos that much.

Yesterday I was also out of Droste, but did have a tub of Hershey’s cocoa in the cupboard. So I measured two ounces of Hershey’s and one ounce of Black Onyx into the recipe.

The results? Black as night, Oreo note present and accounted for, moist and slightly chewy texture. And exactly what this hardworking girl needed to get through the afternoon! I do believe it’s those last 40 strokes that make the texture so delightful.

Because the brownies are so intensely dark, these would make an excellent Halloween treat with just a single candy corn slightly off center on top.

Enjoy!

Pitch Black Cocoa Brownies

Adapted from Alice Medrich, Chewy, Gooey, Crispy, Crunchy Melt-In-Your-Mouth Cookies

Preheat oven to 325. Butter an 8-inch square pan, or line with parchment or foil, creating overhangs. Set aside.IMG_2530

Ingredients

10 tablespoons (1 ¼ sticks) unsalted butter

1 ¼ c sugar

2/3 c (2 ounces) natural unsweetened cocoa powder such as Hershey’s

1/3 c (1 ounce) Black Onyx unsweetened cocoa powder

¼ tsp salt

1 tsp pure vanilla extract

2 cold large eggs

1/3 cup plus 1 Tbs (1.75 ounces) all-purpose flour

Preparation

Position a rack in the lower third of the oven.

Melt butter gently in heatproof bowl in the microwave. Add the sugar, cocoa powders and salt to hot butter, stir to combine, and set aside to cool until just warm.

Stir in the vanilla with a wooden spoon. Add the eggs one at a time, stirring vigorously after each one. When the batter looks thick, shiny, and well blended, add the flour and stir until you cannot see it any longer, then beat vigorously for 40 strokes with the wooden spoon.

Spread evenly in the prepared pan.

Bake until a toothpick plunged into the center emerges slightly moist with batter, 20 to 25 minutes. Let cool completely on a rack.

Remove from pan and cut into squares.

The unforgettable first … cookbook

There’s a first time for everything, we all know that. Many such moments are memorable, IMG_2429some forgettable (or regrettable) and a few, well, they just fill you with an inner glow. Like when you buy your very first cookbook.

When setting up my first apartment kitchen shortly after college, I treated myself to The Silver Palate Good Times Cookbook. And what a treat it was. It’s a glorious book: Organized seasonally and lavishly illustrated with line drawings, it’s full of quotes, tips and hints, all delivered in a fabulously chatty, New York insider tone. Authors Julee Rosso and Sheila Lukins blew open not only my palate, but all my ideas about food and what was possible for the home cook. It also introduced me to a homey, intimate way of writing about food. I never met Julee or Sheila, but I feel like I have. And I love it, to this day, when they join me in the kitchen as I leaf through my dog-eared and stained copies of both Good Times and the original The Silver Palate Cookbook, coaching me on how to make something wonderful.

Screen Shot 2015-09-28 at 12.41.15 PM

A food storybook you’ll want to curl up with again and again.

Over the years I’ve cooked this food for friends and loved ones, unashamedly taking credit for the delectable Chicken Pot Pie (tarragon! a revelation!) – it’s always a hit. I didn’t start at the swelly end of the spectrum with Julee and Sheila, though. I began more humbly.

I began with the Coffee Blond Brownie. I’d never experienced a bar like this – so dense, so chewy, so…luscious is the only word. Or maybe decadent. Rich. Toothsome. Out of this world. Lots of butter and a full pound of dark brown sugar, combined with chocolate and coffee. Insanity. And pretty much foolproof unless you overbake.

Over the years I’ve tinkered with the recipe: Adjusting the amount of coffee; replacing the coffee with Kahlua; adding cinnamon; and trying different types of chocolate. All have been good, especially the Kahlua during the holidays. But the original recipe really doesn’t need any work – it’s perfection.

Nancy Siesel/The New York Times

Sheila Lukins photo by Nancy Siesel/The New York Times

Both original Silver Palate cookbooks are available on Amazon. Trust me when I tell you these are much more than simple cookbooks. These are food storybooks you’ll want to curl up with again and again.

Note: In writing this piece, I discovered that Sheila Lukins passed away in 2009. I’m so saddened to learn this. The New York Times remembered Sheila with a headline stating she “awakened taste buds.” She certainly did for me. We should all aspire to something so worthy.

Coffee Blond Brownies

From The Silver Palate Good Times Cookbook

1 pound dark brown sugar

1 ½ sticks (¾ c) unsalted butter

2 T instant espresso powder dissolved in 1 T hot water

2 eggs

2 T vanilla extract

2 c unbleached all-purpose flour

2 tsp baking powder

½ tsp salt

1 c semisweet chocolate chips (or equivalent volume of chopped bittersweet chocolate)

1 c chopped pecans (optional)

Preparation

Heat the brown sugar and butter in a medium-size saucepan over medium-low heat untilIMG_2400 the butter melts. Add the espresso mixture. Set aside to cool to room temperature.

Preheat oven to 350 degrees. Butter an 11 x 8 inch baking pan. (If you want to ensure attractive squares, line the pan with foil or parchment, leaving overhangs, so you can easily lift out the bars.)

Sift together flour, baking powder, and salt. Set aside.

When the butter mixture is cool, use a wooden spoon to beat in the eggs and vanilla. Then add the flour mixture, stirring with the wooden spoon until well combined.

Stir in the chocolate (and pecans if using).

Spread the batter evenly in the prepared pan with a rubber spatula.

IMG_2430Bake until lightly browned, 25 to 30 minutes. Do not overbake.

Cool completely and cut into squares.

Going donutty? Donut Muffins Scratch the Itch

There’s a line, attributed to the great Homer Simpson, that goes something like this: HeIMG_2357 offers someone a donut. They say they are not hungry. He replies, “Since when do you have to be hungry to eat a donut?”

And to that, I say “word.” I like a donut. My favorite is a plain cake donut (the “old-fashioned” as some shops call it), followed by a chocolate cake donut. Followed by a powdered sugar Entenmann’s or a cinnamon sugar from a cider mill. I could tumble down the donut hole forever or at least until we hit the jelly bellies (not a fan) or anything with coconut.

What I don’t like is making donuts. I’m afraid of anything that requires 375-degree pots of hot oil. And, truth be told, my attempts have never been successful. They have been…indigestible. So what’s a girl to do on a morning when she wants a donut but certainly doesn’t want to go out?

The Donut Muffin. Perfectly easy, perfectly tasty, and scratches that donut itch, well, perfectly.

IMG_2319My first experience with the Donut Muffin was thanks to Marion Cunningham and her delightful, homey little tome, The Breakfast Book. She didn’t call them Donut Muffins but the recipe, full of nutmeg and cinnamon sugar, offered the same flavor profile. I packed her book with the bulk of my cookbook library when I recently downsized my living space, so when I had a recent weekend craving, I had to work from memory.

The following is my improvised recipe for Donut Muffins. On any given morning you can go donutty in less than an hour.FullSizeRender

A note on tools: There are many muffin pans to choose from out there, some are even gold! Mine is my mom’s, simple aluminum, oft-used, much loved, with the way-cool name of the “Muffinaire.” I like any excuse to rock the Muffinaire, but I always use paper liners. That old aluminum is a mutha to clean and at least one muffin always sticks.

Donut Muffins

Inspired by The Breakfast Book

¾ c milk

Enough crème fraiche to bring the milk measure to 1 cup

1 ½ sticks unsalted butter, smacked with rolling pin until soft

1 c  sugar

2 large eggs

1 ½ tsps vanilla extract

3 c flour

2 ½ tsp baking powder

¼ tsp baking soda

1 tsp sea salt

2 tsp grated nutmeg

For the cinnamon sugar topping (optional for the purist)

3 Tbs melted butter

2 Tbs sugar mixed with 1-2 tsp cinnamon

Preparation

Preheat oven to 350°F. Line a standard 12 cup muffin pan with paper liners.

Combine the flour, baking powder, baking soda, salt, and nutmeg in a bowl and stir with fork or whisk to combine.

Pour milk into a 1 cup measuring cup. Spoon small dollops of crème fraiche into the cup until the volume reaches 1 full cup. Stir to blend.

Beat the butter and sugar until light and fluffy. Add eggs, one at a time, until just combined. Mix in the vanilla.

With IMG_2320the mixer on low, alternate adding the dry ingredients with the milk, one-third at a time, and mix until smooth and very thick.

Using a medium ice cream scoop, drop dollops of batter into the prepared muffin pan.

Bake until a wire tester comes out clean, 25-30 minutes.muffins3 (Don’t worry if they don’t brown, just use the tester.)

Let pan cool on a rack for about 5 minutes. Then brush each muffin with the melted butter and sprinkle with cinnamon sugar.

Et voila! Donut cravings satisfied! These are most delicious when still slightly warm with, yes, some butter. But also great at room temp with a cup of IMG_2358tea or a glass of milk. They are best the same day, but can be frozen. Let defrost in fridge before a quick zap in the microwave.

Purloined Pudding Chocolate Pie

I was a world-class babysitter. I was booked weeks in advance, months ahead for bigDSC00555 occasions. There were bidding wars for New Year’s Eve. I kept a spreadsheet of clients with detailed notes. I was a pro and suspect this fact will figure largely in any Barbara Corcoran-style profile of me.

My clients wooed me, leaving various treats “to help pass the time.” One of my favorite clients wooed and won – for life. One babysitting eve, I casually reviewed their fridge and noticed little footed cups of chocolate pudding. I figured they wouldn’t mind my trying one. It was chocolate pudding with crushed graham crackers sprinkled on the bottom and top. This combo was a revelation to me. (Chocolate pie in my house was rare and was the black bottom variety made with a traditional pie crust.) I succumbed like Alfred Molina in Chocolat, awaking from my chocolate stupor to find I’d eaten all but one of the puddings. I carefully washed the cups (and my face) and didn’t look my employer in the eye when it was time to drive me home. My fourteen-year-old self expected I’d lost a client.

A couple of weeks later, they booked me again. After I’d put the kids to bed, I checked the fridge (cautiously this time). They’d left eight cups of pudding treats on a shelf with a note “For Caroline.” My allegiance to them – and to chocolate pudding and graham crackers – was sealed.

When it comes to chocolate pie, in my book, if it ain’t got a graham cracker crust, it ain’t really chocolate pie. Similarly, if the pudding wasn’t made on the stove from scratch…it ain’t the real deal. (Although in college we did enjoy the big cheat: Store-bought crust, Jell-O instant pudding and Cool-Whip. Toothy enough for a 20 year old and easily made in a dorm room.) I still use store-IMG_1675bought crust (Keebler is the best, imo) and though I’ve mucked around with the basic recipe (adding liqueurs, adjusting sugar, trying various percentages of cacao, etc.), over time I’ve decided that simpler really is better. (Although Kahlua can be a nice addition.)

Full disclosure – I make my pudding the way my grandmother showed me, not from a written recipe. So to ensure total foolproof ease here, the recipe below is adapted from Epicurious (Gourmet, 2004). The pudding always thickens, the pie always sets. And it tastes just as good as Grandma’s.

And so, I give you, Purloined Pudding Chocolate Pie, so named for those I stole and for the fact that this will disappear before your eyes.

Purloined Pudding Chocolate Pie

Adapted from Gourmet

Note: You must plan ahead. This pie takes several hours of cooling and setting time. For same day serving, start early in the morning.

  • One 6 oz. Keebler pre-made graham pie crust FullSizeRender
  • 2/3 c sugar
  • 1/4 c cornstarch
  • 1/2 tsp salt
  • 4 large egg yolks
  • 3 c whole milk
  • 5 oz bittersweet chocolate, melted (I use Valhrona 71% cacao)
  • 2 oz unsweetened chocolate, melted (I use Guittard)
  • 2 Tbs unsalted butter, softened
  • 1 tsp vanilla
  • 1 Tbs Kahlua, optional, more or less to taste
  • 3/4 cup chilled heavy cream whipped with 1 Tbs powdered sugar
  • 1-2 Tbs. cocoa powder

Preparation

In a heavy 3-quart saucepan, whisk together sugar, cornstarch, salt, and yolks until well combined (the mixture will quickly become like paste, keep going until you’ve incorporated all the cornstarch).

Puddings
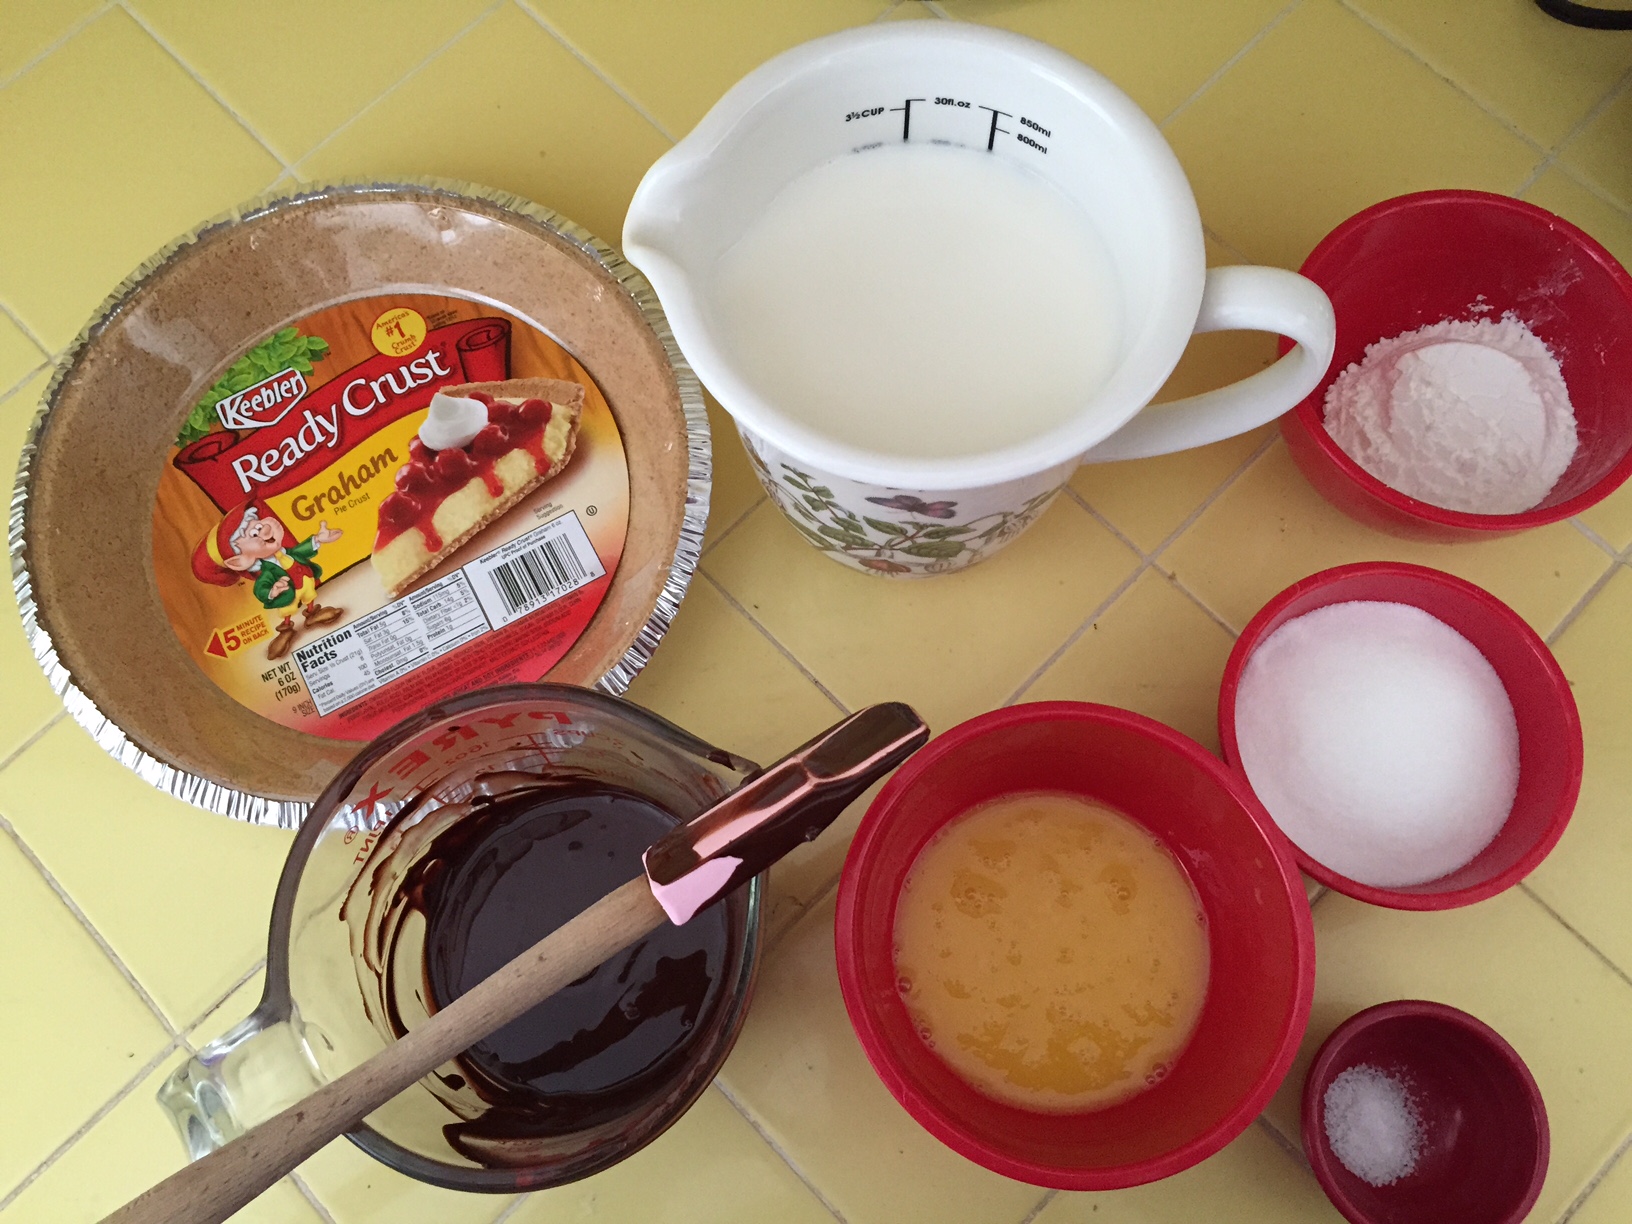
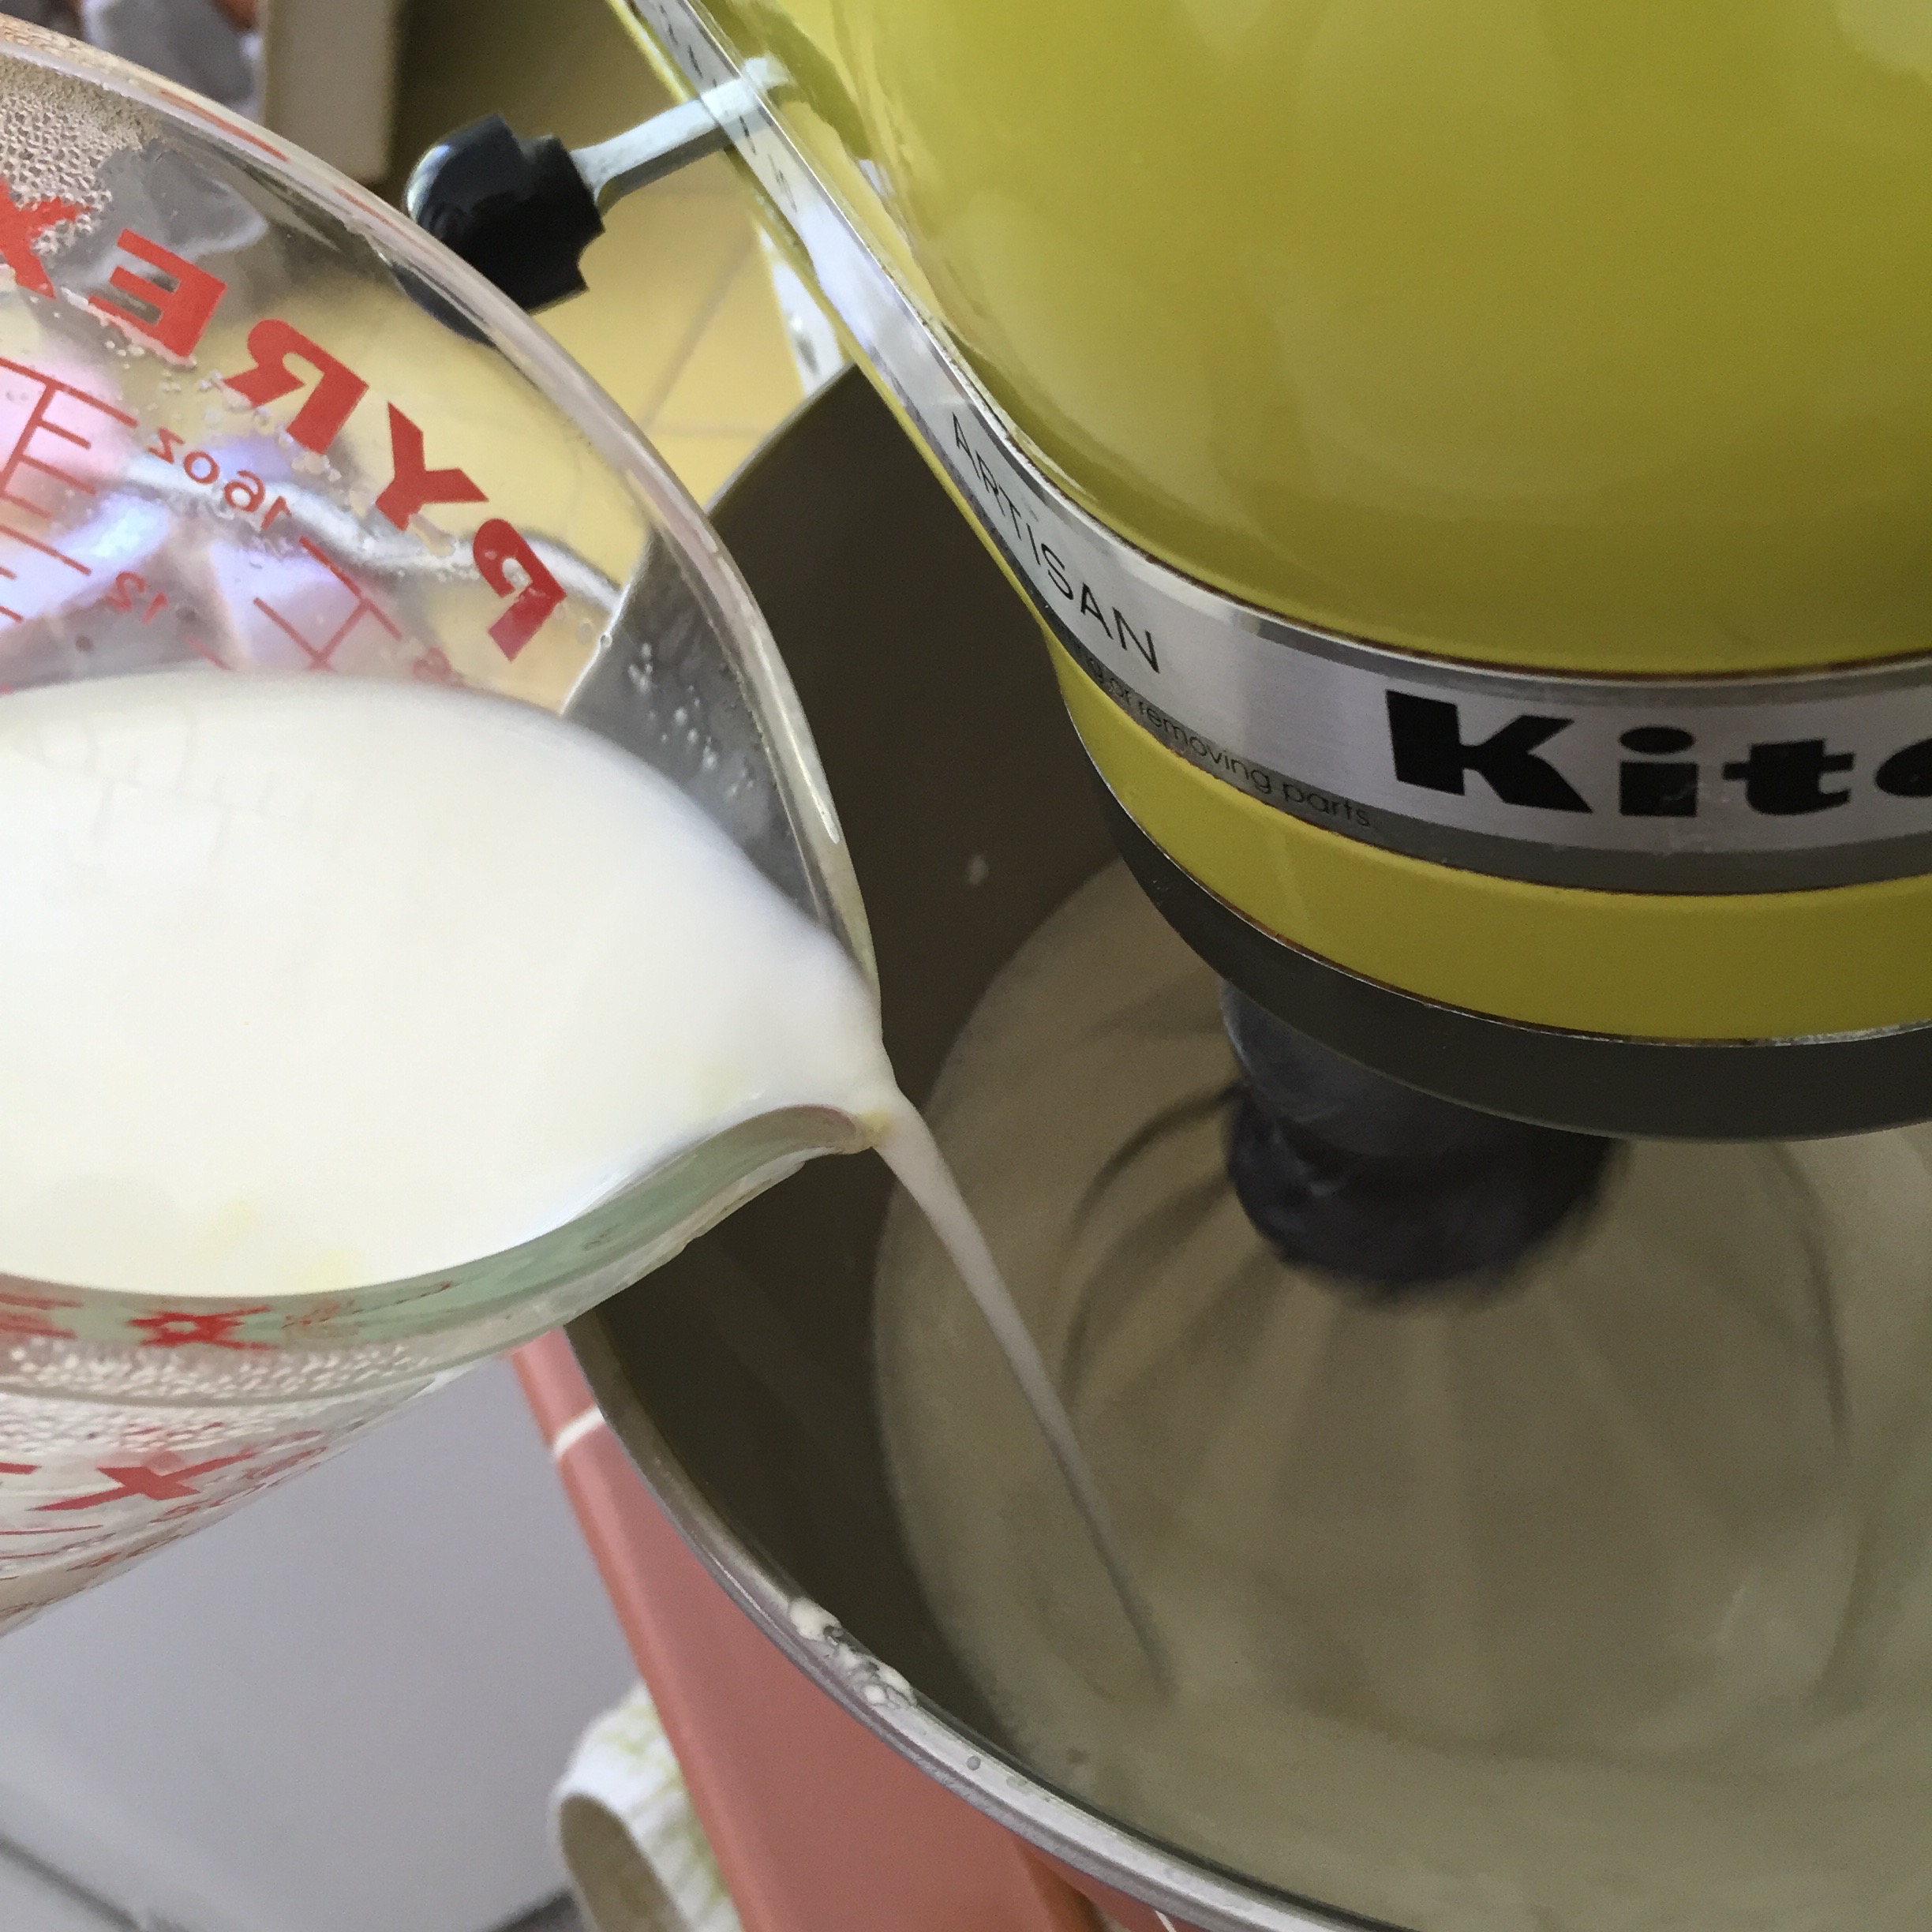
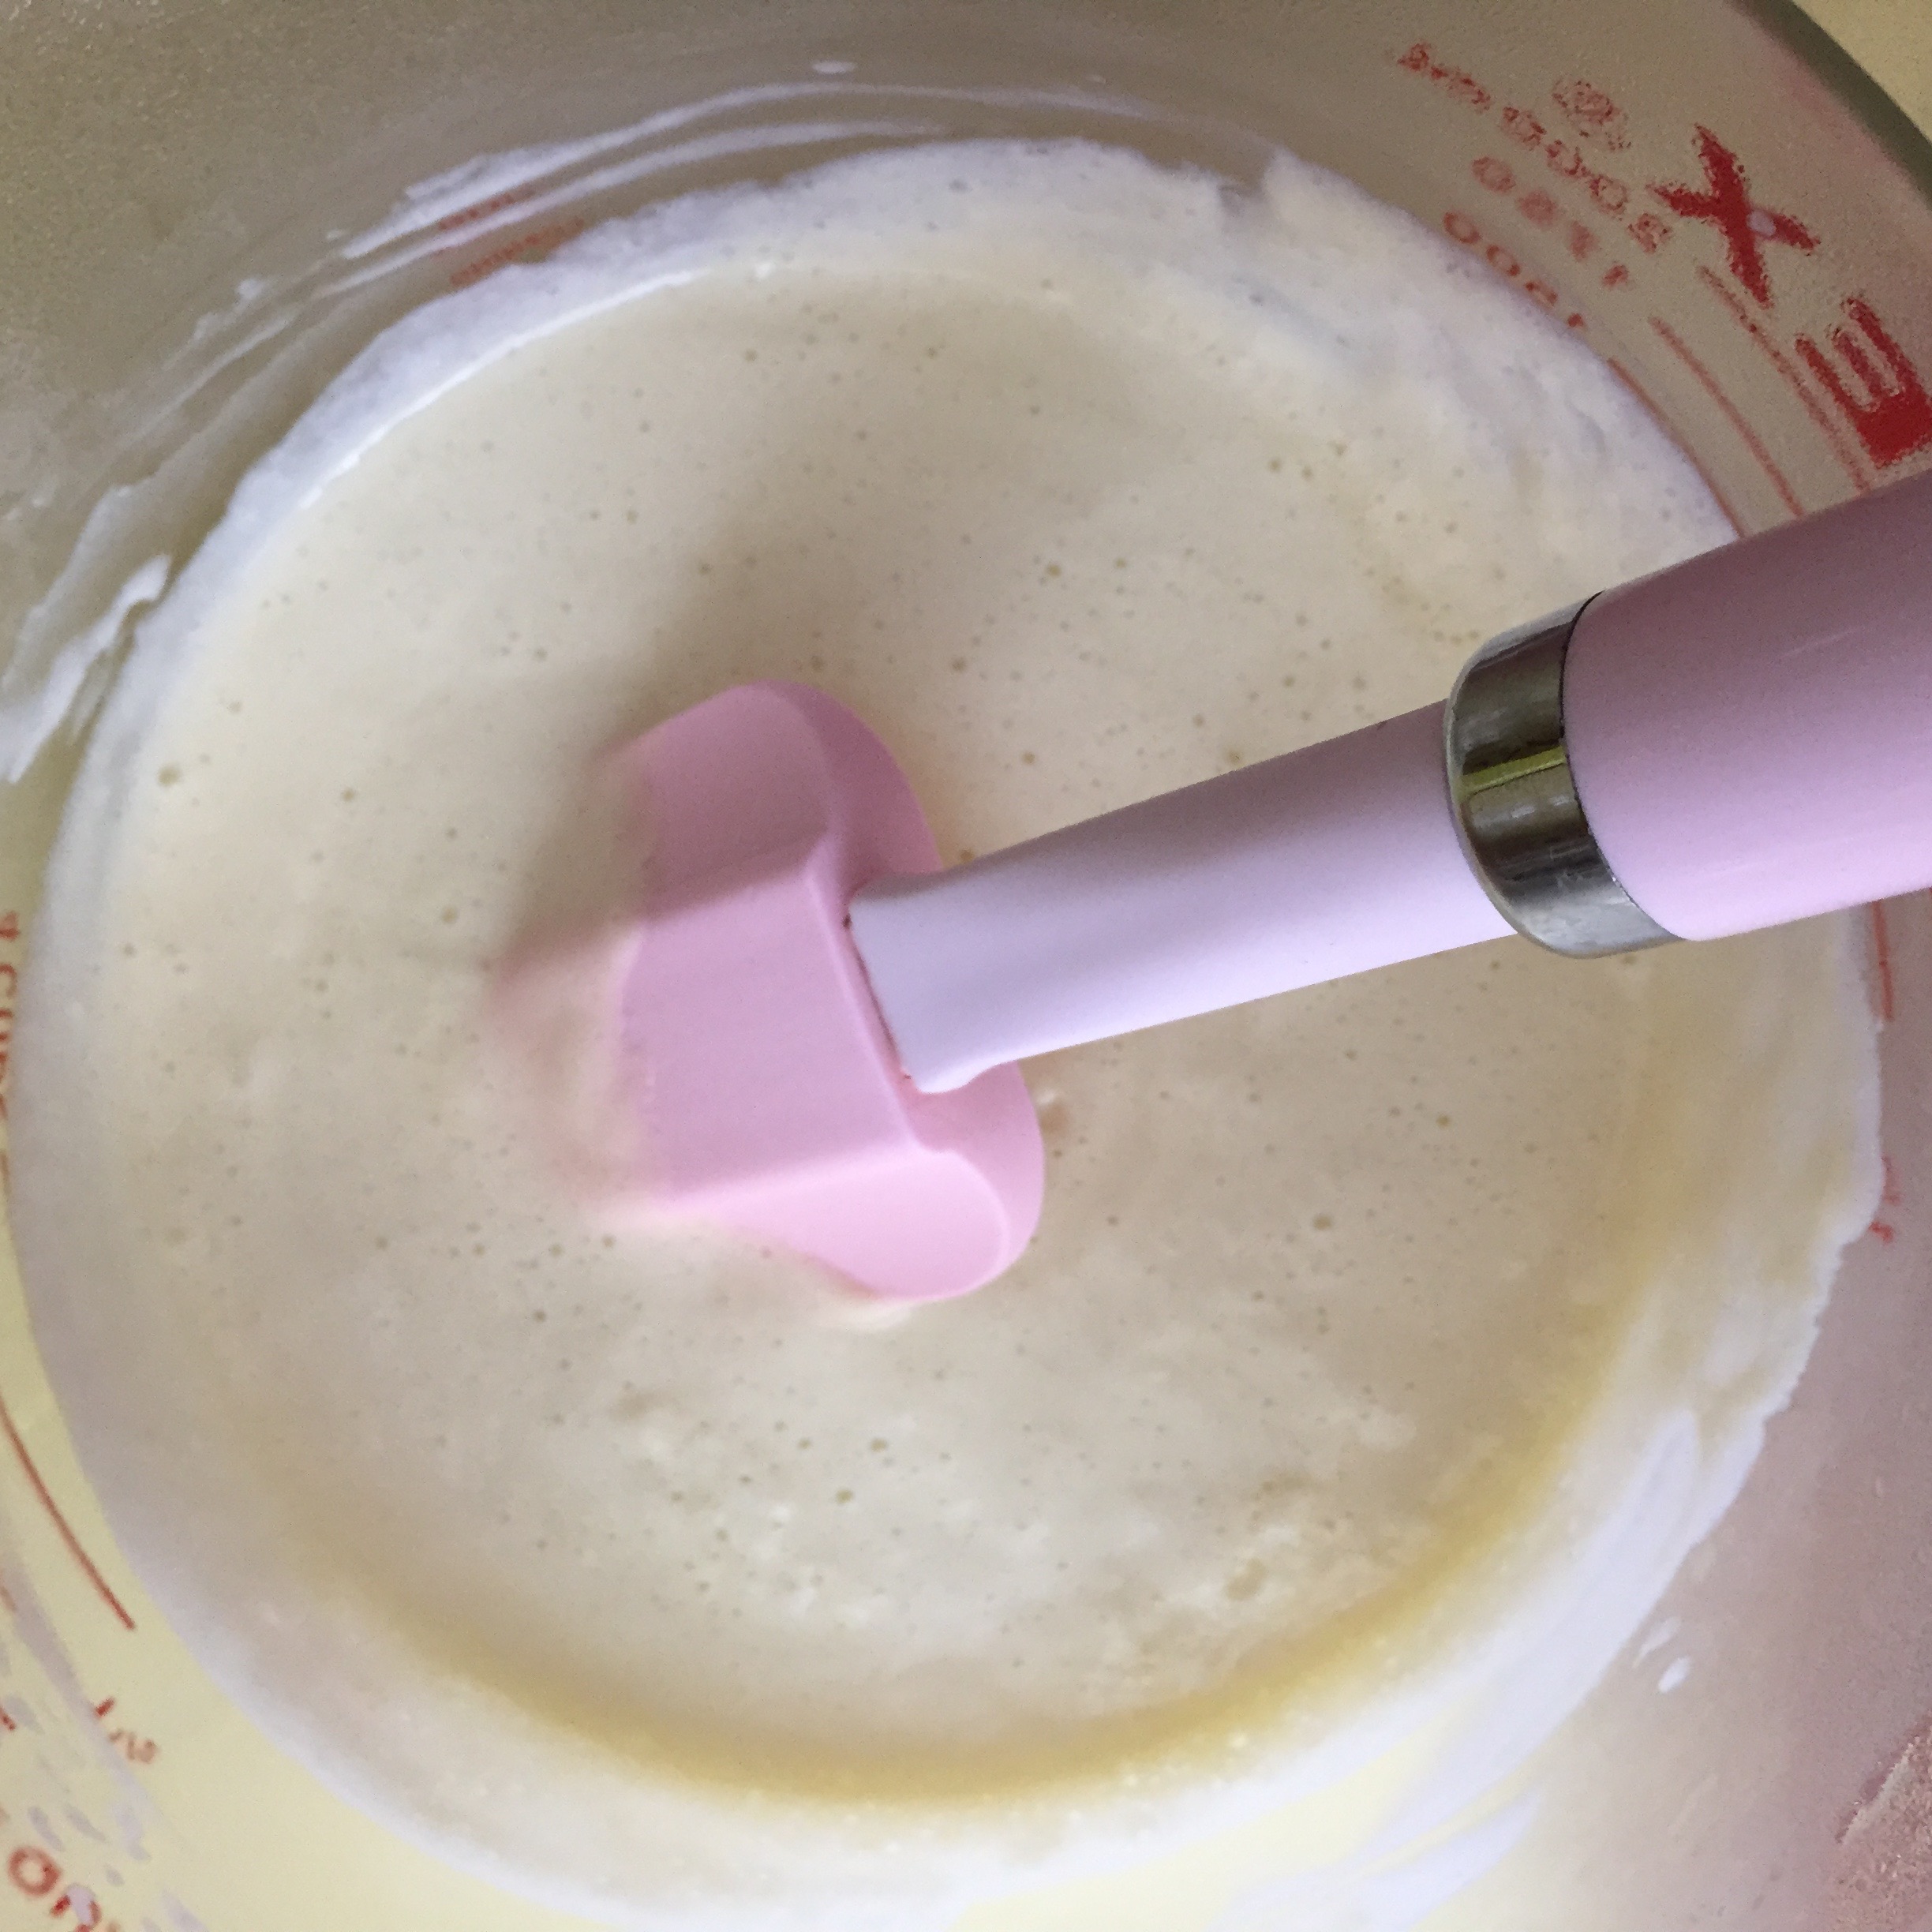
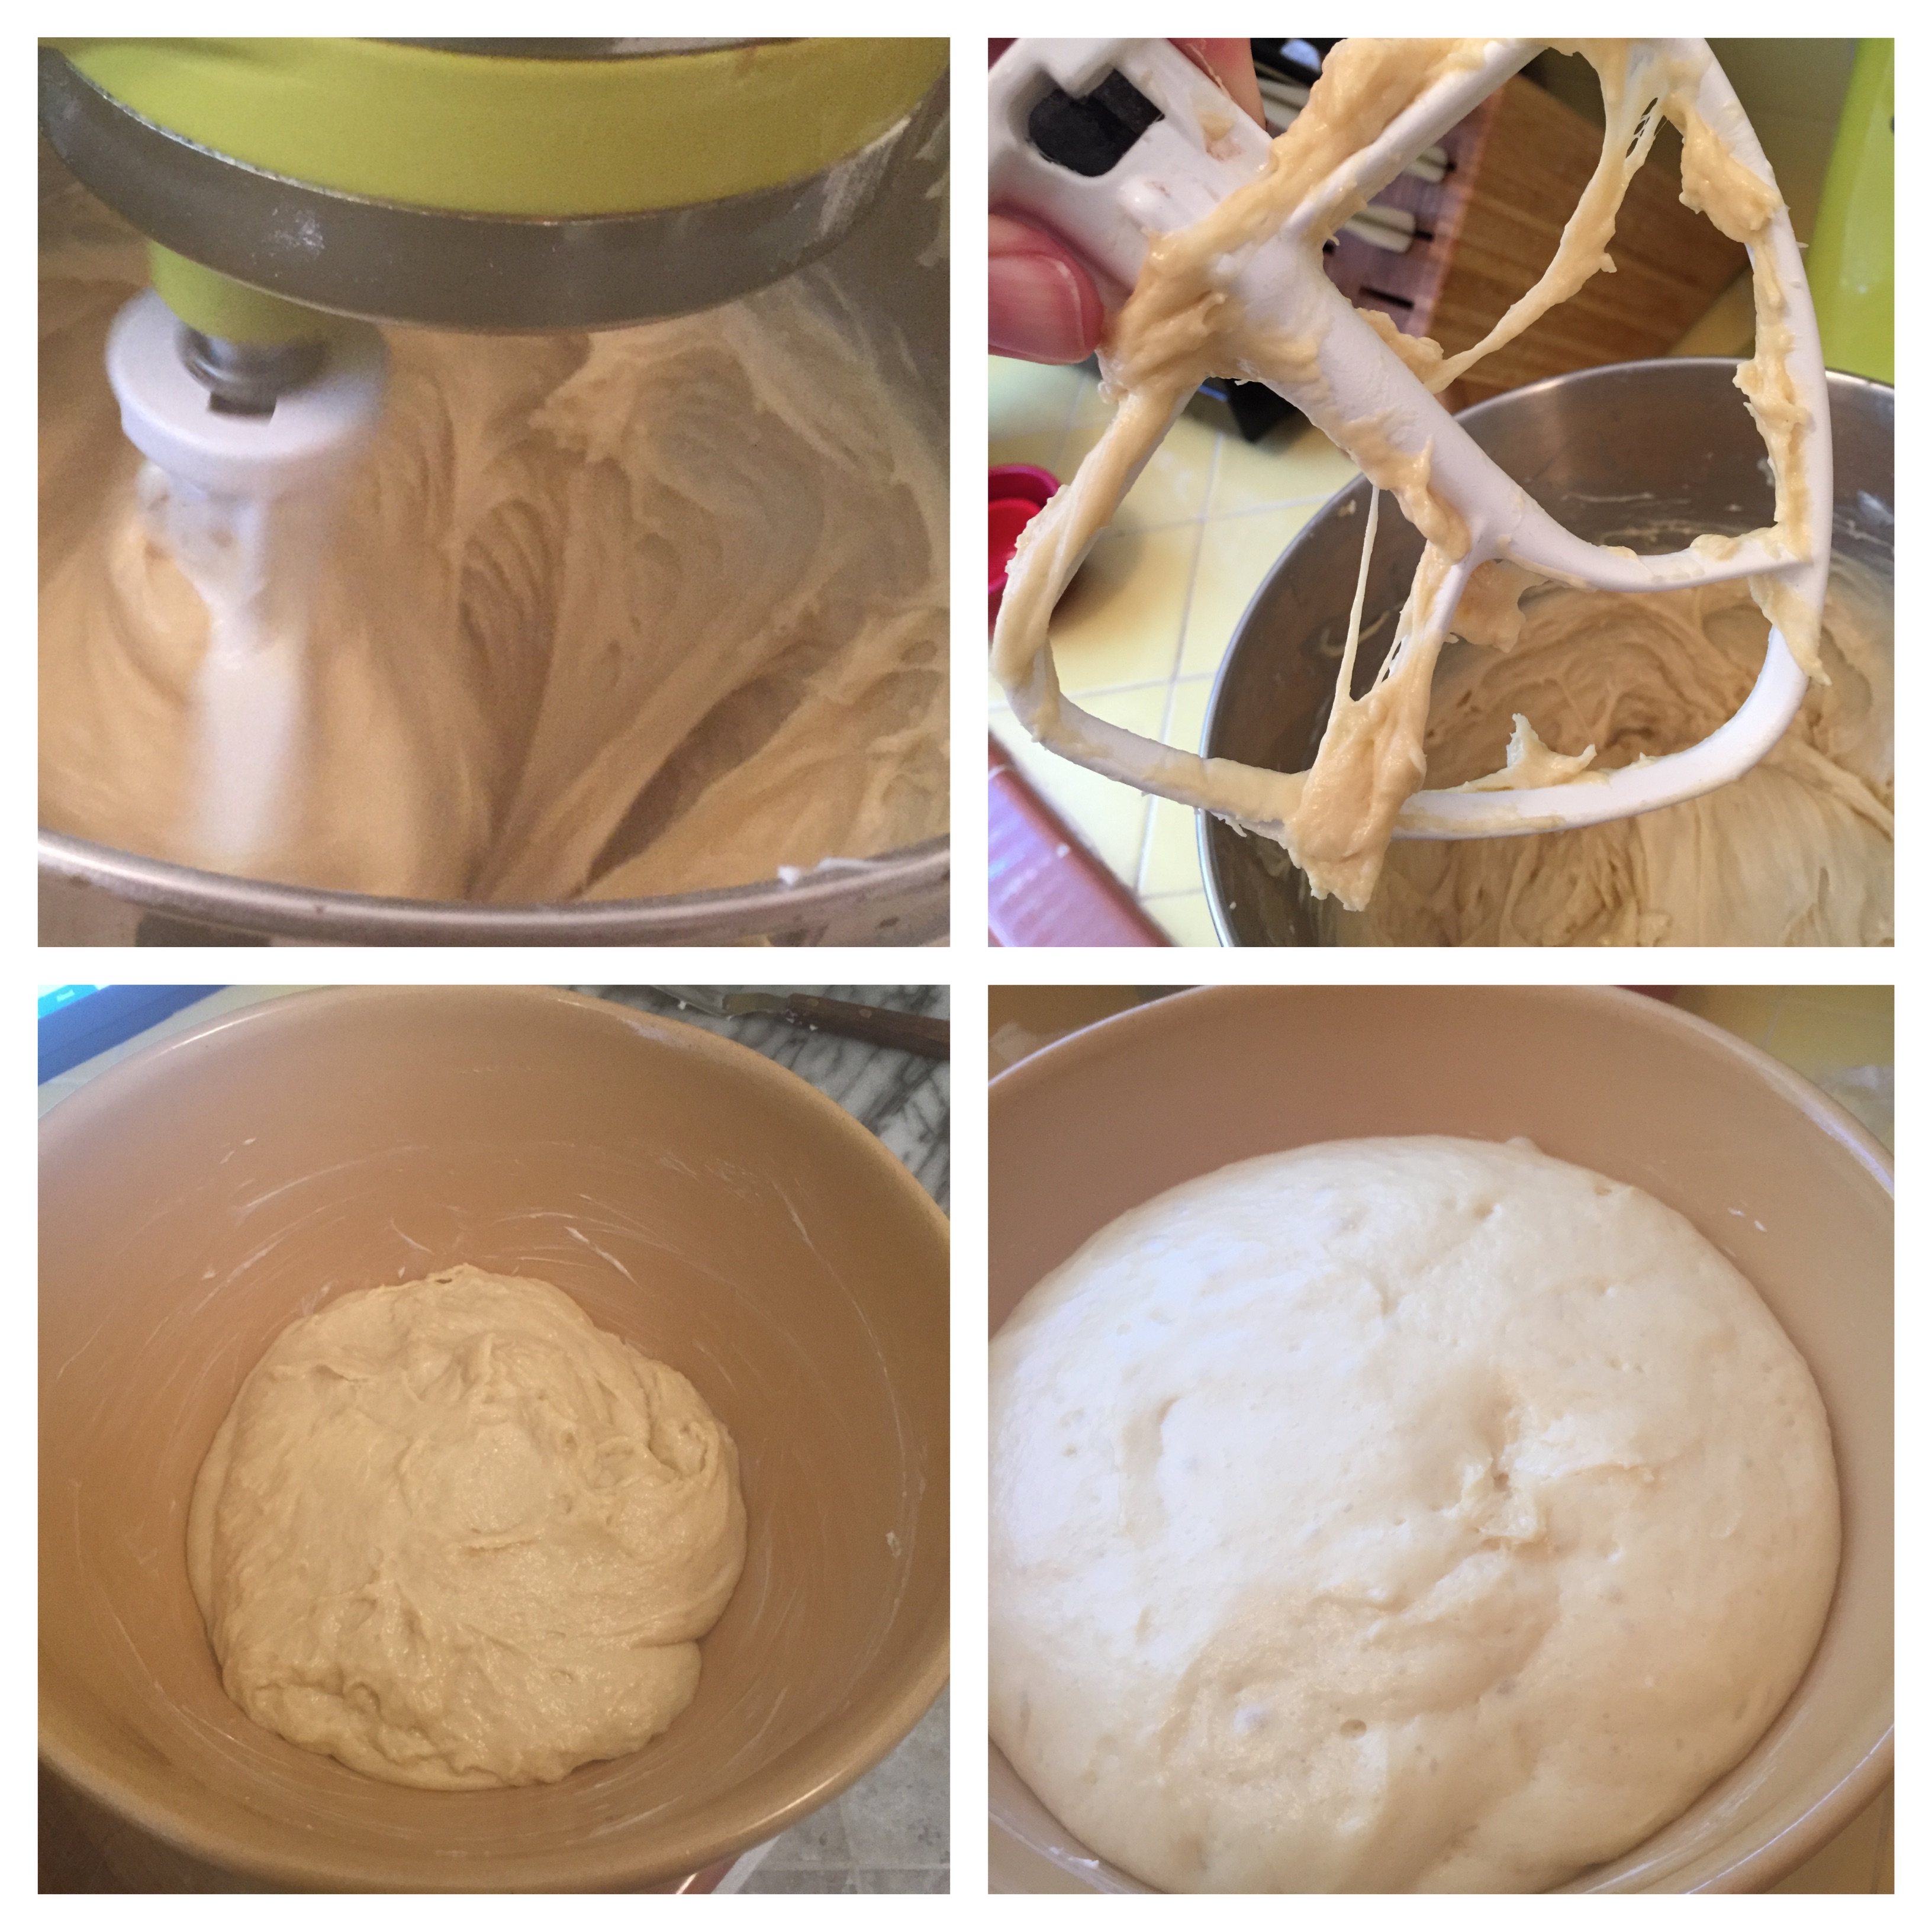
Add the milk in a steady stream, whisking constantly until mixture is smooth.
Bring to a boil over moderate heat, stirring constantly, then reduce heat and simmer, stirring, about one minute. The filling will be beautifully thickened.

Force filling through a fine-mesh sieve into a bowl, then whisk in melted chocolates, butter, vanilla, and Kahlua if using.

Let cool for about 15 minutes, then cover surface with buttered wax paper and cool completely, then refrigerate for about 2 hours.IMG_1661

Spoon filling into crust and chill pie, loosely covered, at least 6 hours. At this point the pie can be stored, covered loosely with plastic wrap, overnight.

When ready to serve, top pie with sweetened whipped cream and sprinkle with cocoa. Serve immediately.

IMG_1677Assembled pie will last, loosely covered with plastic wrap, two days in fridge. (JK, it will be eaten long before two days pass.)

I Gotta Gelato: Mandarin Orange Stracciatella Gelato

I come from ice cream people. In our house, ice cream was pretty much another course,IMG_1493 not even dessert. Our palate was determined by my dad whose taste veered toward fruit, peach especially, or strawberry. It was a great day when we had “Van-Choc-Straw” so I could carefully carve out the Choc with none of the dread strawberry on it. Vanilla was a good second – we always had plenty of Bosco syrup on hand to doctor it up and create ice cream soup.

Outside, we had Carvel or Friendly’s. Friendly’s was the bomb. Their mint chocolate chip (bright green and creamy) is still my desert island flavor. Weaned on the green, it took me a long time to cozy up to white versions, especially since my first exposure to non-green mint chip was a commercial brand whose texture was a bit grainy. When I went to college in Boston, I was introduced to Steve’s and the concept of the “mix-in.” Once I had Heath Bar in ice cream I was gone all over again. Then that magical day when Ben & Jerry’s appeared in supermarkets. Coffee Heath Bar Crunch – sublimity in every way. (Sadly now, it’s not the same. Fair Trade practices, which I totally support btw, caused B&J to switch from Heath Bar to some other toffee. I get it, I do. It just means that I also no longer get Coffee Toffee Crunch. Sigh.)

Over the years I’ve had different ice creams in different places: Berthillon in Paris, gelatos in Italy and Spain, small batch creameries here and there. It’s all good, it’s ice cream! While certainly not jaded, I did believe my ice cream “ah HA’s” were finished.

FullSizeRender (2)Until that Williams-Sonoma Holiday catalog arrived a few years ago. Featuring a bright red Cuisinart ice cream maker at a reasonable price point. (“Homemade” ice cream had meant heavy equipment, rock salt, and my Uncle Bob bribing us kids with quarters to turn the crank so that, in the end, we could “enjoy” mushy vanilla cones.) I read about this machine – no crank, no salt, no effort, I’m in! And I bought myself one.

And then I made mint chocolate chip ice cream. And then I, as they do say, died a little death. It. was. incredible. It put to shame EVERYTHING I’d had before and called “ice cream.” No point in trying to put into words that for which there are no words. The end.

I’ve made many a batch since then, but over time, SADNESS, I came to realize that dairy is not, actually, my friend. (Don’t speak.) So my cherry red ice cream machine sat unused for quite a while.

Until this past week when, doggone it, it was coming on August and I wanted some ice cream! Down came the machine, out came the dairy, in went the goodness, and…well, I think you can guess. (The little death.) Won’t you take this journey with me?

First stop, Marcella Hazan, The Essentials of Classic Italian Cooking. A Bible, order it now if you don’t have it. Super easy Egg Custard Gelato recipe. My only modification was to use Cointreau (and less of it) instead of Grand Marnier.

IMG_1480Stracciatella. If I’m ordering real gelato, this is my go-to flavor – sweet cream vanilla with shards of dark chocolate. Perfection. In Italy, I learned the key to stracciatella is to introduce the thinnest possible stream of chocolate into the churning gelato. The chocolate hardens instantly and cracks as the churn turns. (Note to self: Soap opera in food world, As The Churn Turns.)

And then – reader, steady yourself for this next part – inspiration. Trader Joe’s carries a product called Soft & Juicy Mandarins. Dried mandarinIMG_1474 orange segments in sugar. For the record, I do NOT care for sugary dried fruit, but these were by the register and so… Oh my, these are DELICIOUS. I don’t know how, and possibly don’t want to know how (sulfur), they do it, but these are bursting with juicy orange flavor. And the sugar, while there and seemingly a lot, actually doesn’t do harm. Dried citrus is typically not to be desired, but these mandarins – delish.

So what if they were diced and say, tossed into some churning gelato? What would that be like? (It would be like heaven. The nuggets preserve all their juicy citrusy goodness through the freezing process and become chewier (not toothbreaking).)

Trust me, friends, this is a spectacular ice cream. It doesn’t need a cake or cookie to support it, no sauce or fruit embellishment. But if you should desire a little something on the side, I suggest a tiny, dark dark dark chocolate shortbread cookie.

Mandarin Orange Stracciatella Gelato a la Marcella

Yields about three cups

IMG_1465Egg Custard Gelato (adapted from Marcella Hazan)

  • 6 large egg yolks
  • ¾ c granulated sugar
  • 2 c milk
  • Zest from half an orange
  • 2-3 Tsp. Cointreau (or Grand Marnier), to taste

Beat egg yolks and sugar on medium speed until they are pale yellow and a soft ribbon drops from the beater when raised.

Heat the milk and orange zest in a saucepan over medium heat to a slow simmer. Do not boil. Strain milk through a fine mesh strainer into a spouted measuring cup. Wipe out sauce pan.

Pour the hot milk, in a thin stream, into the yolks, beating constantly. (Don’t be concernedIMG_1476 if this foams up a lot. Mine did, to my consternation, but the end result was perfect.)

Add the Cointreau and beat for a few seconds.

Transfer the mixture to the saucepan, turn heat to medium, and whisk constantly for two minutes. Do not boil.

Remove from heat and pour into large bowl. Let cool to room temperature, then cover tightly with plastic wrap and refrigerate overnight.

Once cold, freeze in your ice cream maker per the manufacturer’s instructions, about 20 minutes total time.

Mandarins

  • 1/3 c Trader Joes Soft & Juicy Mandarins, chopped into a ¼-inch dice

Stracciatella

  • Melt 4 oz dark chocolate (I used Valrhona 70%) with 2 Tbs butter in a small glass measuring cup. Let cool slightly. Then transfer to Ziploc bag.

Finishing the gelato:

IMG_1479At the end of the churning time, sprinkle the diced mandarins over the churning gelato. Let them mix in well for a moment or two.

Then snip a tiny bit off the corner of the Ziploc and squeeze melted chocolate in a thin, steady stream over the churning gelato. Churn a moment or two to incorporate.

The gelato will now be super soft, so if that’s how you like it, dig in.

I prefer a firmer texture, so I transfer the gelato into a plastic container and let it sit in the freezerIMG_1483for a few hours. Then I shave some dark chocolate over the top to make it pretty.

Serve in small scoops. Enjoy (and don’t be afraid to show your delight)!

Bada-Bing, Bada-Babka!

Where I live, in Los Angeles, there are billboards around town trumpeting the arrival of the full series of Seinfeld on Hulu. Each board includes a quotable quote from the show. I wasn’t really much of a Seinfeld watcher, but stopped at a light beneath one of IMG_1296these signs, I ruminated on the eps I had seen… George as the marine biologist, the close talker, Susan’s father’s love affair with John Cheever, the puffy shirt – and the babka, the chocolate babka.

Babka. Bab-ka. Baaab-ka. I’ve never made a babka. I’m not sure I’ve even had a babka, or a baba, or huh? I sped home to learn more about this mysterious bread coveted by Jerry and Elaine.

I read quite a few recipes and histories: Ukrainian origin, typically chocolate or cinnamon (although my Ukrainian friend swears her mother made it plain), adapted by other Eastern European traditions. In brief, a rolled brioche. Got it.

I find brioche the most heavenly of doughs. So soft and puffy, so strong and easy to shape. The recipes I read varied only slightly in their treatment of a basic brioche dough (a little lemon zest here, a bit of cinnamon there), so I worked with my tried and true recipe.

Note: Softened butter. I’ve always let it sit on the counter or played Russian roulette with the microwave. I hadn’t planned ahead for this babka so I Googled “softened butter,” et FullSizeRender copy 3voila, a YouTube video where you put the cold butter into a large Ziploc and smack it around with your rolling pin. Ha! Never knew, works a treat. And fun! (Full disclosure, I smacked a brick of butter with a rolling pin in France, but there was no Ziploc and no witness.) You can also smack the butter between two sheets of waxed paper.

As it went, I ended up making two recipes (four loaves) over the weekend. Thatsa lotta babka! I used the same brioche for both, but varied the fillings:

  • Babka One – spread the rolled dough with softened butter and sprinkled with chopped dark chocolate and sugar
  • Babka Two – nipped from the Smitten Kitchen’s Better Chocolate Babka and made a spreadable filling of melted dark chocolate, butter, cocoa and powdered sugar

IMG_1309
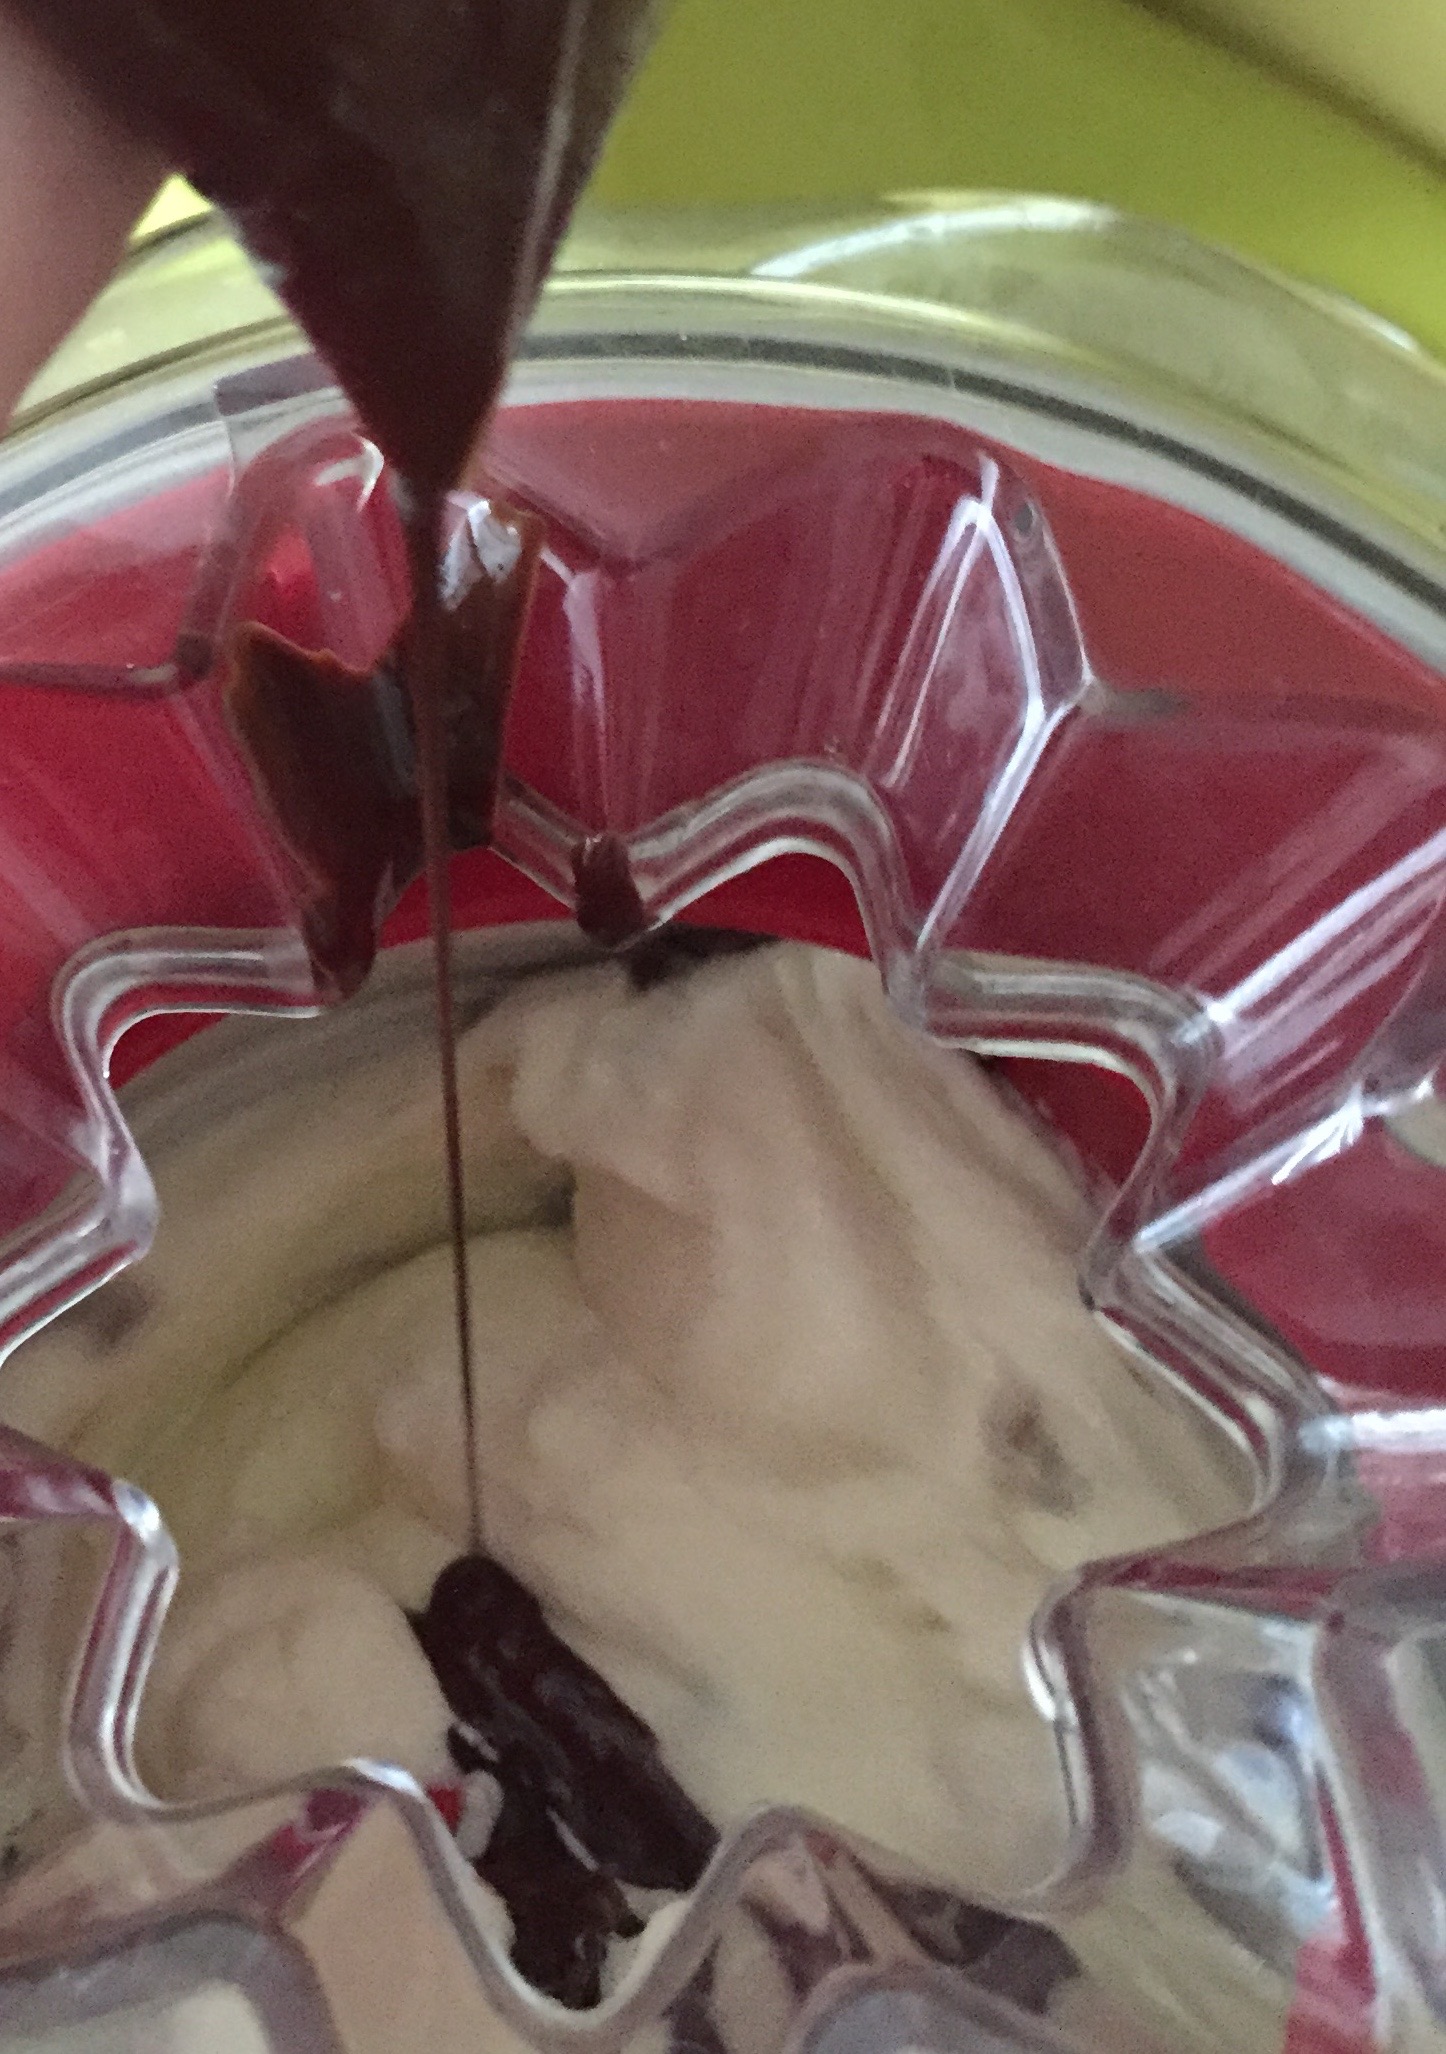
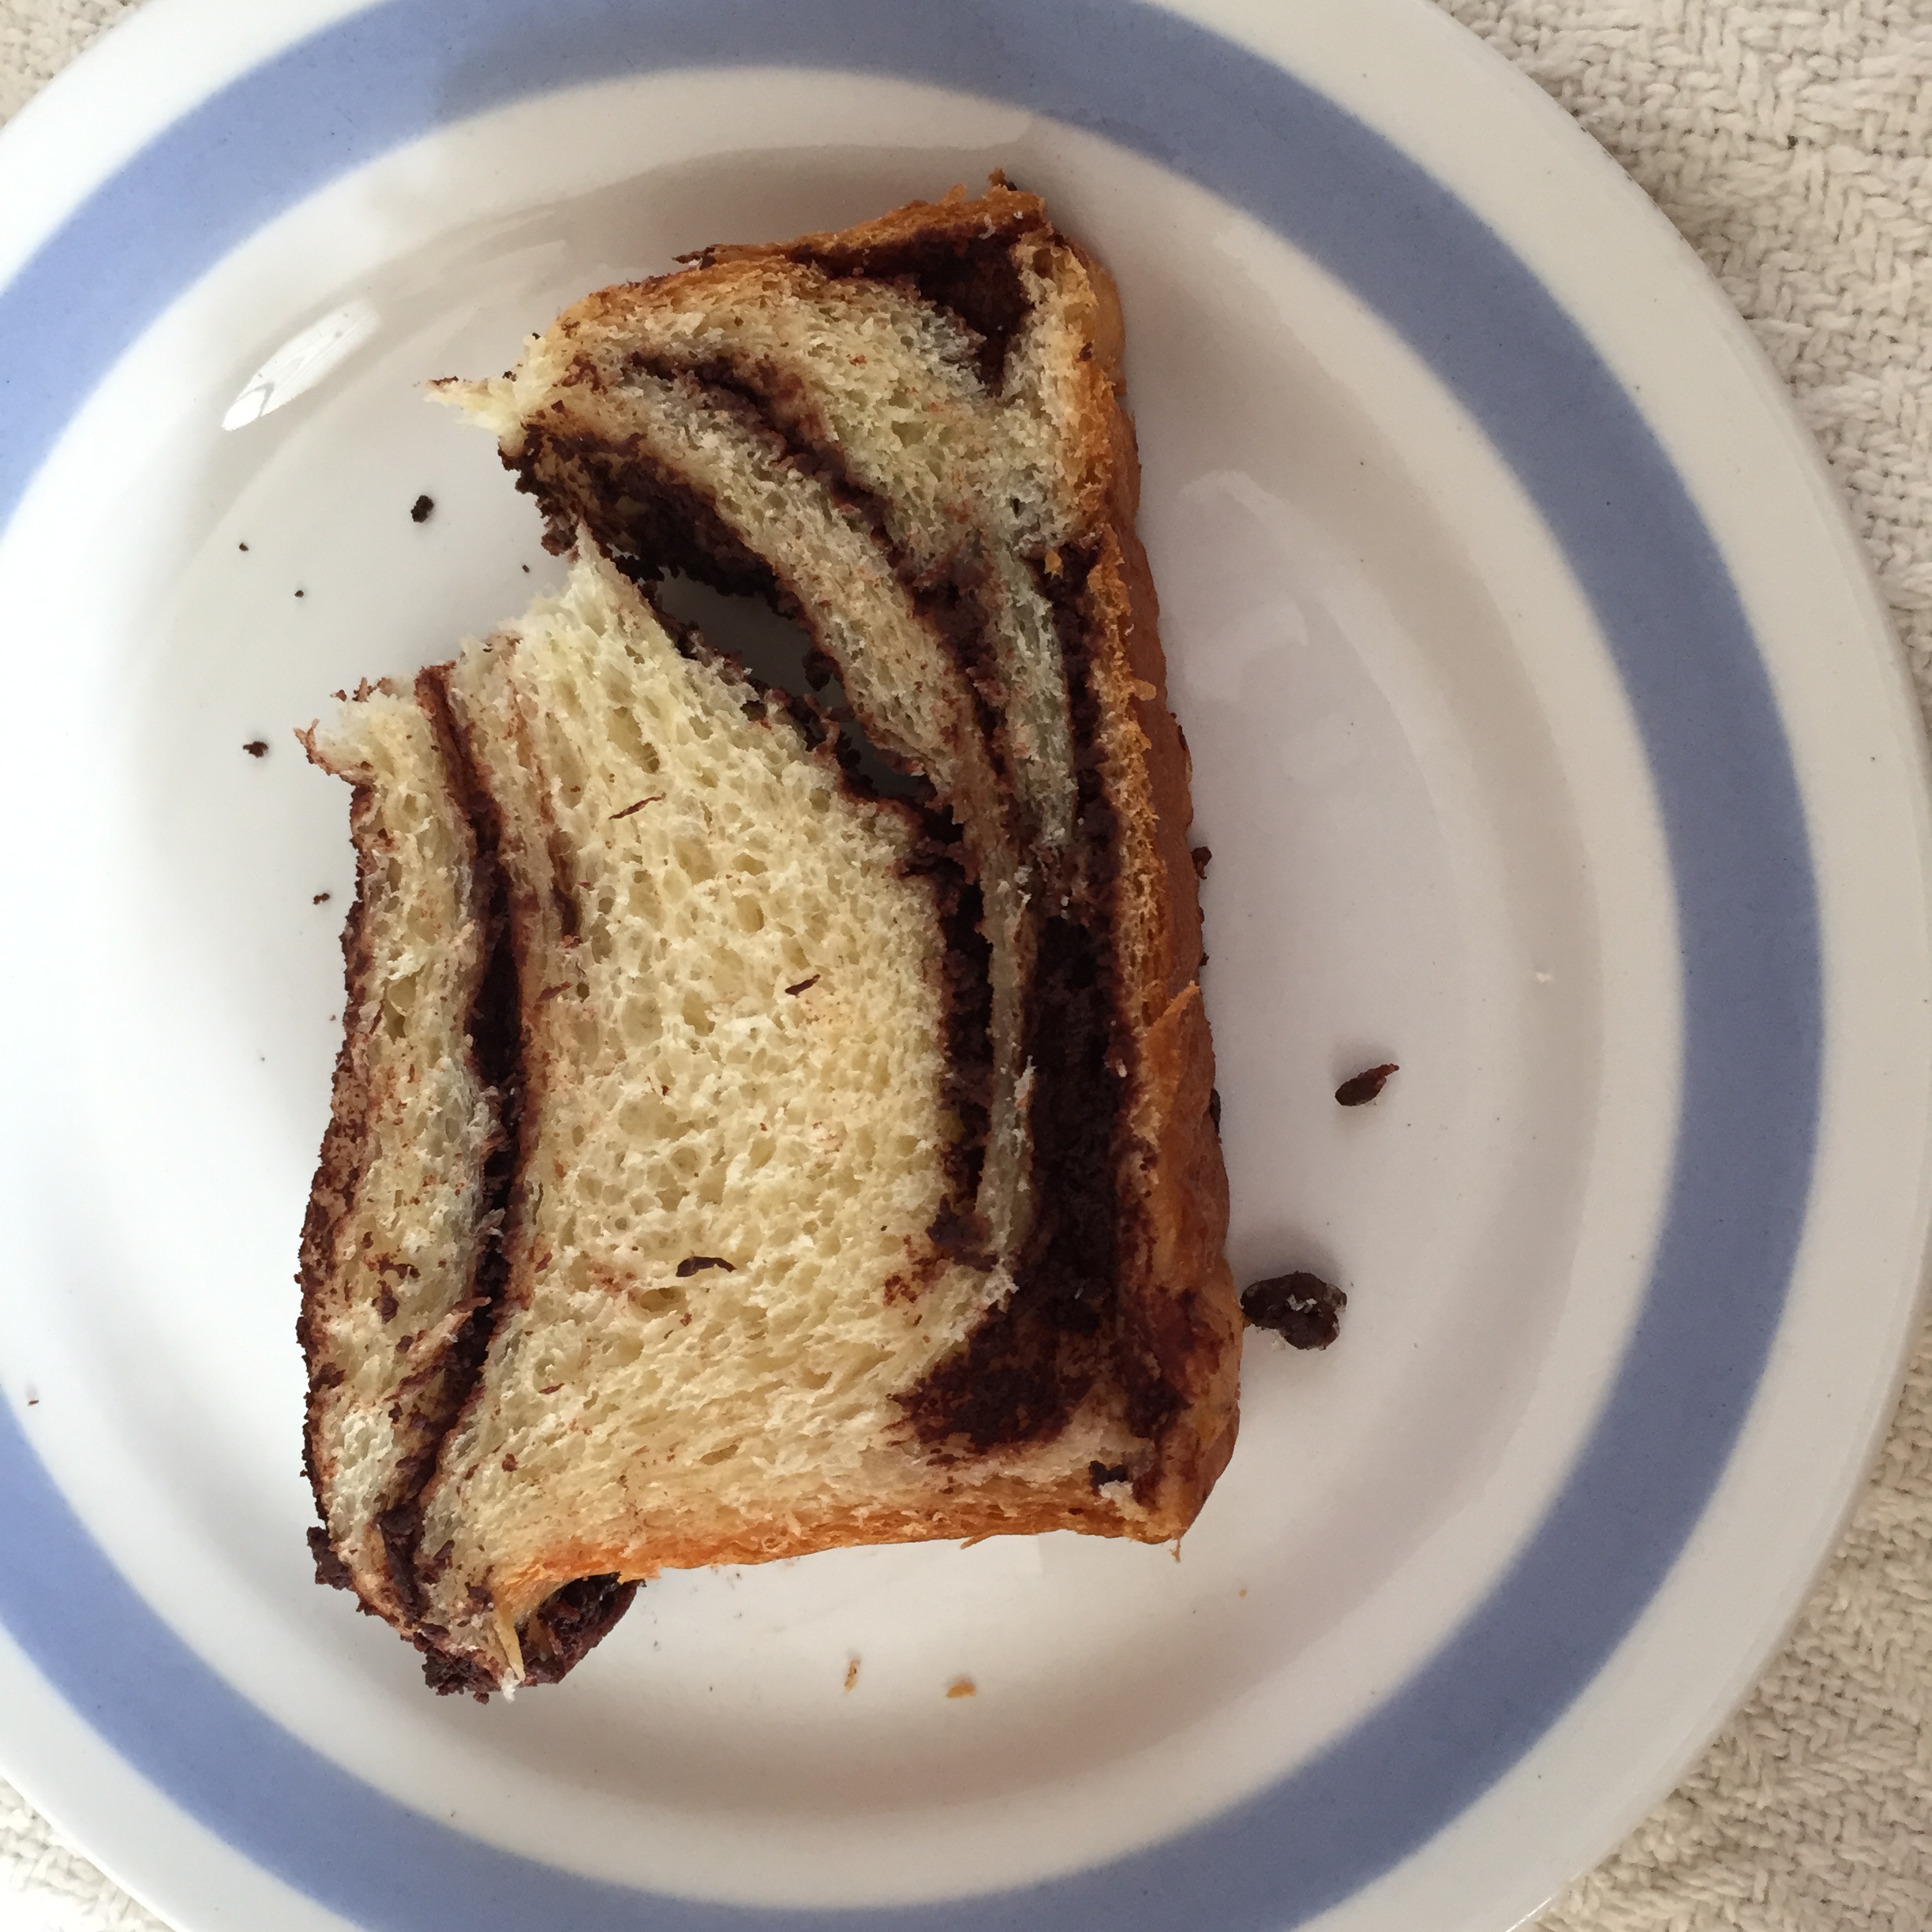
Babka One was good, but the chocolate seemed to weigh down the dough and I ended up with a loaf-long cavern and large hunks of chocolate. It tasted good, but I don’t love dark chocolate enough to have that version be the final word on IB4B babka.

Babka Two was, in a word, heaven. Heaven in a loaf pan, heaven on a cutting board, heaven in my mouth. SK suggests a pinch of cinnamon in theIMG_1328 filling – perfection. My filling appeared more liquid than the paste in the pic on the SK site, so rolling up the babka log was a bit of a challenge, but still, fun and well worth it.

My babkas on both tries had glorious muffin tops. A slightly larger loaf pan would likely fix that. But who cares – as I say about all muffin tops, there’s simply more to love.

Make these a day ahead as they do take some time and I think are best enjoyed first as breakfast. Then go ahead with elevenses, luncheon, snack and tea. Then slice the second loaf for a bed time snack.

You’ll see – heaven in your mouth.

Chocolate Babka Two

Two loaves – or one serving, you know, depending

Dough

  • 3/4 cup warm milk (105–115°F)
  • 1/2 cup plus 2 teaspoons sugar
  • 3 teaspoons active dry yeast
  • 3 1/4 cups all-purpose flour plus additional for dusting
  • 2 whole large eggs, room temperature
  • 1 large egg yolk, room temperature
  • 1 tsp vanilla extract
  • 3/4 tsp salt
  • 10 Tbs (1¼ sticks) unsalted butter, softened

Filling

  • 5 oz (130 grams) dark chocolate (60%-70% cacao)
  • 1/2 cup (120 grams) unsalted butter
  • 1/2 cup (50 grams) powdered sugar
  • 1/3 cup (30 grams) cocoa powder (I used Hershey’s because I was out of Valhrona)
  • 1/4 teaspoon cinnamon (SK says it’s optional, it’s not)

 Egg wash

  • Beat together 1 large egg yolk and 1 Tbs whole milk

Make dough:

Stir 2 teaspoons sugar into warm milk and sprinkle yeast over. Let stand about 5 minutes until foamy.

Pour yeast mixture into bowl of an electric mixer and add 1/2 cup of flour; beat at medium speed until combined.

doughAdd whole eggs, yolk, vanilla, salt, and remaining 1/2 cup sugar. Beat until combined.

Reduce speed to low, then mix in remaining flour, about 1/2 cup at a time, until combined.

Increase speed to medium and beat in softened butter, about a tablespoon at a time. (I cut open the Ziploc and scraped out tablespoon sized bits using a small offset spatula.)

Continue to beat for another 4-5 minutes after all the butter is in until the dough is shiny and pulls lacy strands from beater to bowl.

Dough will be super soft and sticky, and you will want to curl up in it.

Scrape dough into a lightly buttered bowl, cover tightly with plastic wrap and let rise at room temperature (warmer is better than in the AC), until doubled, about 2 hours.

Make filling

While the dough is rising, melt the butter and chocolate together in a 4-cup or larger measuring cup, stirring until smooth. Combine powdered sugar, cocoa and cinnamon, and sift over melted chocolate mixture. Stir to a smooth paste. Set aside.

Assemble Babkas

Line each loaf pan with a long strip of parchment paper cut the width of the short side of the pan and extending over the ends. Butter sides of pan. (You can, as I did, cut another piece of parchment to fit the long way in the loaf pan, but it’s really just extra work.)

Gently punch down dough and then halve.

Roll out one pieFILLING3
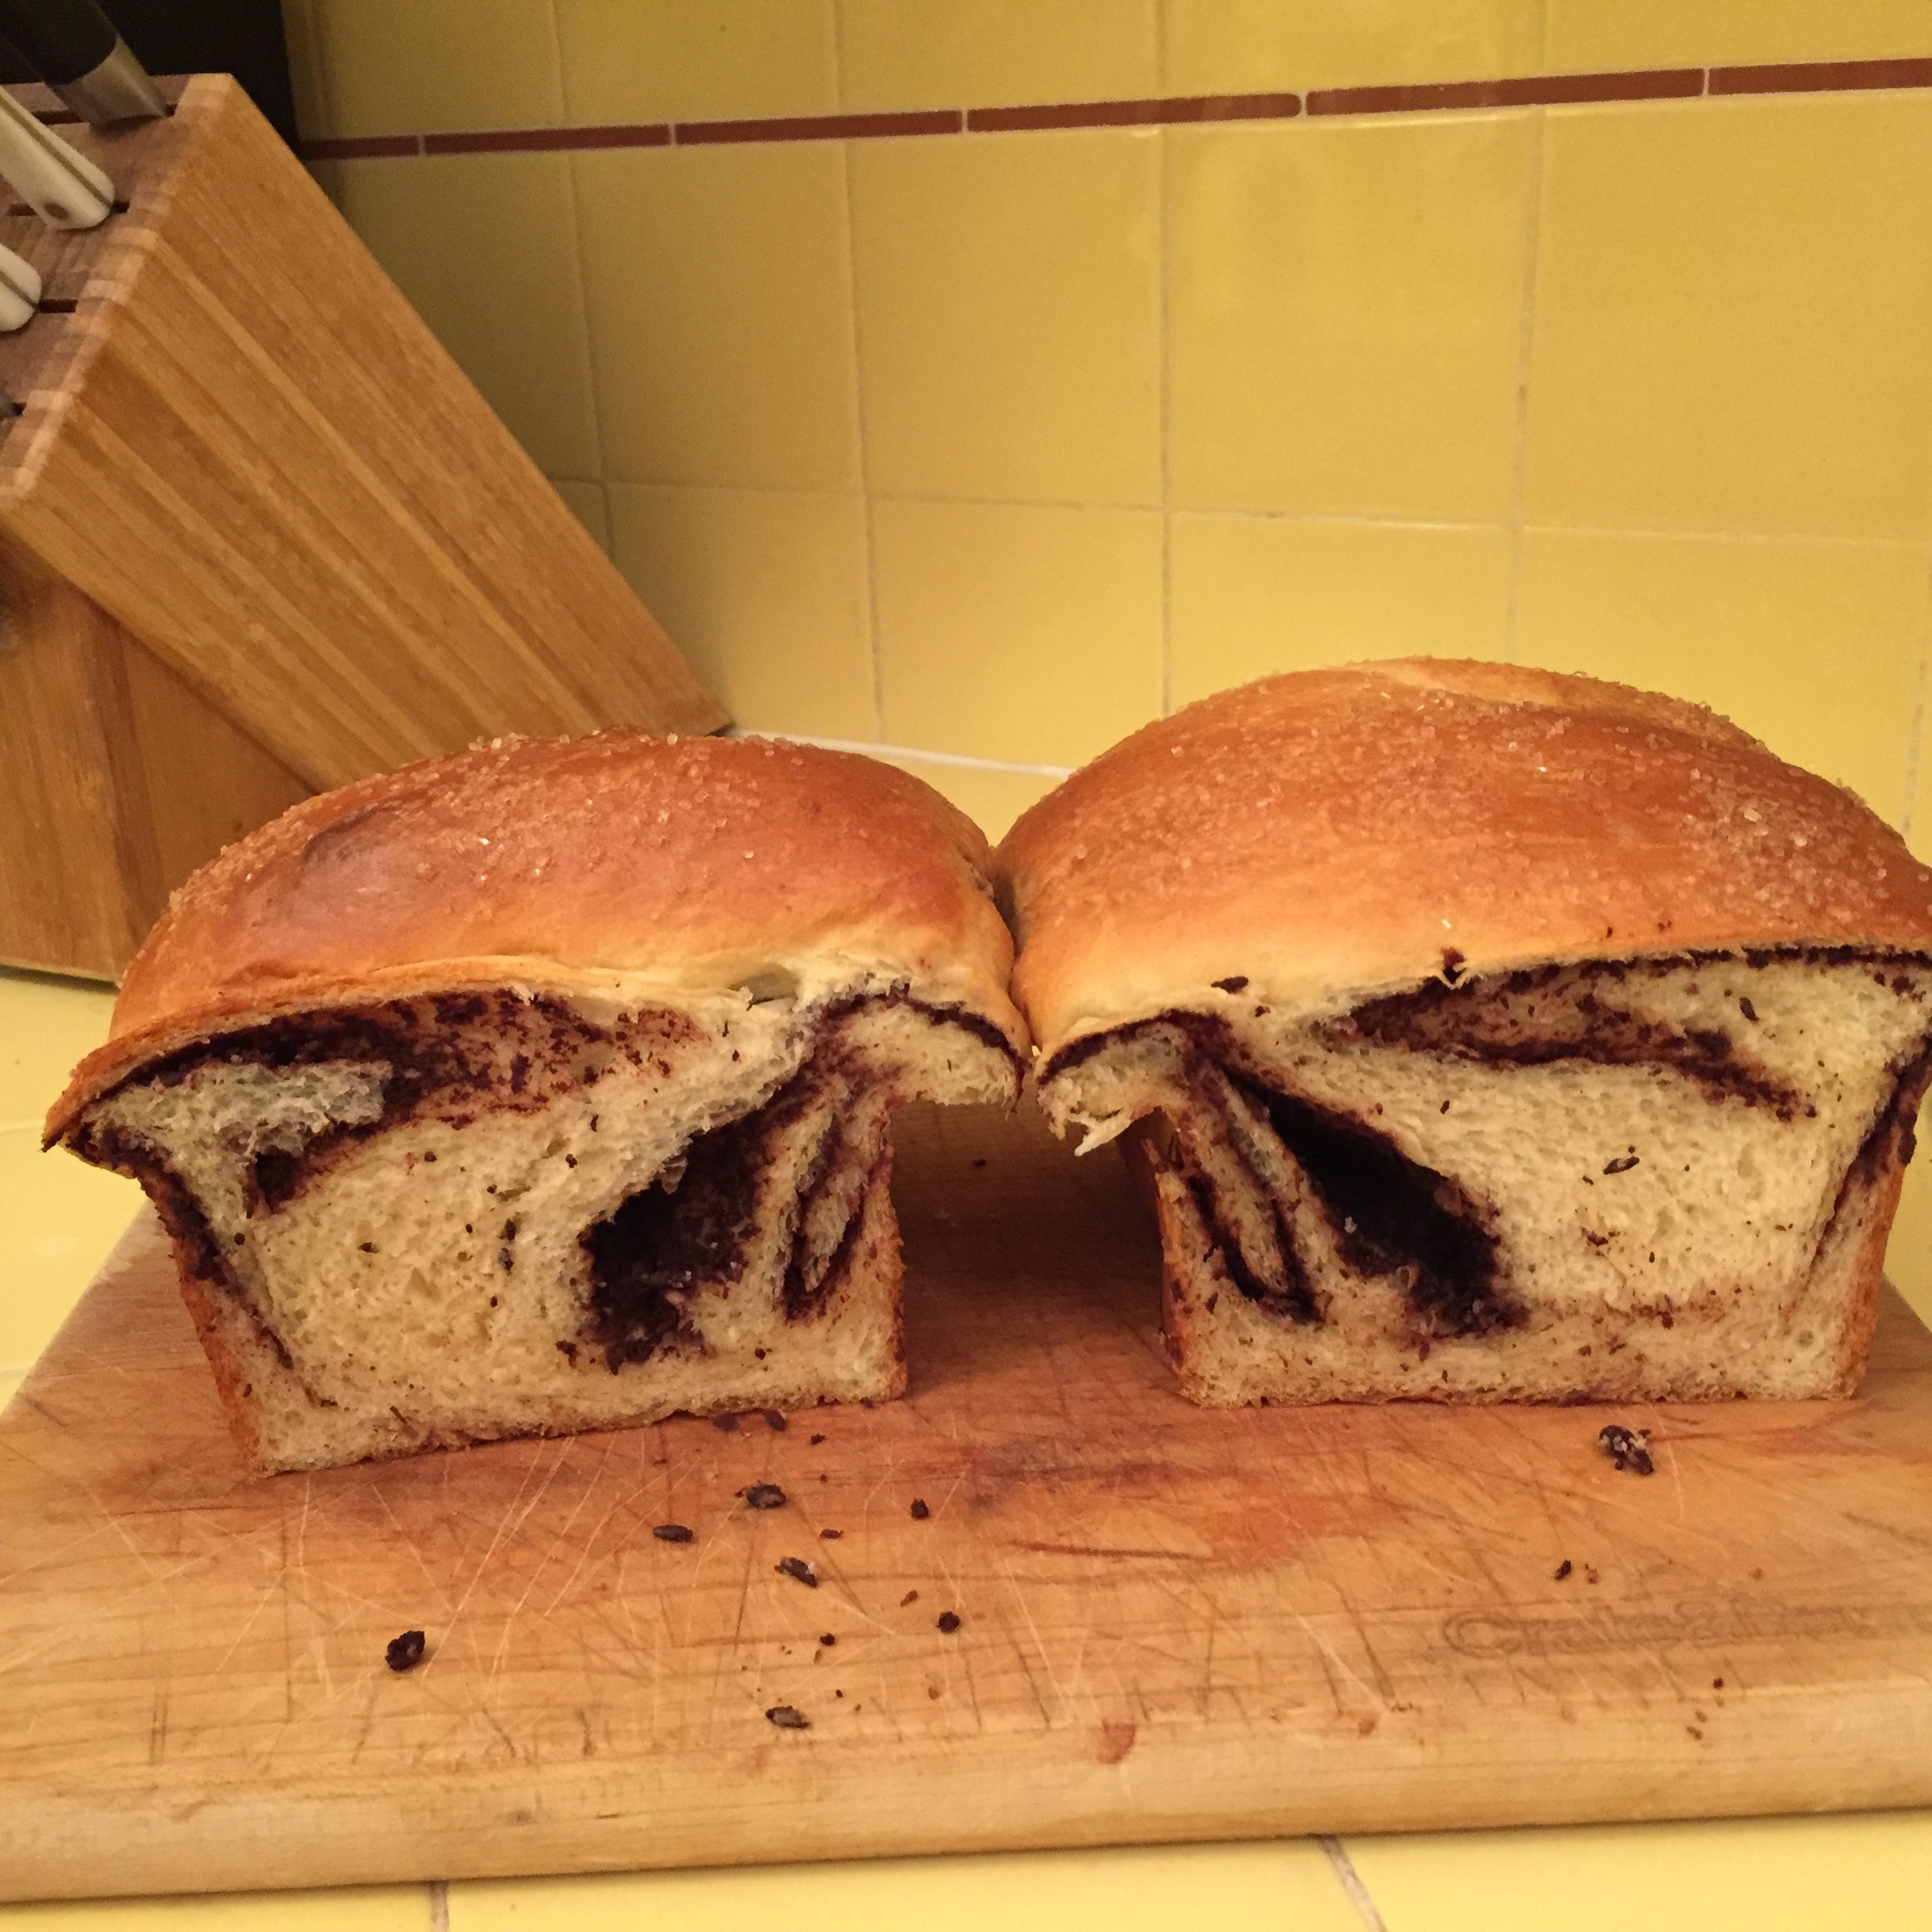
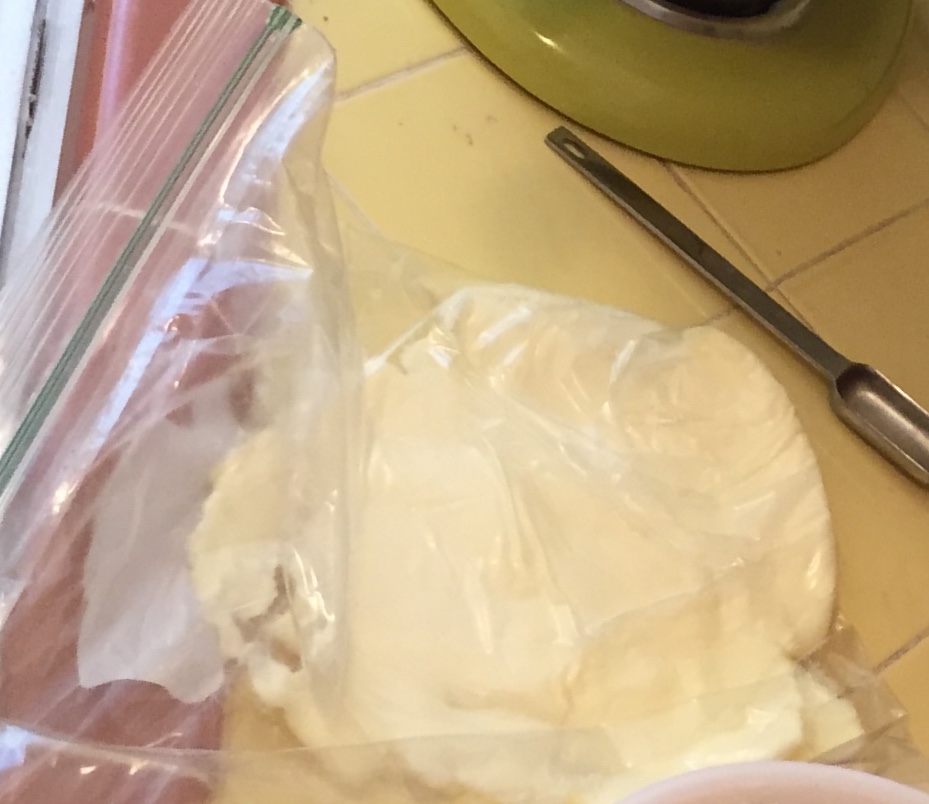
ce of dough on a well-floured surface into a rectangle about 18×10 inches, with the long side facing you. (Don’t worry if it looks like it’s rolled thin. It is.)

Pour half of the chocolate filling mixture down the center of the dough rectangle, then spread with a small offset spatula, leaving about a ½-inch border on all sides. (Why does the top pic look like it’s from the70s? Flour on my iPhone lens.)

Brush the long edge opposite you with some of the egg wash.

Slowly and gently, starting with the long side closest to you, tightly roll the dough over the chocolate filling. Because the dough is so soft, this will be more like nudging it over. Work slowly, from side to side, and try to make as tight a roll as you can.

Once baka dough 1rolled slice off ends. Then, form roll into an oval, pinching ends together.

Have your prepared loaf pan at the ready. Then twist your oval once to make a figure eight, and then again. Drop your twisted dough roll into your prepared loaf pan, nudging a bit here and there to get it all nicely nestled in.

Repeat with second piece of dough.

Cover loaf pans loosely with plastic wrap and set aside to rise again for about 1½ hours. FullSizeRender copyThey should just reach the top of the pans.

Bake Babkas

Preheat oven to 350.

Brush babkas with remaining egg wash and give a light sprinkle of turbinado sugar (if desired).

BIMG_1297ake for 30-35 minutes until golden brown and hollow when tapped on the bottom. Check on your babkas at 25 minutes and then keep an eye out. Mine were perfect at 30 minutes.

Let cool in pans on rack for about 5 minutes, then lift from pans using the parchment ends.

Peel off parchment, place on rack and let cool completely.

Enjoy!IMG_1335

Is that a pie in your hand or…?

Hand pies are not a natural for me.IMG_0887

Pastry is hit or miss and while I love the idea of a peach, it’s just too easy to get a bum one (mealy, hard, squishy). Plus, for me, peaches require prep: I like them peeled, sliced and chilled. So, in general, I prefer nectarines.

But Trader Joe’s recently had 4 lb. boxes of beautiful peaches and I was going to an outdoor event…summer peach pie sounded so good. But a IMG_0878pie in a picnic setting is always a mess, so I thought, gee, hand pies are all the rage, how about that? (My only experience with “hand pies” was decades ago, the original MacDonald’s apple pie and the various sugar-glazed Hostess options. Gooey, gluey, yuck.)

I asked a baking friend if she’d made them – she hadn’t but reported a friend thought they were a lot of work for “essentially, a pop tart.” But still, the idea was so perfect, and I could picture little Martha-style parchment packets sealed with stickers…I decided to go for it.

I searched FullSizeRender
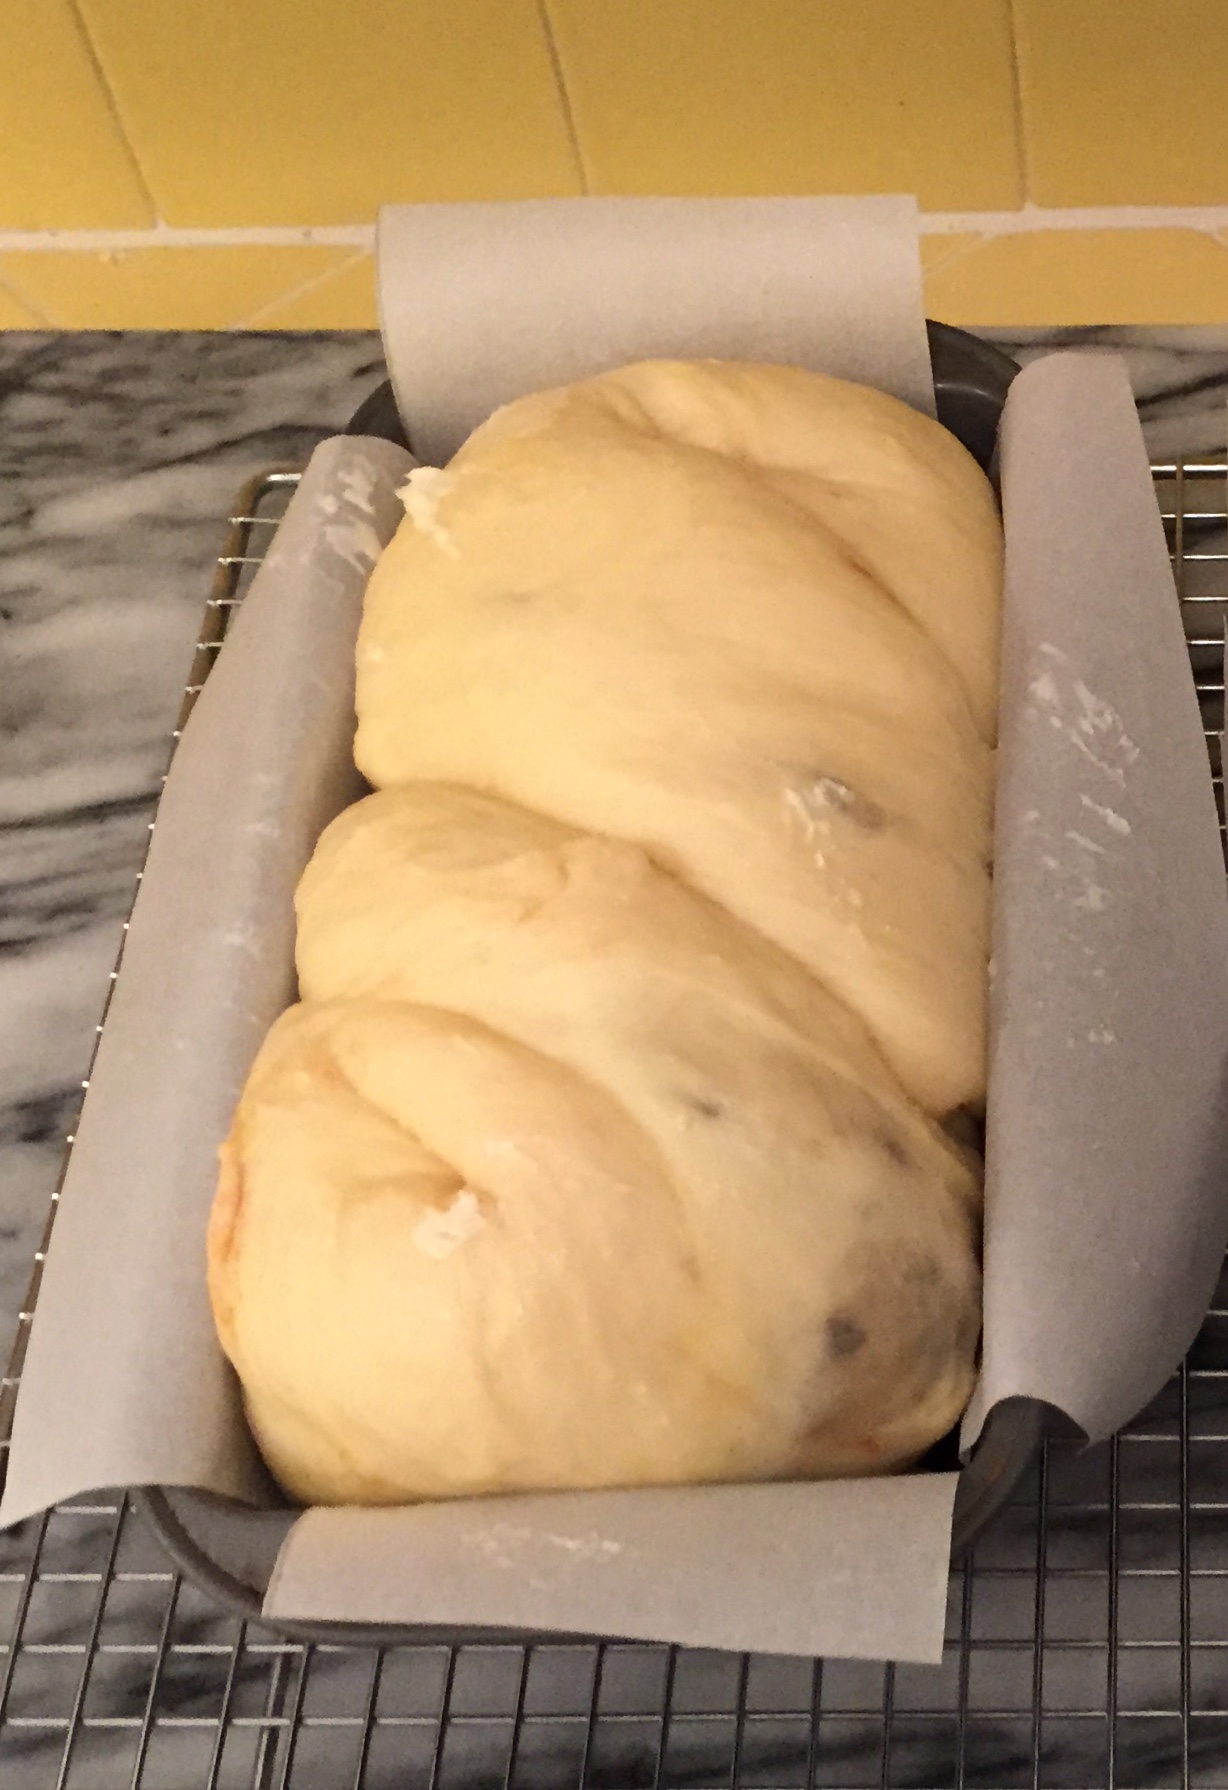
online for a recipe, selecting one from Bakerella (which she modified from Handheld Pies, by Rachel Wharton and Sarah Billingsley).

The deciding factor was that the pastry included butter and cream cheese.

I made a few small modifications:

  • Used heavy cream instead of milk in the pastry (because that’s what I had on hand)
  • Added a small pinch of cinnamon to pastry
  • Added a tablespoon of brandy to the peaches

The peaches were not uniformly ripe (which makes for easier cutting), but they maceratedFullSizeRender_1 to perfection sitting for an hour or so with the lemon juice, brandy and sugars.

The results were out of this world! Not too sweet and very peachy! The pastry was easy to work with – I made my pies bigger than the cute little crescents on the site, so only got 7 pies out of the recipe (and had a lot of leftover filling). Next timIMG_0885e, I’ll double the pastry recipe since it’s easy to freeze any leftovers.

I’m already hankering for more of these. They were wonderful at the outing and perfect for breakfast the next morning.

Enjoy!

Portable Peach Hand Pies

Pastry

4 Tbs unsalted butter

4 oz cream cheese

2 cups all-purpose flour

1 Tbs sugar

1 tsp salt

1/4 cup heavy cream

  • Cut butter and cream cheese into half inch cubes and freeze for 20 minutes.
  • Pulse flour, sugar and salt briefly in food processor to combine.
  • Add butter and cream cheese cubes from freezer and pulse until small clumps form.
  • Add heavy cream and pulse again a few times until dough forms.
  • Press dough together to see if it holds together. Add ice water by teaspoons and pulse until the dough holds together when pressed. (I needed 2 tsp. of ice water.)
  • Turn out dough onto a floured surface. Knead pieces together and then shape into two 1-inch thick round disks. Cover in plastic wrap and chill for two hours or overnight.

Peaches

3 cups diced, peeled peaches

1/4 cup sugar

1/4 cup brown sugar

2 Tbs corn starch

1 tsp lemon juice

1/4 tsp salt

1 Tbs cinnamon

1 Tbs brandy (optional)

  • Stir all ingredients together and let sit until dough is ready.
  • (If your peaches are very ripe you don’t need to prepare the peaches until just before the dough is chilled.)

Assembly

  • Remove dough from fridge, unwrap and roll out on a floured work surface to about about 1/8-inch thickness.
  • Cut out pie 4.5x 5-inch shapes from dough and remove scraps. (You’ll end up with pies that are about 4.5×2.5 inches.)
  • Put a spoonful or two of filling on one side of the shape, fold over left to right like a book.
  • Press edges together on all three sides, then crimp edges with a fork.
  • Place on a parchment-lined baking sheet and refrigerate prepared pies for half an hour before baking.
  • Preheat the oven to 375 degrees.
  • Before placing in the oven, brush each pie top with beaten egg and sprinkle with turbinado sugar.
  • Bake for 25-30 minutes until golden.
  • Remove and transfer to a baking rack to cool.

FullSizeRender_1 copyDelicious warm or at room temp. If enjoying the next day, warm in a 375-degree oven for 5-10 minutes.

Every Summer Day Tomato Spread

“What is patriotism but the love of the food one ate as a child?” asks the great Chinese writer and thinker, Lin Yutang, in his lovely book The Importance of IMG_0913Living. I always think of that quote in summer when I replace “patriotism” with “nostalgia.” (For some reason I am most nostalgic in summer.)

As temperatures rise, blurry Polaroids of memory fill my mind: My dad’s sweatshirt brushing my ankles as I follow my brother down a sandy path; the first scents of salt as we drive to the beach; biking to our local swim club every day; the whir of old-fashioned (even then) metal fans in every room of our un-air conditioned house. And my Uncle Leo’s tomatoes. The very best beefsteak tomatoes ever, anywhere, in the world, came from Uncle Leo’s backyard. My mother ate them like apples, leaning over the kitchen sink. I liked them sliced thick with a tiny bit of salt. I’ve eaten a lot of tomatoes in my day, and while many are very, very good, I’ve yet to find any tomato at any farmer’s market anywhere, that compares to the simple deliciousness of Uncle Leo’s. Such is the core of nostalgia (or patriotism) – remembered pleasures often outweigh present pleasures. C’est la vie. (sips wine, stares into middle distance)IMG_0910

So when summer comes and tomatoes abound, I tend to doctor them up, either with a good soaking of balsamic, or in panzanella or bruschetta. One recent weekend I had bruschetta in mind when I veered a bit to the left and came up with this spread. Which is amazing. And versatile. And oh, so good.

I’ve called it Every Summer Day Tomato Spread, because you will want to eat it every day.

And it’s so versatile, you can.

Every Summer Day Tomato Spread

1 lb. assorted heirloom cherry tomatoes, halved or quartered if large (backyard, farm stand or farmer’s market are best)

1 clove garlic, finely chopped

2 Tbs. balsamic vinegar (more or less to taste)

2 Tbs. olive oil (more or less to taste)

1-2 oz. sundried tomatoes, not packed in oil (drained and patted otherwise) (I use Trader Joe’s julienned version)

3-5 fresh basil leaves (to taste)

Smidge of anchovy paste, to taste – optional*

Combine cut tomatoes, garlic, olive oil and balsamic in a glass bowl. Stir to combine. Let sit for about an hour or so.

Drain tomatoes, reserving the liquid. Pulse tomato mixture in food processor until chunky. Add sundried tomatoes and pulse a few more times. Add basil leaves and process to a spread consistency. (Stop short of a paste.)

IMG_0911Transfer mixture to bowl. Check consistency. If the spread looks dry, add a bit of the reserved liquid and stir. You don’t want the mixture to be too wet. Add additional liquid until desired consistency. (Leftover liquid can be the base of a salad dressing on another day.)

Taste – adjust seasonings (salt, pepper) and don’t be afraid to add a pinch of sugar.

Let sit for 15-30 mins and serve with grilled bread, crostini, or crackers. (If you have leftover spread, refrigerate tightly covered and let come to room temp before using.)

Yields about a cup of spread.

*I’m afraid of actual anchovies. If you are not, chop one up and add as directed, to taste.

Variations

  • This is terrific as a topping for Spanish-style pan y tomate. Spread thinly on top of grilled or toasted bread that’s been rubbed with a garlic clove.
  • Put a dollop on the plate with grilled steak – delish!
  • Scrape an ear or two of grilled corn and add kernels to tomato spread – you get a kind of a relish that’s fantastic on it’s own or next to grilled meats or Italian sausages.
  • Spread grilled (or toasted bread) with fresh burrata and a thin layer of tomato spread. Top with a leaf or two of fresh basil that’s been on the grill for a few moments. Pour a juicy red and close your eyes. You’ll be in Italy in seconds.

Slightly Past Prime Cake, a recipe that never gets old

I’m particular about my fruit. I like my grapes firm and cold, bananas greenish or not at IMG_0009all, and strawberries blemish-free. Fruit that is just at or slightly past peak is not for me. The flavors are too intense, too fruity for my palate.

Oddly, these preferences alone don’t prevent fruit from aging on my counter or in my fridge. When it does, it’s time for “Slightly Past Prime Cake,” a homey and homely white cake to which you can add almost any overripe fruit, especially berries and stone fruit.

Strawberries in particular seem to sit for days in the market, hard and greenish, but ripen almost immediately as soon as they enter my house. As happened this week with a lovely basket of berries that I meant to get to on Sunday. By Monday, they were a touch squishy, and by Tuesday they were cake. It happens.

The basic recipe is straight out of the 1940s. My mom made a version of it throughout the summer that we called “Rotten Fruit Cake.” In my version, modernity comes from creme fraiche for the dairy and a generous sprinkling of turbinado sugar over the top before baking to get a crunchy sparkly crust. I serve it with mascarpone whipped cream and another pinch of the turbinado. It improves on sitting,  second day slices are best.

I never get tired of this cake! Try it. You might think differently about aging!

Slightly Past Prime Cake

Oven at 350. Butter bottom and sides of a 10-inch cake pan with a removable bottom.

  • 1 1/2 cups all-purpose flour
  • 1 1/2 teaspoons baking powder
  • 1/2 teaspoon salt
  • 6 tablespoons unsalted butter, room temperature
  • 1 cup sugar
  • 1 large egg
  • 1/2 cup crème fraiche
  • 1 teaspoon vanilla
  • 1 pound berries or stone fruit, about 1/4 of the fruit reserved in a separate bowl:
    • Weigh stone fruit only, not pits, sliced into about 1/4-inch slices
    • Strawberries, hulled and halved
    • Blueberries and small raspberries or blackberries can be used whole; extra large berries should be halved
  • 2-3 Tbs turbinado sugar (Sugar in the Raw)

Sift together flour, baking powder and salt. Set aside. (I just toss this a few times with a balloon whisk.)

Sprinkle a little sugar over the reserved fruit and set aside.

Mix butter and sugar in an electric mixer on medium until light and fluffy, about 3 minutes.

Reduce speed and mix in the egg, crème fraiche, and vanilla.

On low speed, gradually add the flour mixture and mix until just combined.

Using an old fashioned potato masher, pastry cutter or two forks, mash the reserved fruit. (Pour off some of the juice if the mixture is very wet. You can use it in cocktails before dinner.)

Add the mashed fruit to the batter and mix on low until combined. Be careful not to over-mix, you want some small pieces of fruit.

Scoop the batter into the prepared pan and smooth with an offset spatula. Arrange the IMG_0002IMG_0001strawberry halves decoratively over the top, pressing them down slighty with the offset spatula. Sprinkle with the turbinado sugar.

Bake in the 350 oven for 10 minutes.

Reduce heat to 325 and bake for about an hour, testing in the last 10 minutes with a toothpick – it should come out clean.

Cool in pan on rack for 15 minutes.

Push cake up from the bottom of the pan and slide onto rack. Place a cookie sheet, bottom side down on top of the cake. Gently grasp the sides of the rack and the cookie sheet, and flip the cake onto the cookie sheet. Remove the rack and, using a small offset spatula, gently pry off the pan bottom. Replace the rack and gently flip the cake back onto the rack to cool completely.

IMG_0010Good the first day, better the second, having sat at room temp loosely covered with plastic wrap. Serve with mascarpone whipped cream and a pinch of turbinado sugar. (After day two, either refrigerate or freeze any leftovers.)